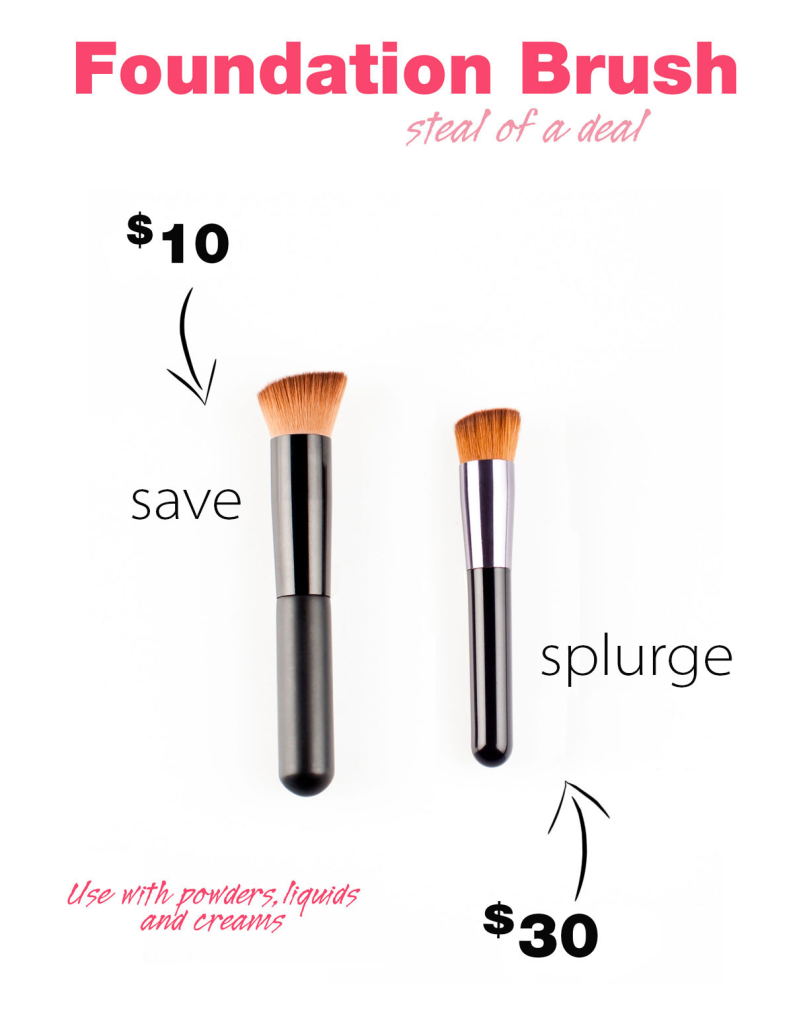
 I was standing in line at H&M and saw this foundation brush and thought “Wow, that looks a lot like my $30 Shiseido brush. Wonder if it’s any good.” So I got it. It’s a great option if you’re on a budget and it get’s the job done. It’s a little bigger than the Shiseido brush so product goes on more sheer. I do find myself reaching for my Shisedo brush when I need a more precise application, but for most things the H&M BB cream brush does the job. It says BB cream, but you can use it to apply powders and liquids too.
Another brush I am obsessed with is this It Cosmetics Brush. I use it every time I do someones makeup. The little end is used to conceal and highlight. Sometimes I’ll do detailed contour or bronzing with it. And I use the larger side to apply foundation and to blend. I love this brush so much I’m going to buy another one for my personal kit!
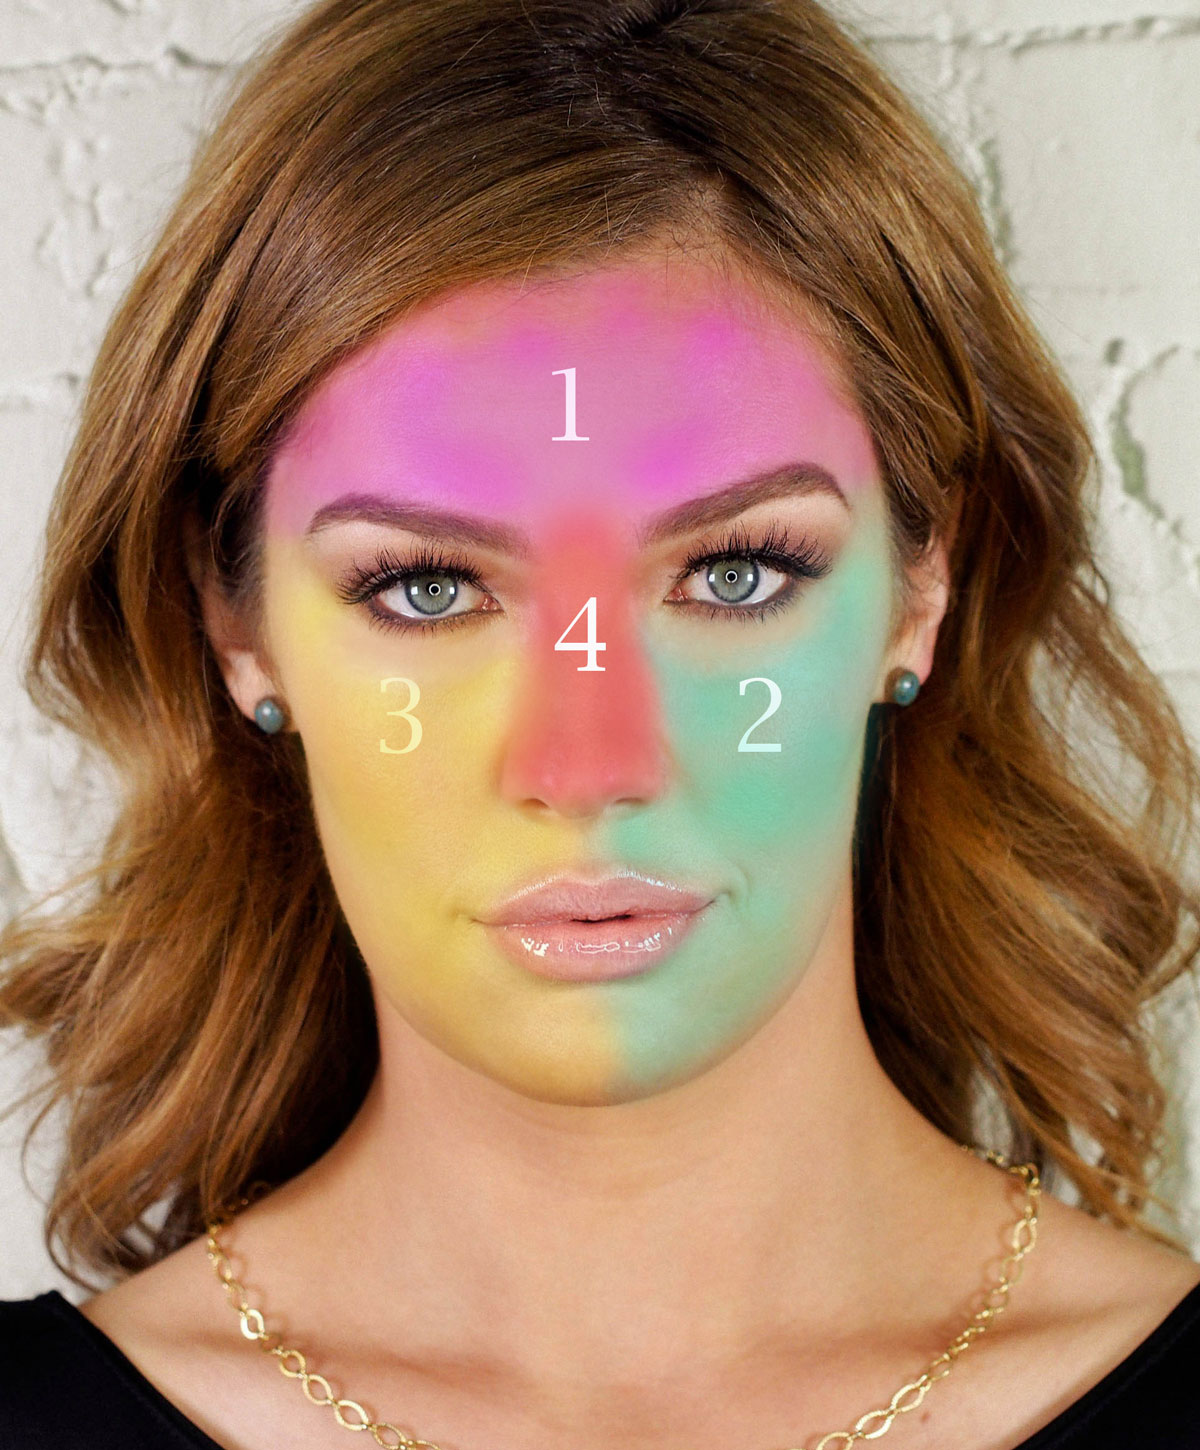
One of the questions I get asked the most from people is what kind of foundation should they use and what’s the difference between airbrush foundation and normal foundation. I’ll get more into detail with each one but the one thing that matters most for all foundation is that you’re in the correct color and that your face has dimension. Dimension meaning there are areas with more depth (aka darker or contoured) and areas that are lighter (aka highlighted.) I think they all can look good and there’s a time and place for each of them!
The products I consistently used in all three looks:
Eyes: Urban Decay eyeshadow base, MAC eyeshadows in Vanilla and Bronze, and Chanel liquid liner.
Brows: Anastasia Dipbrow in Blonde.
Below is a fast everyday look ↓
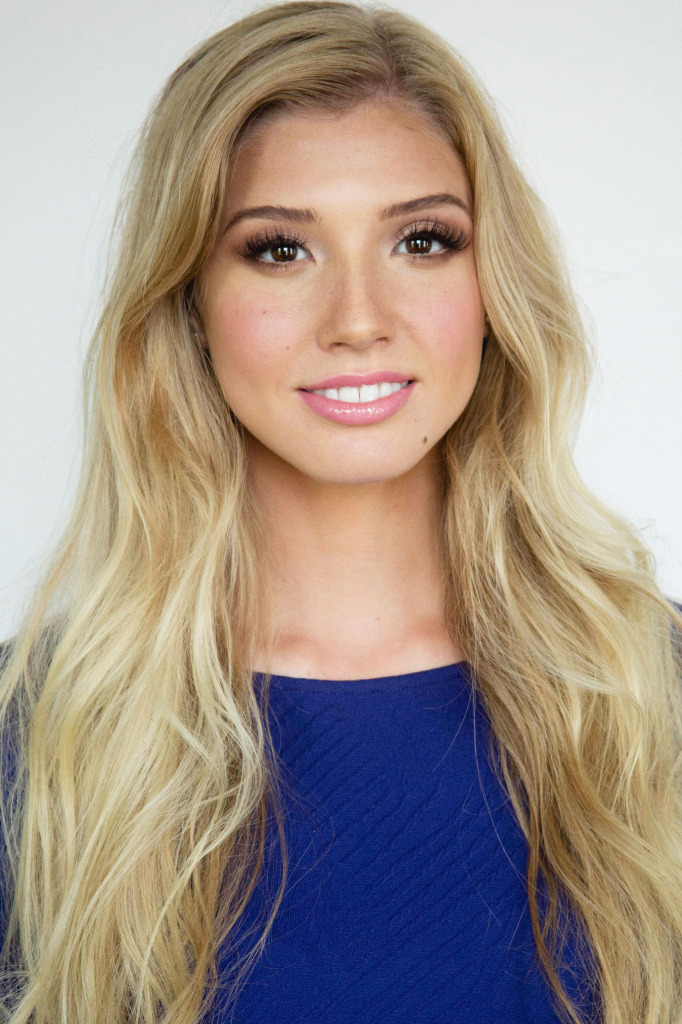 For this everyday look ↑ I used IIID Foundation by Maskcara in Dark. I used Shortcake by Maskcara for her blush and lips but it was such a hit that it’s sold out. However I often use Princess Peach for a more neutral look and I use Jem and just apply less and it comes out pink! These products are fast to apply and have a very natural finish.
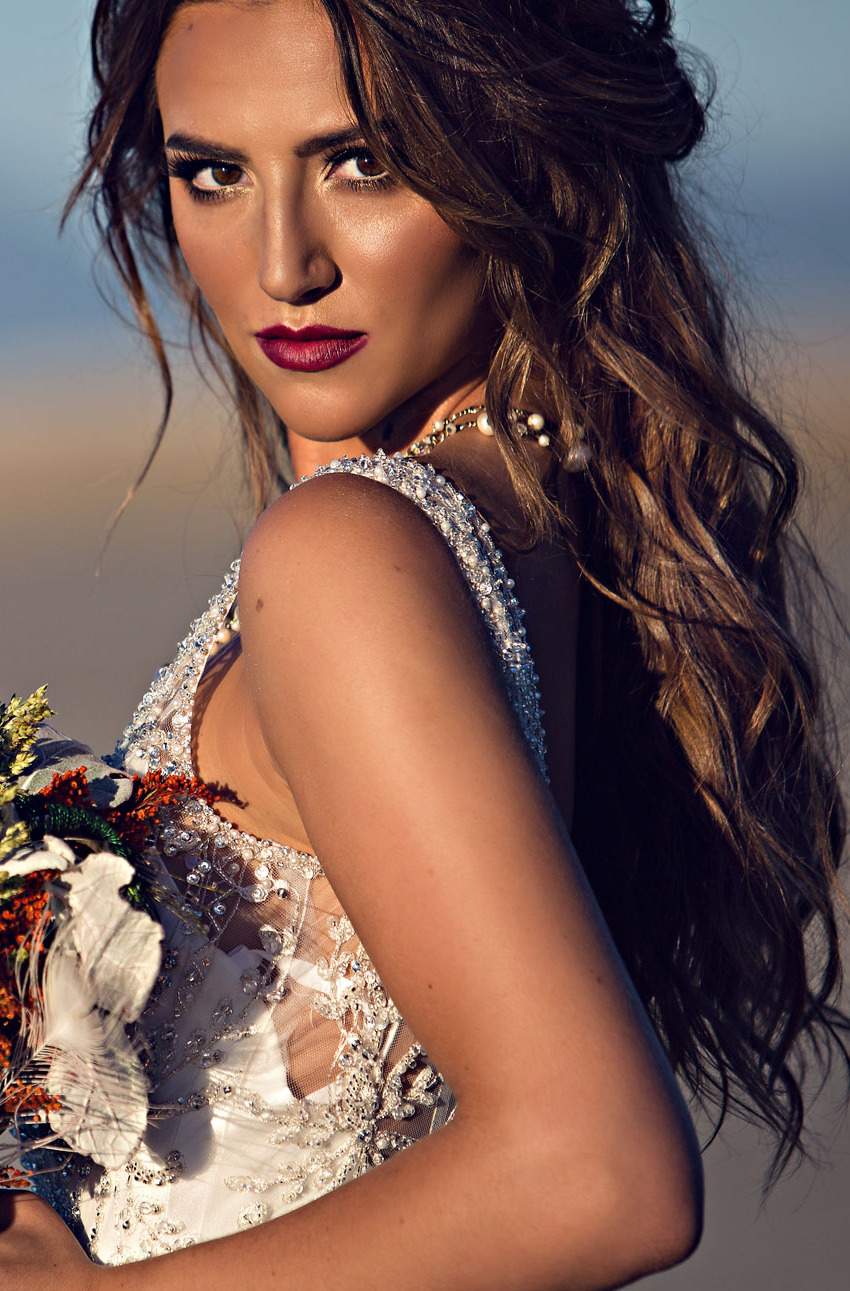
Below is a little bit more glam ↓ We’ll call this the “I want to look a little cuter than normal” look. This look will take just a few more minutes to do.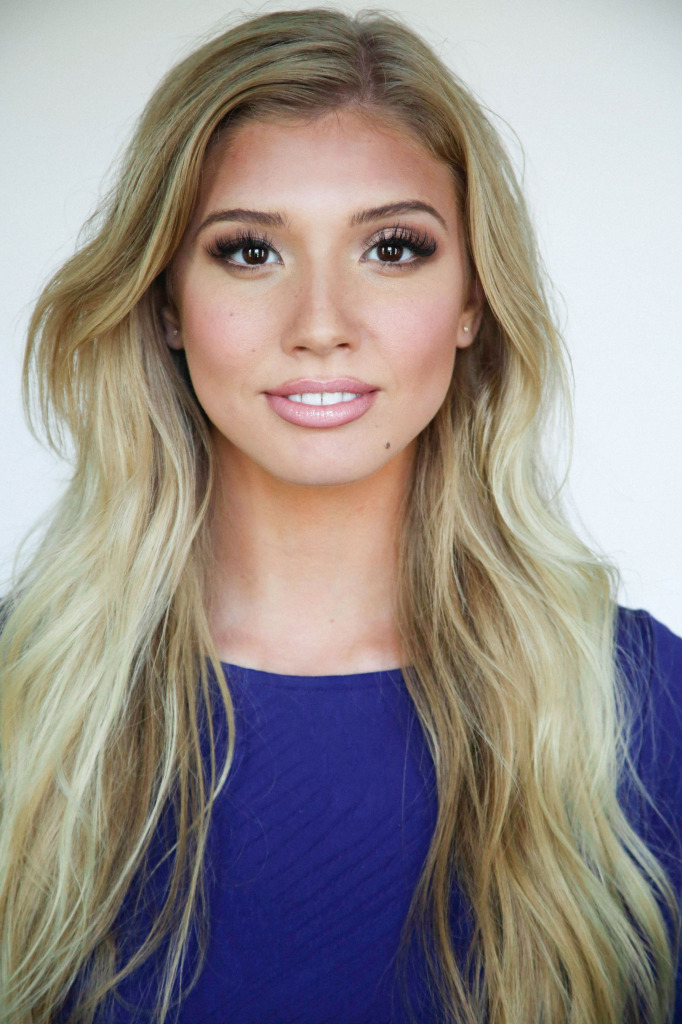 I used two shades of Lancome’s liquid foundation to achieve this look. Apply the darker shade to where it looks darker and the lighter shade where her face looks lighter. This is a matte finish long wearing foundation that has medium to full coverage. To figure out what foundation colors to get when using this method I recommend finding your exact shade, the shade you would use if you were going to apply it all over your face, and then go two shades lighter than that shade for your highlight and two shades darker for your contour. Her blush is Tarte Blushing Bride and her lips Urban Decay Naked 2 liner and Buxom gloss in Yes You.
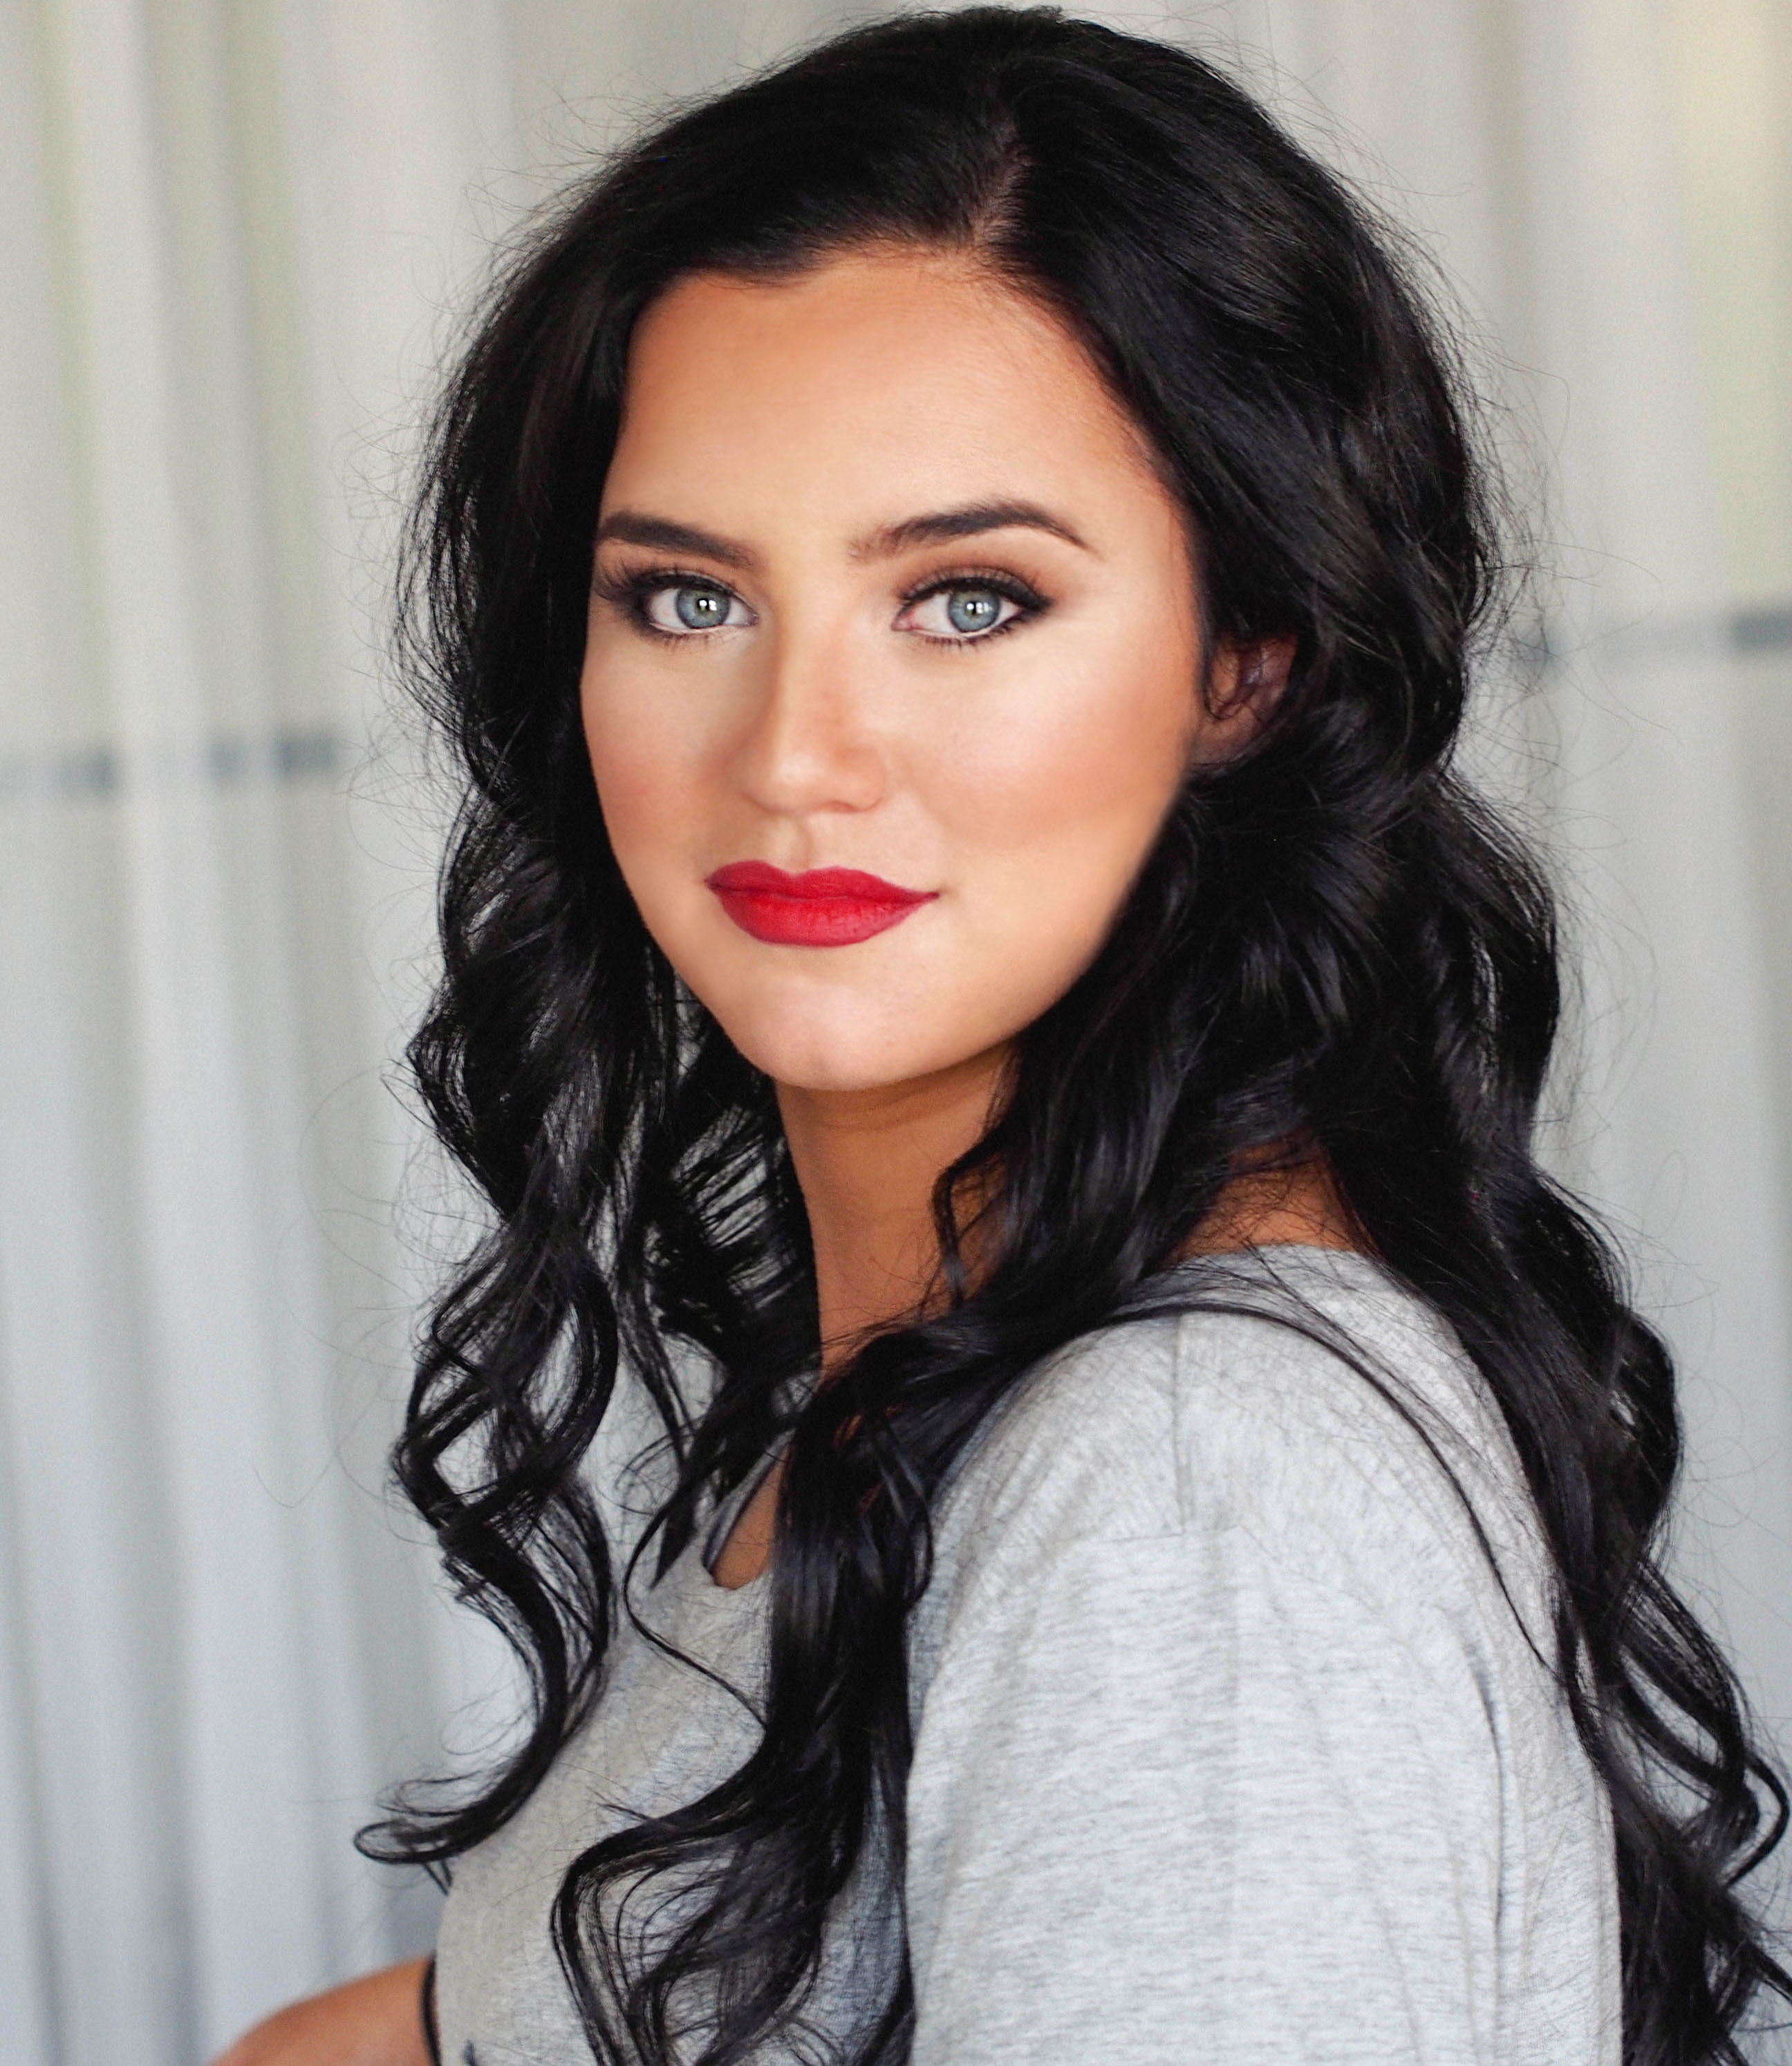
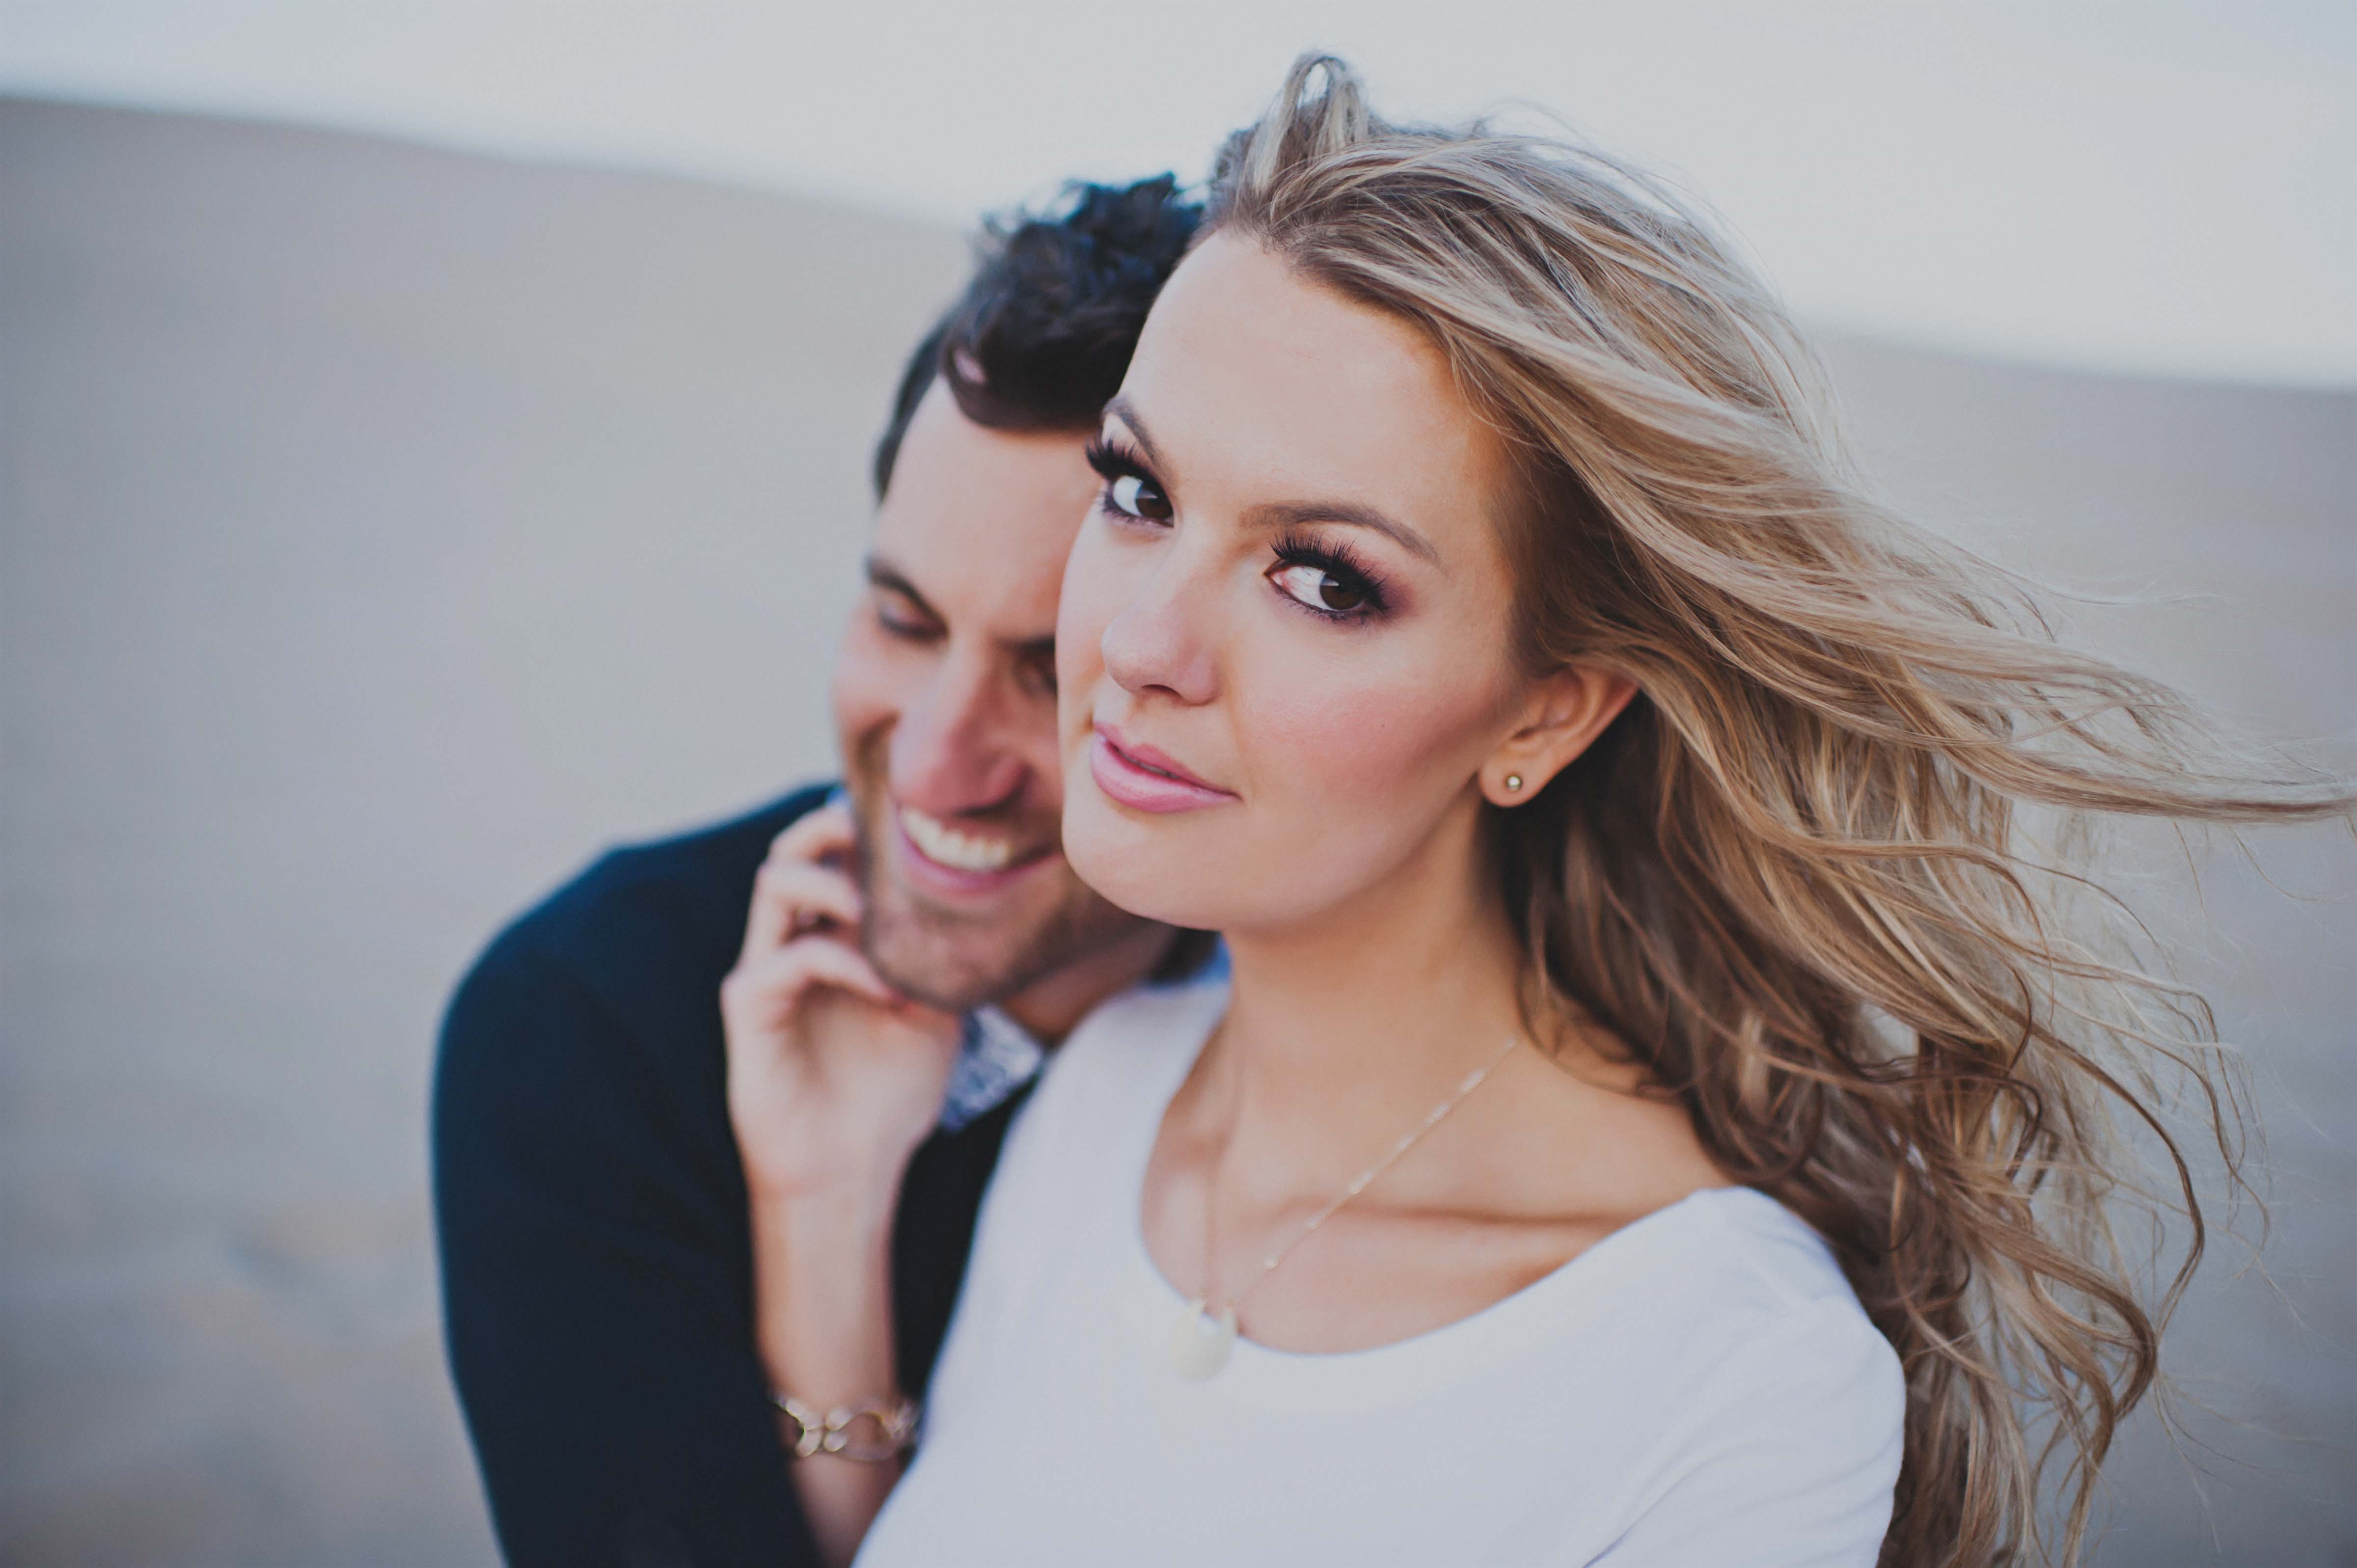
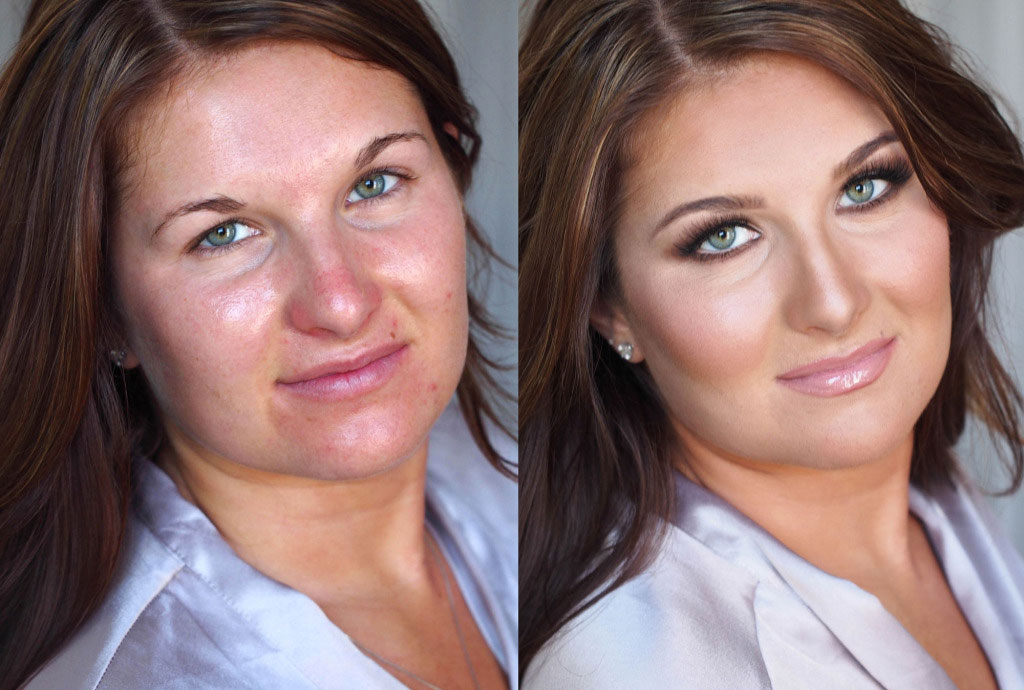
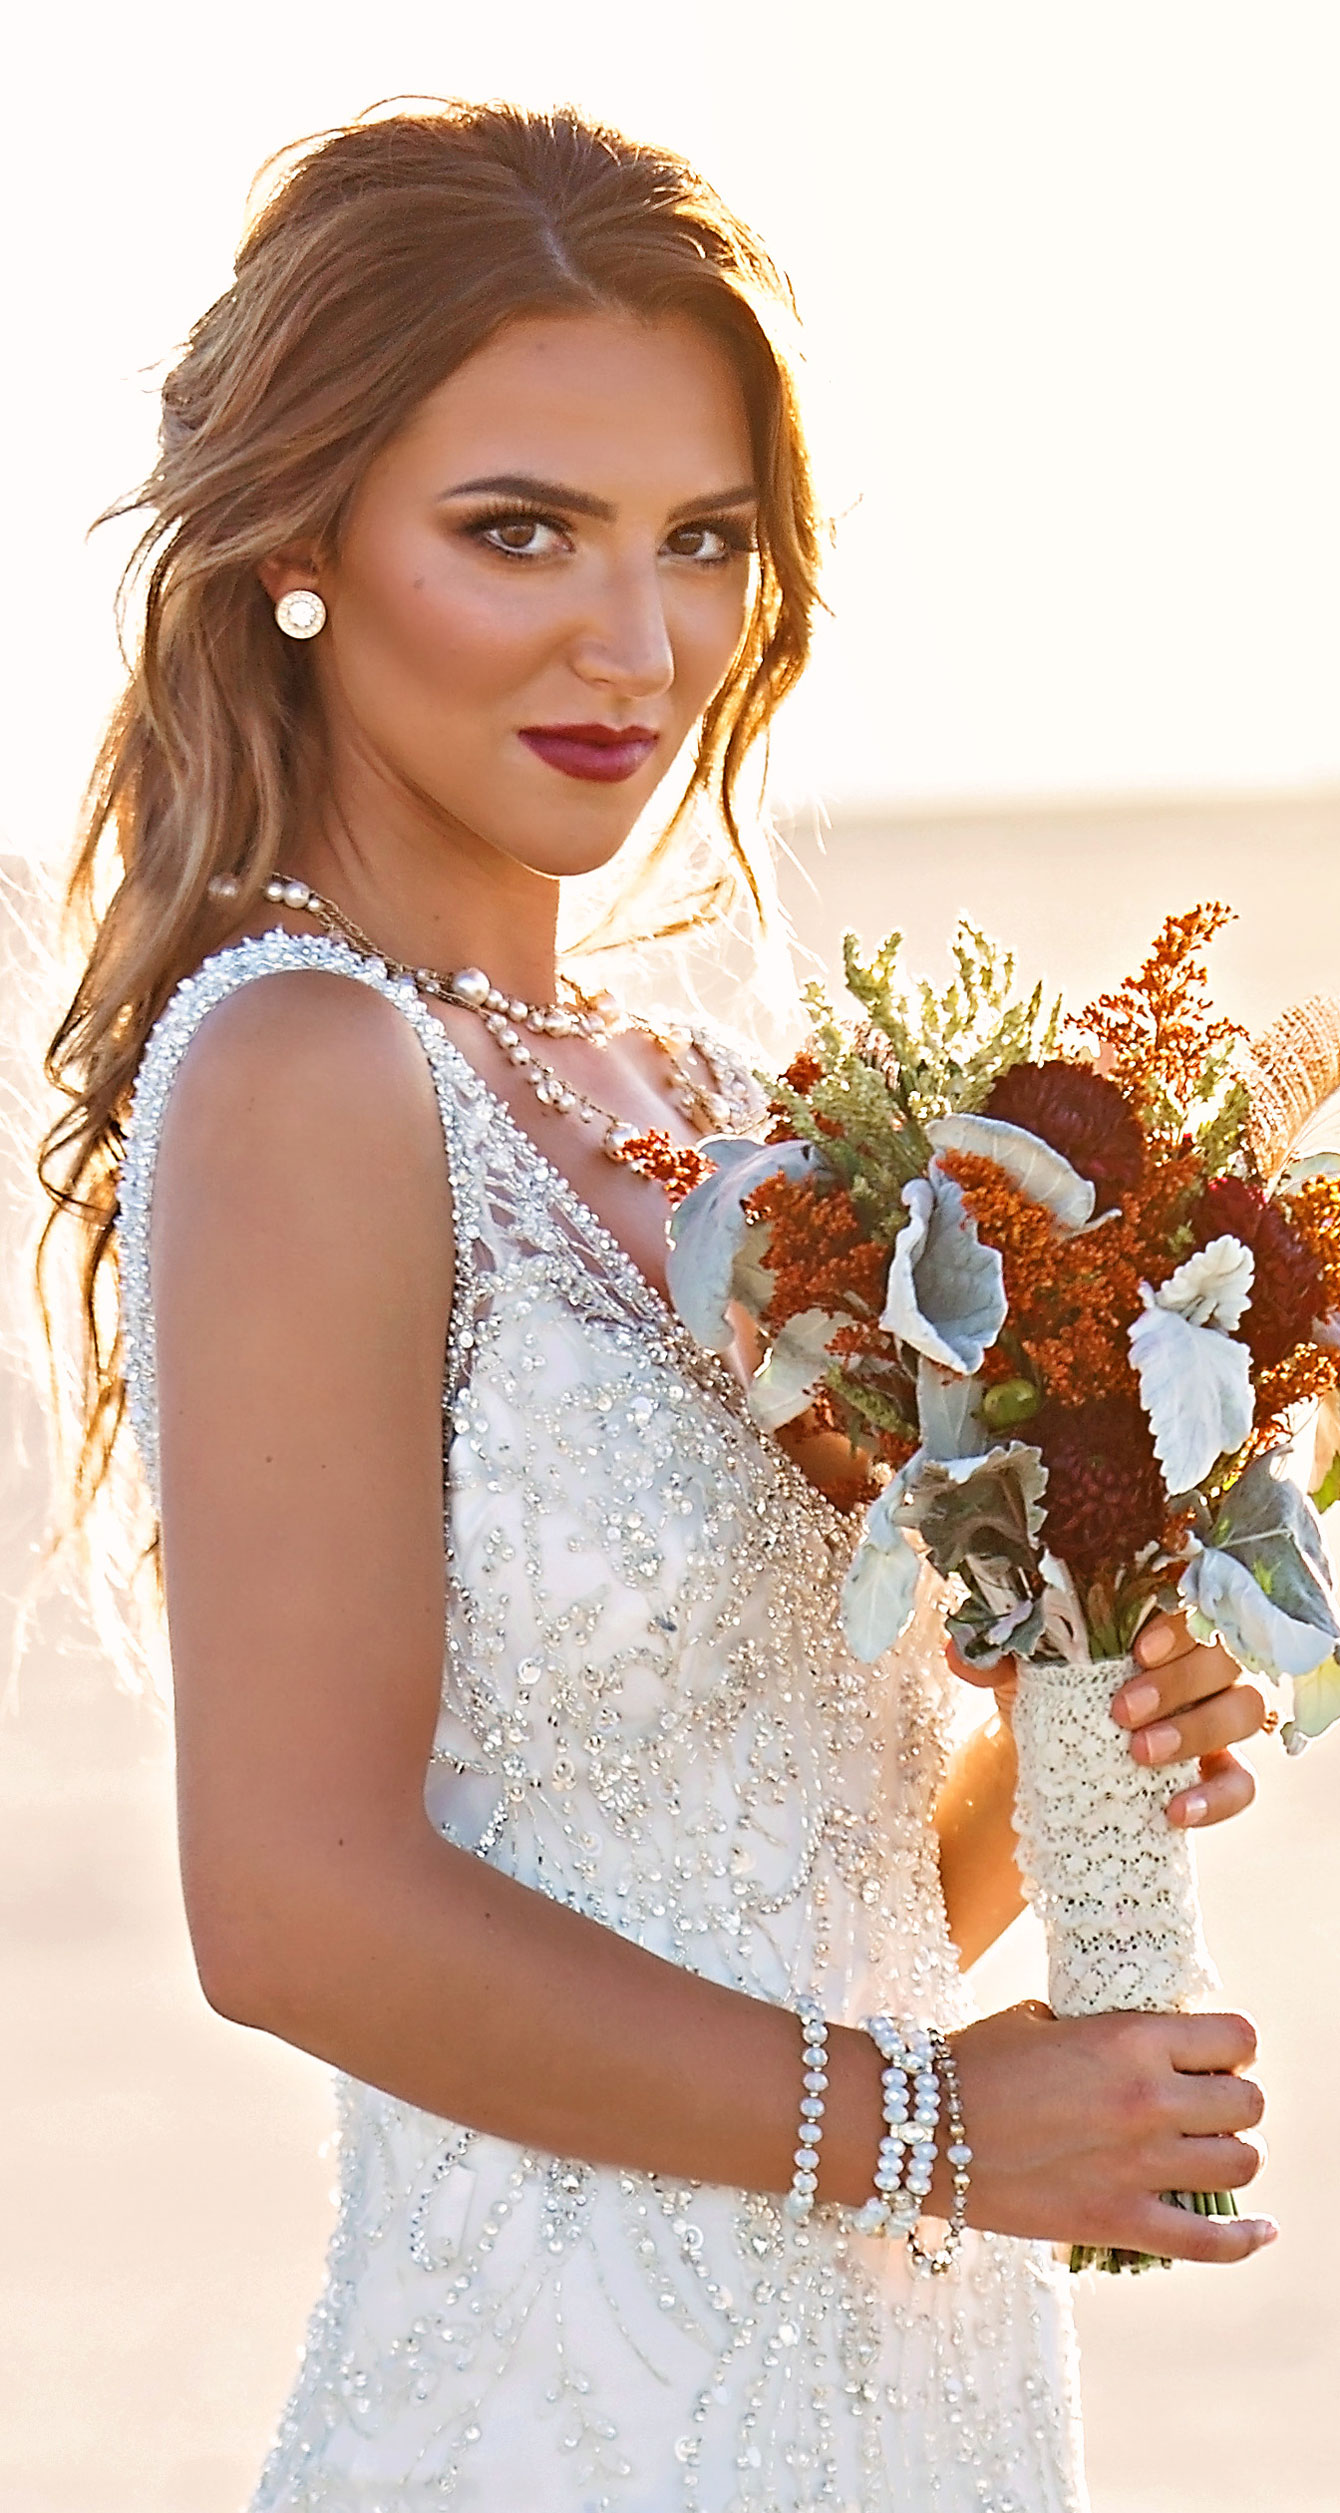
Now this look ↓ is your Va-Va-Voooom extra special makeup look. 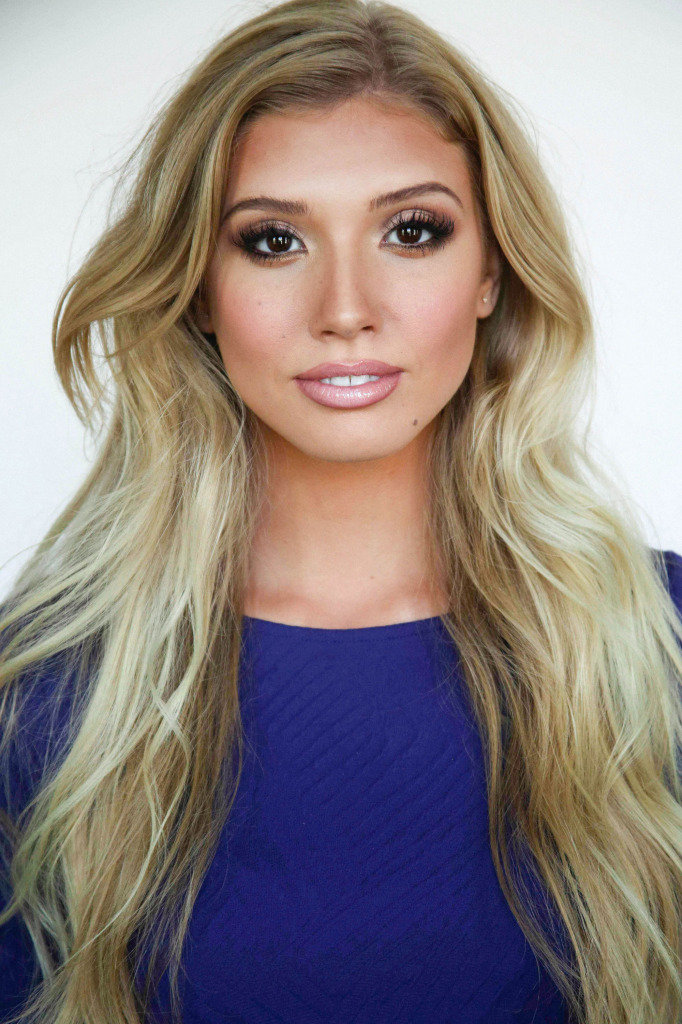 Now everything with this look is the same as the previous look except I added Tarte eyeliner in Onyx to the bottom lash line and I used Temptu S/B Airbrush foundation with Bobbi Brown Skin Foundation Stick underneath to highlight and conceal first. I would say this airbrush system (you have to have a compressor, airbrush, and the individual foundation colors) is for the makeup obsessed or for the professional with a lot of clients requesting airbrush makeup. I do love it, but it is an investment.
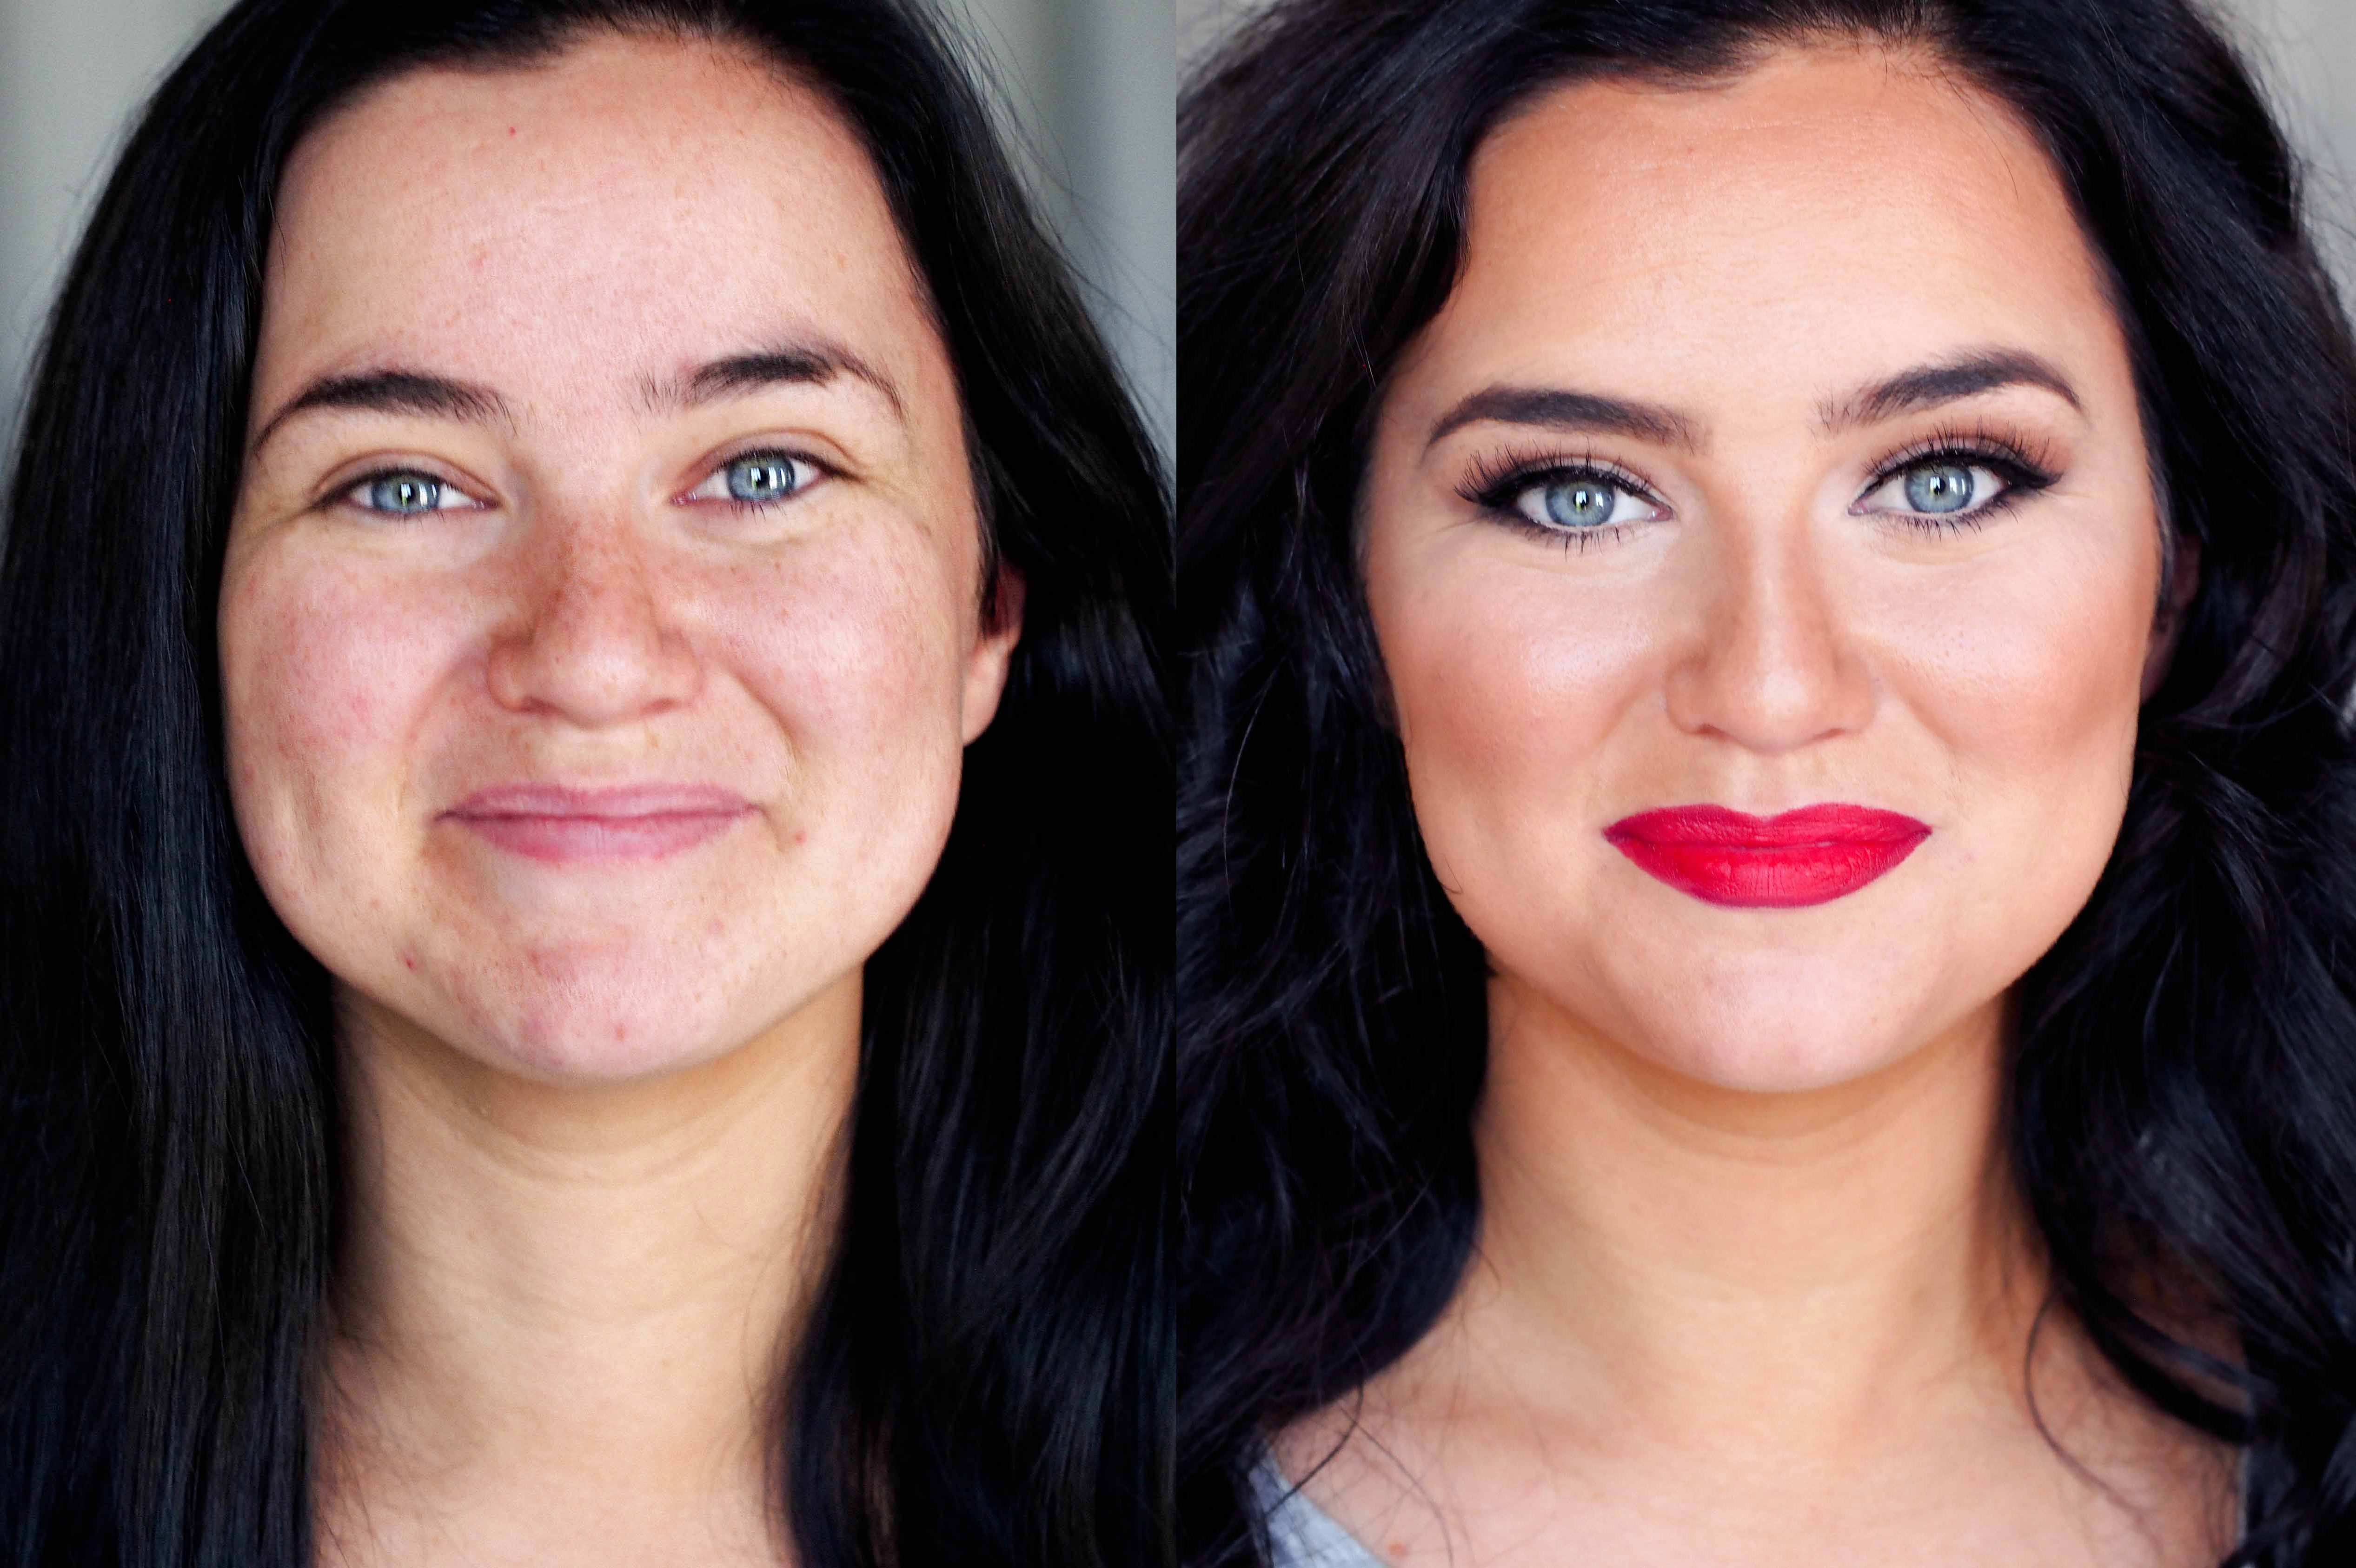
Here is a side by side comparison. Holy moly it’s hard to keep the lighting consistent, but I sure tried! In conclusion, I think they all look good and you can pick which method works best for you!
I hope this is useful!
Photos by Jordan Carli Photography


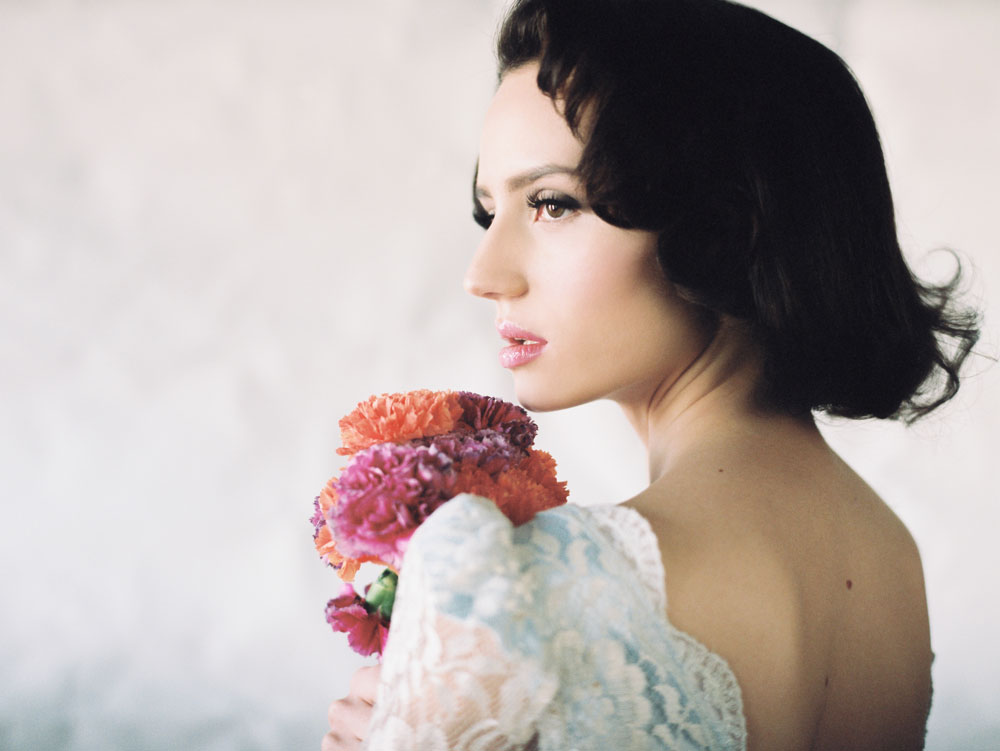
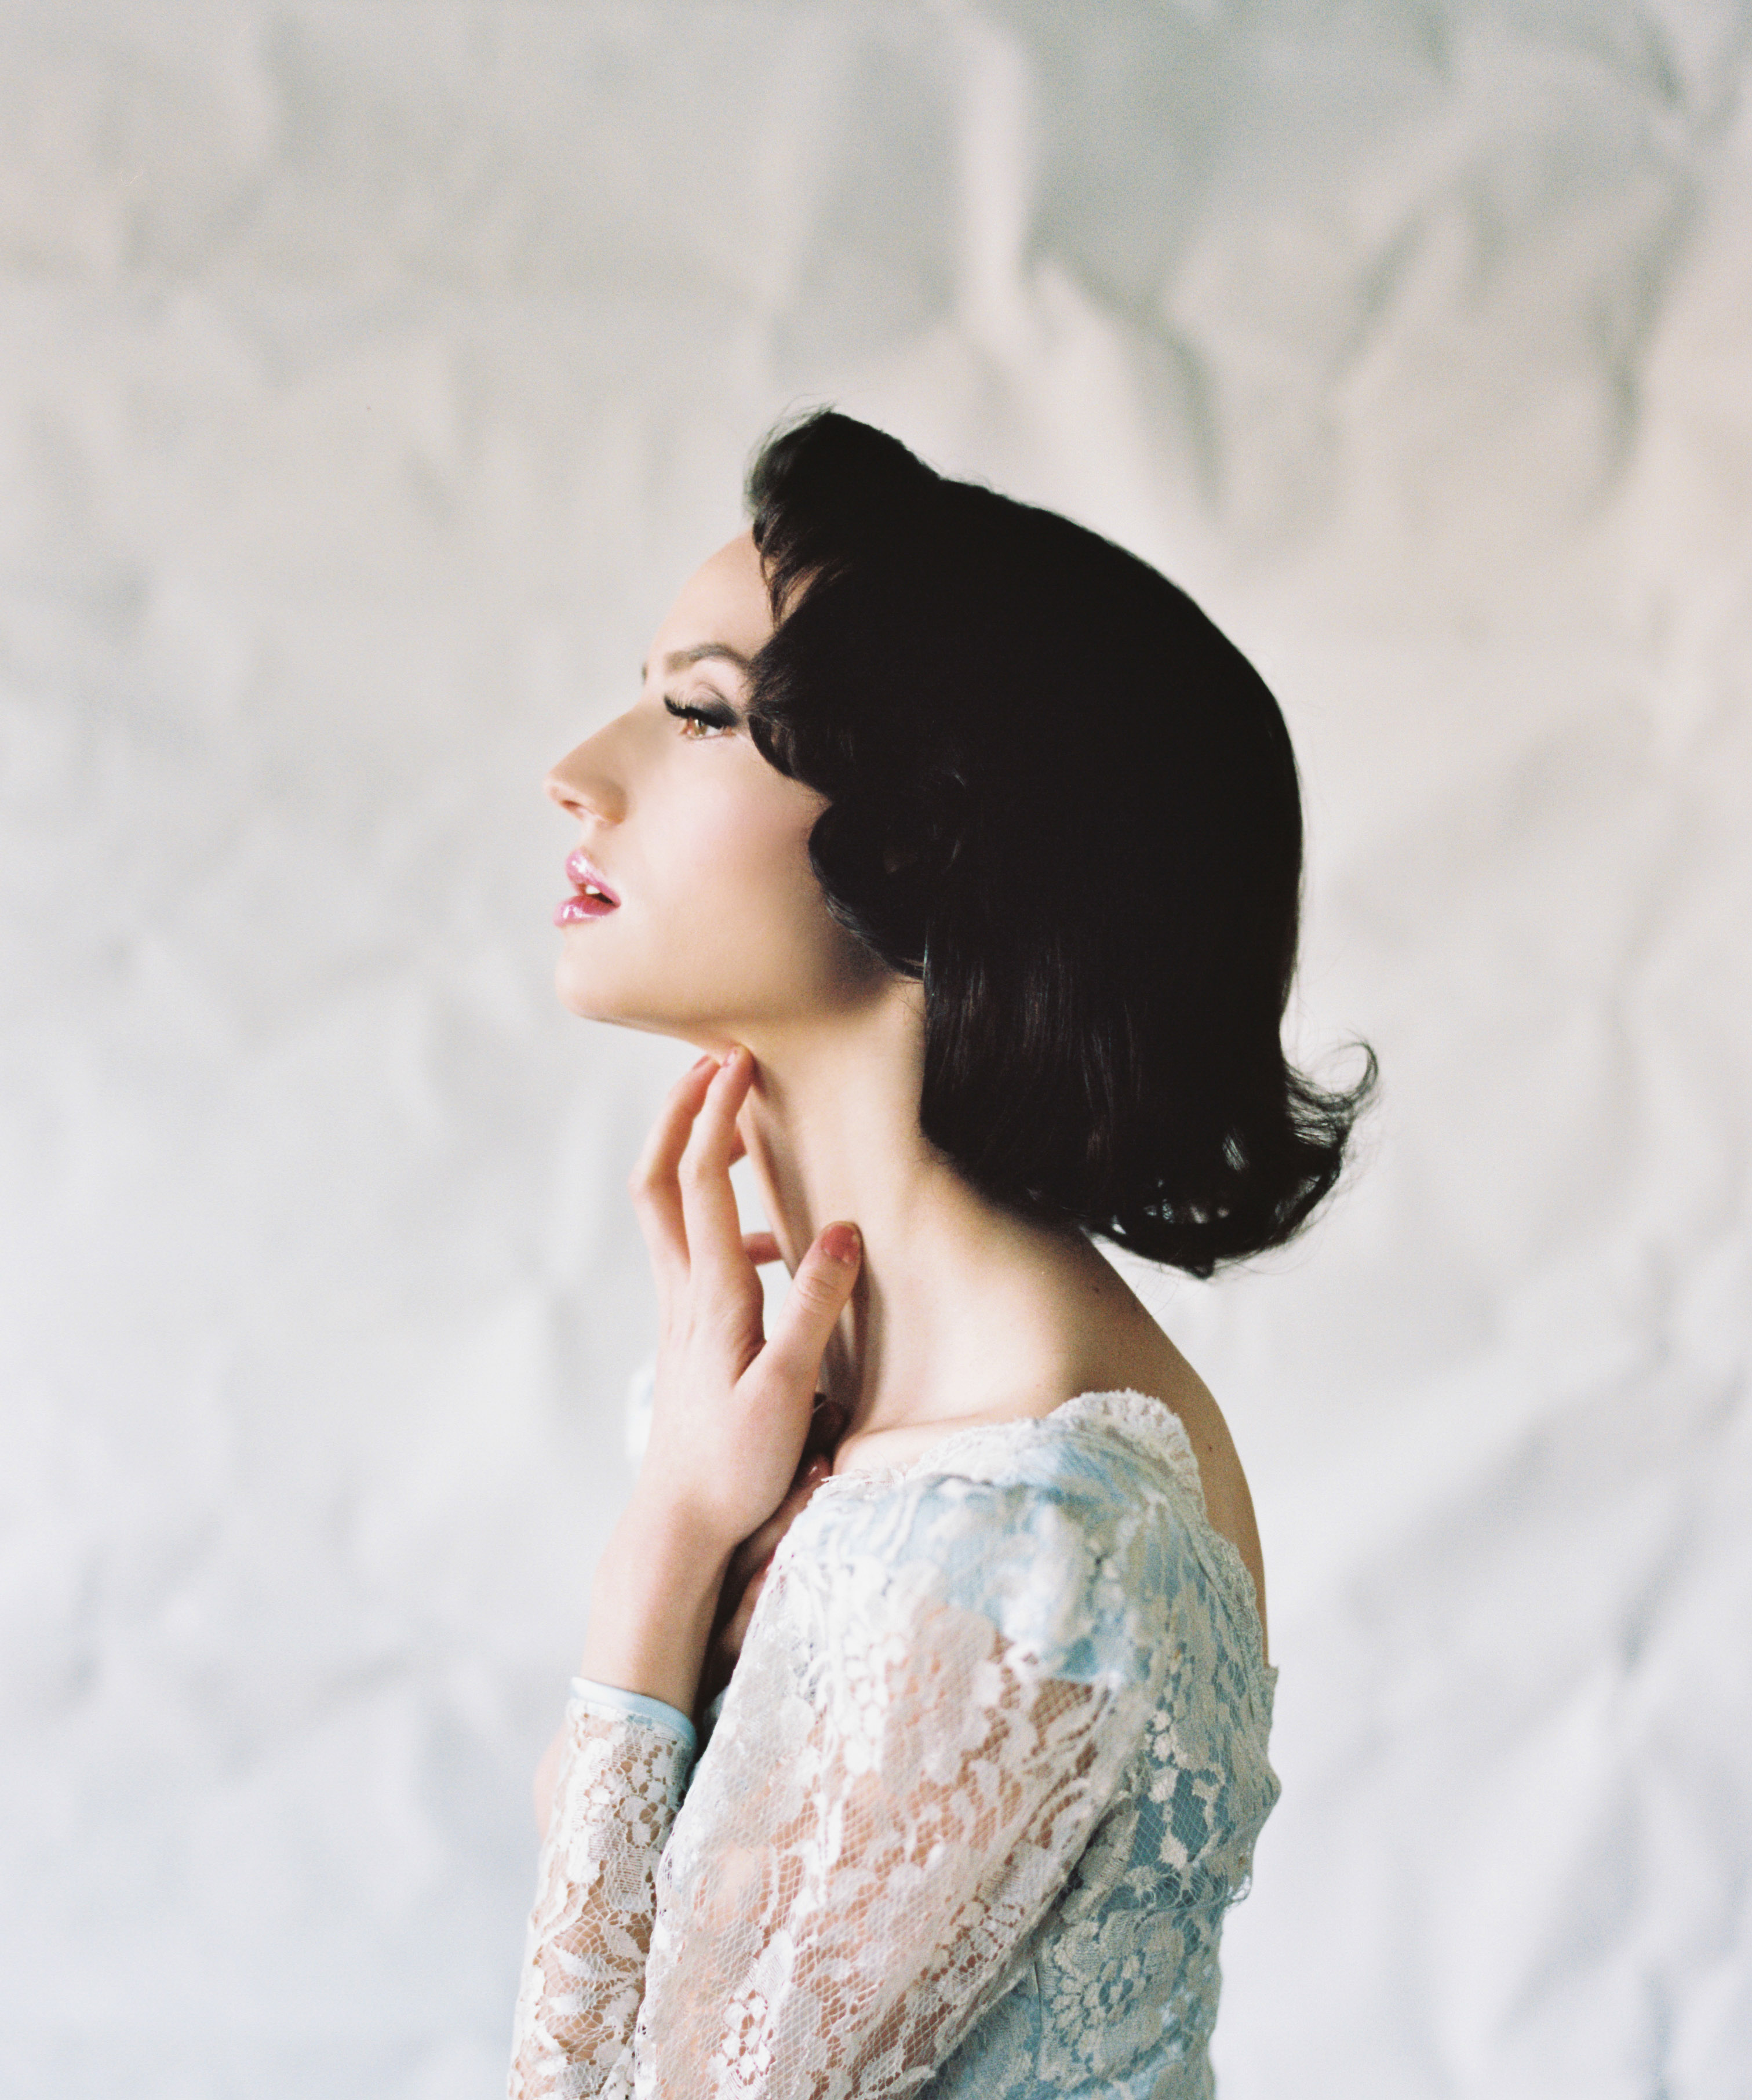
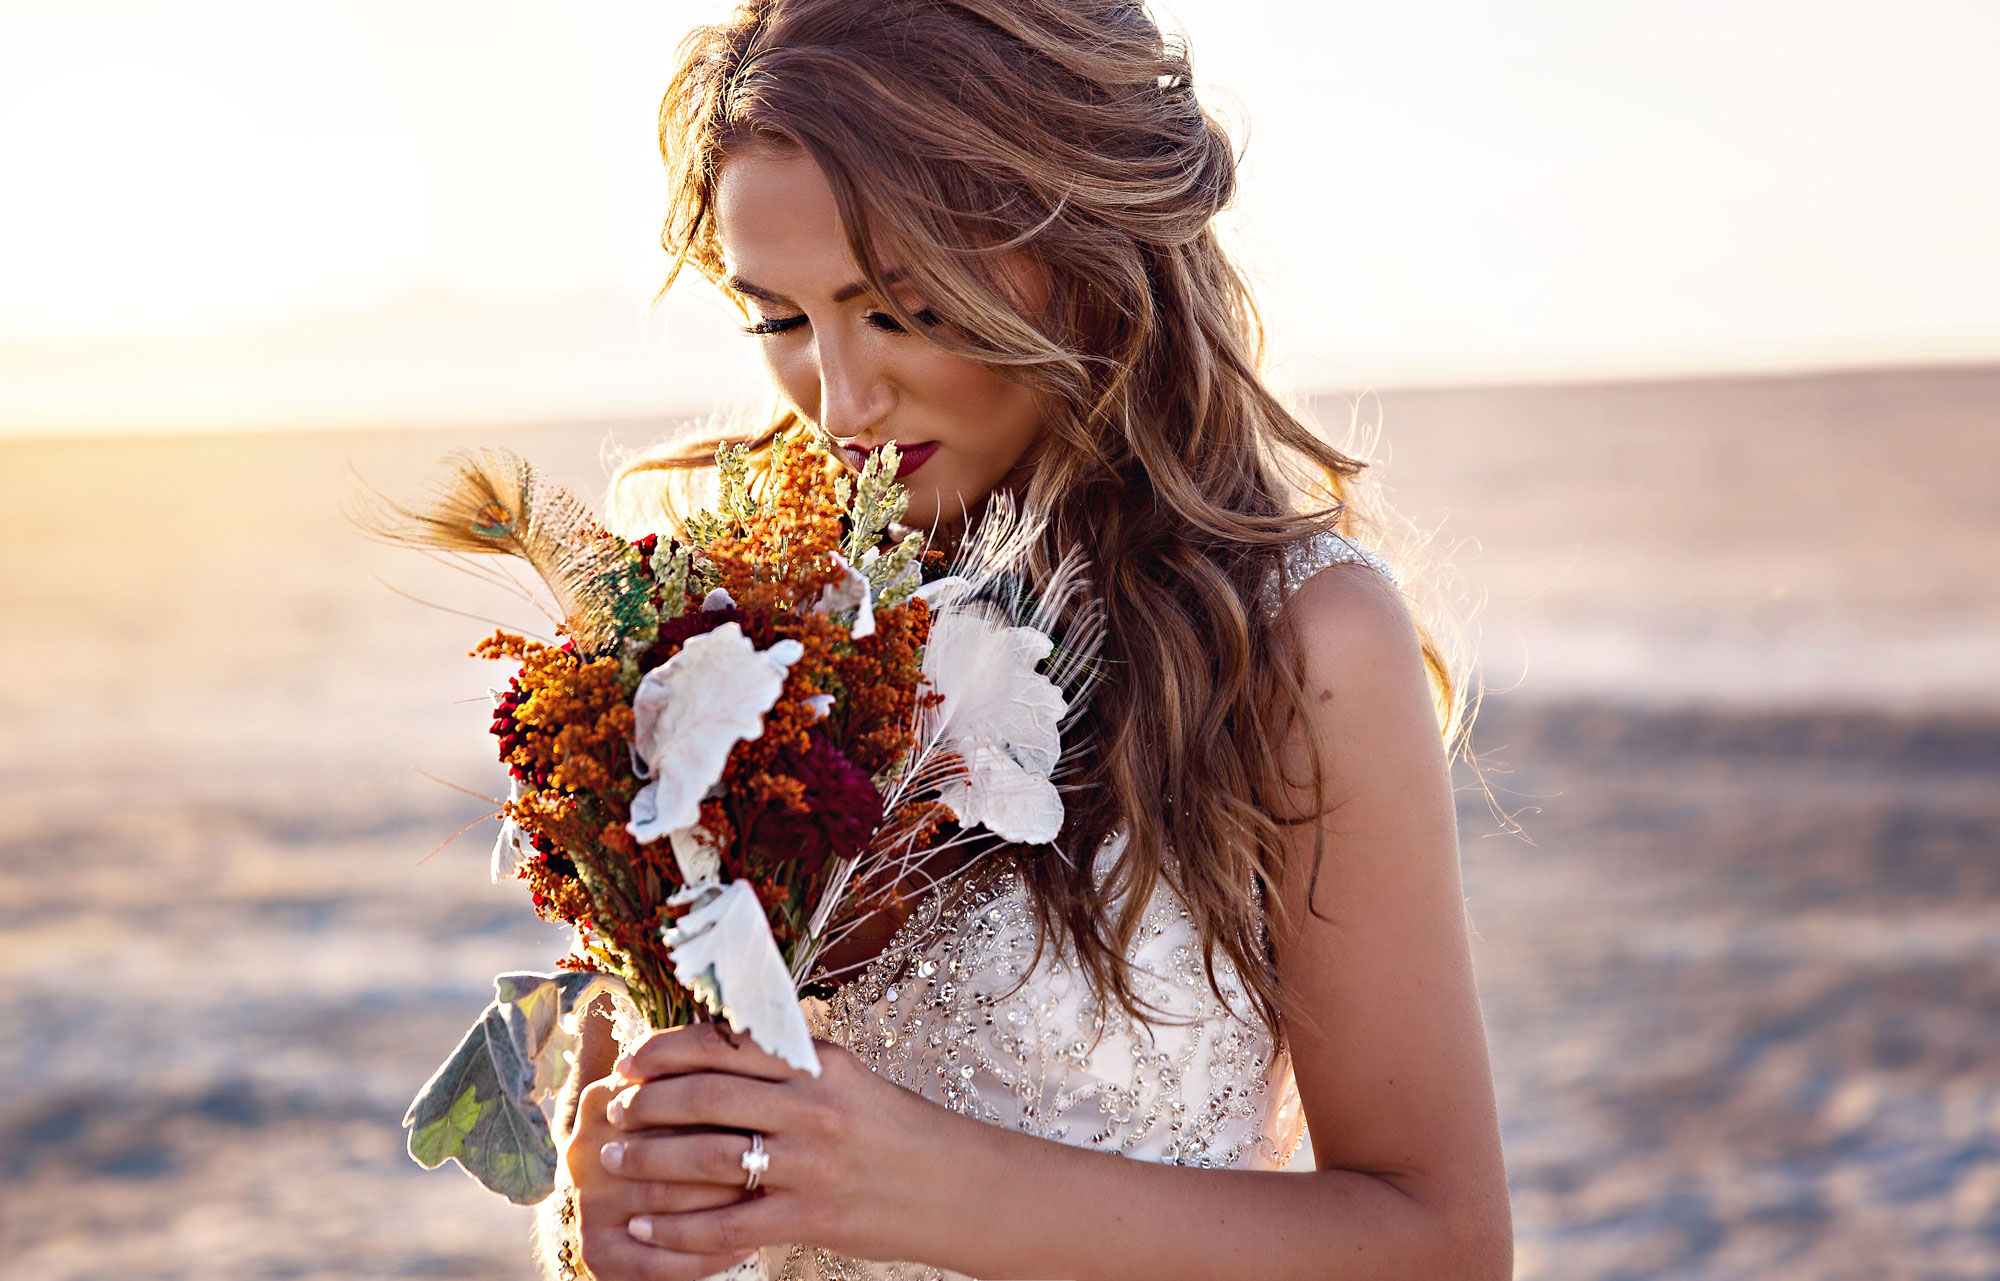
 Sometimes I can’t decide how I want my hair in photos. So I style it and then take it out in the middle of the shoot so I can wear it down too.
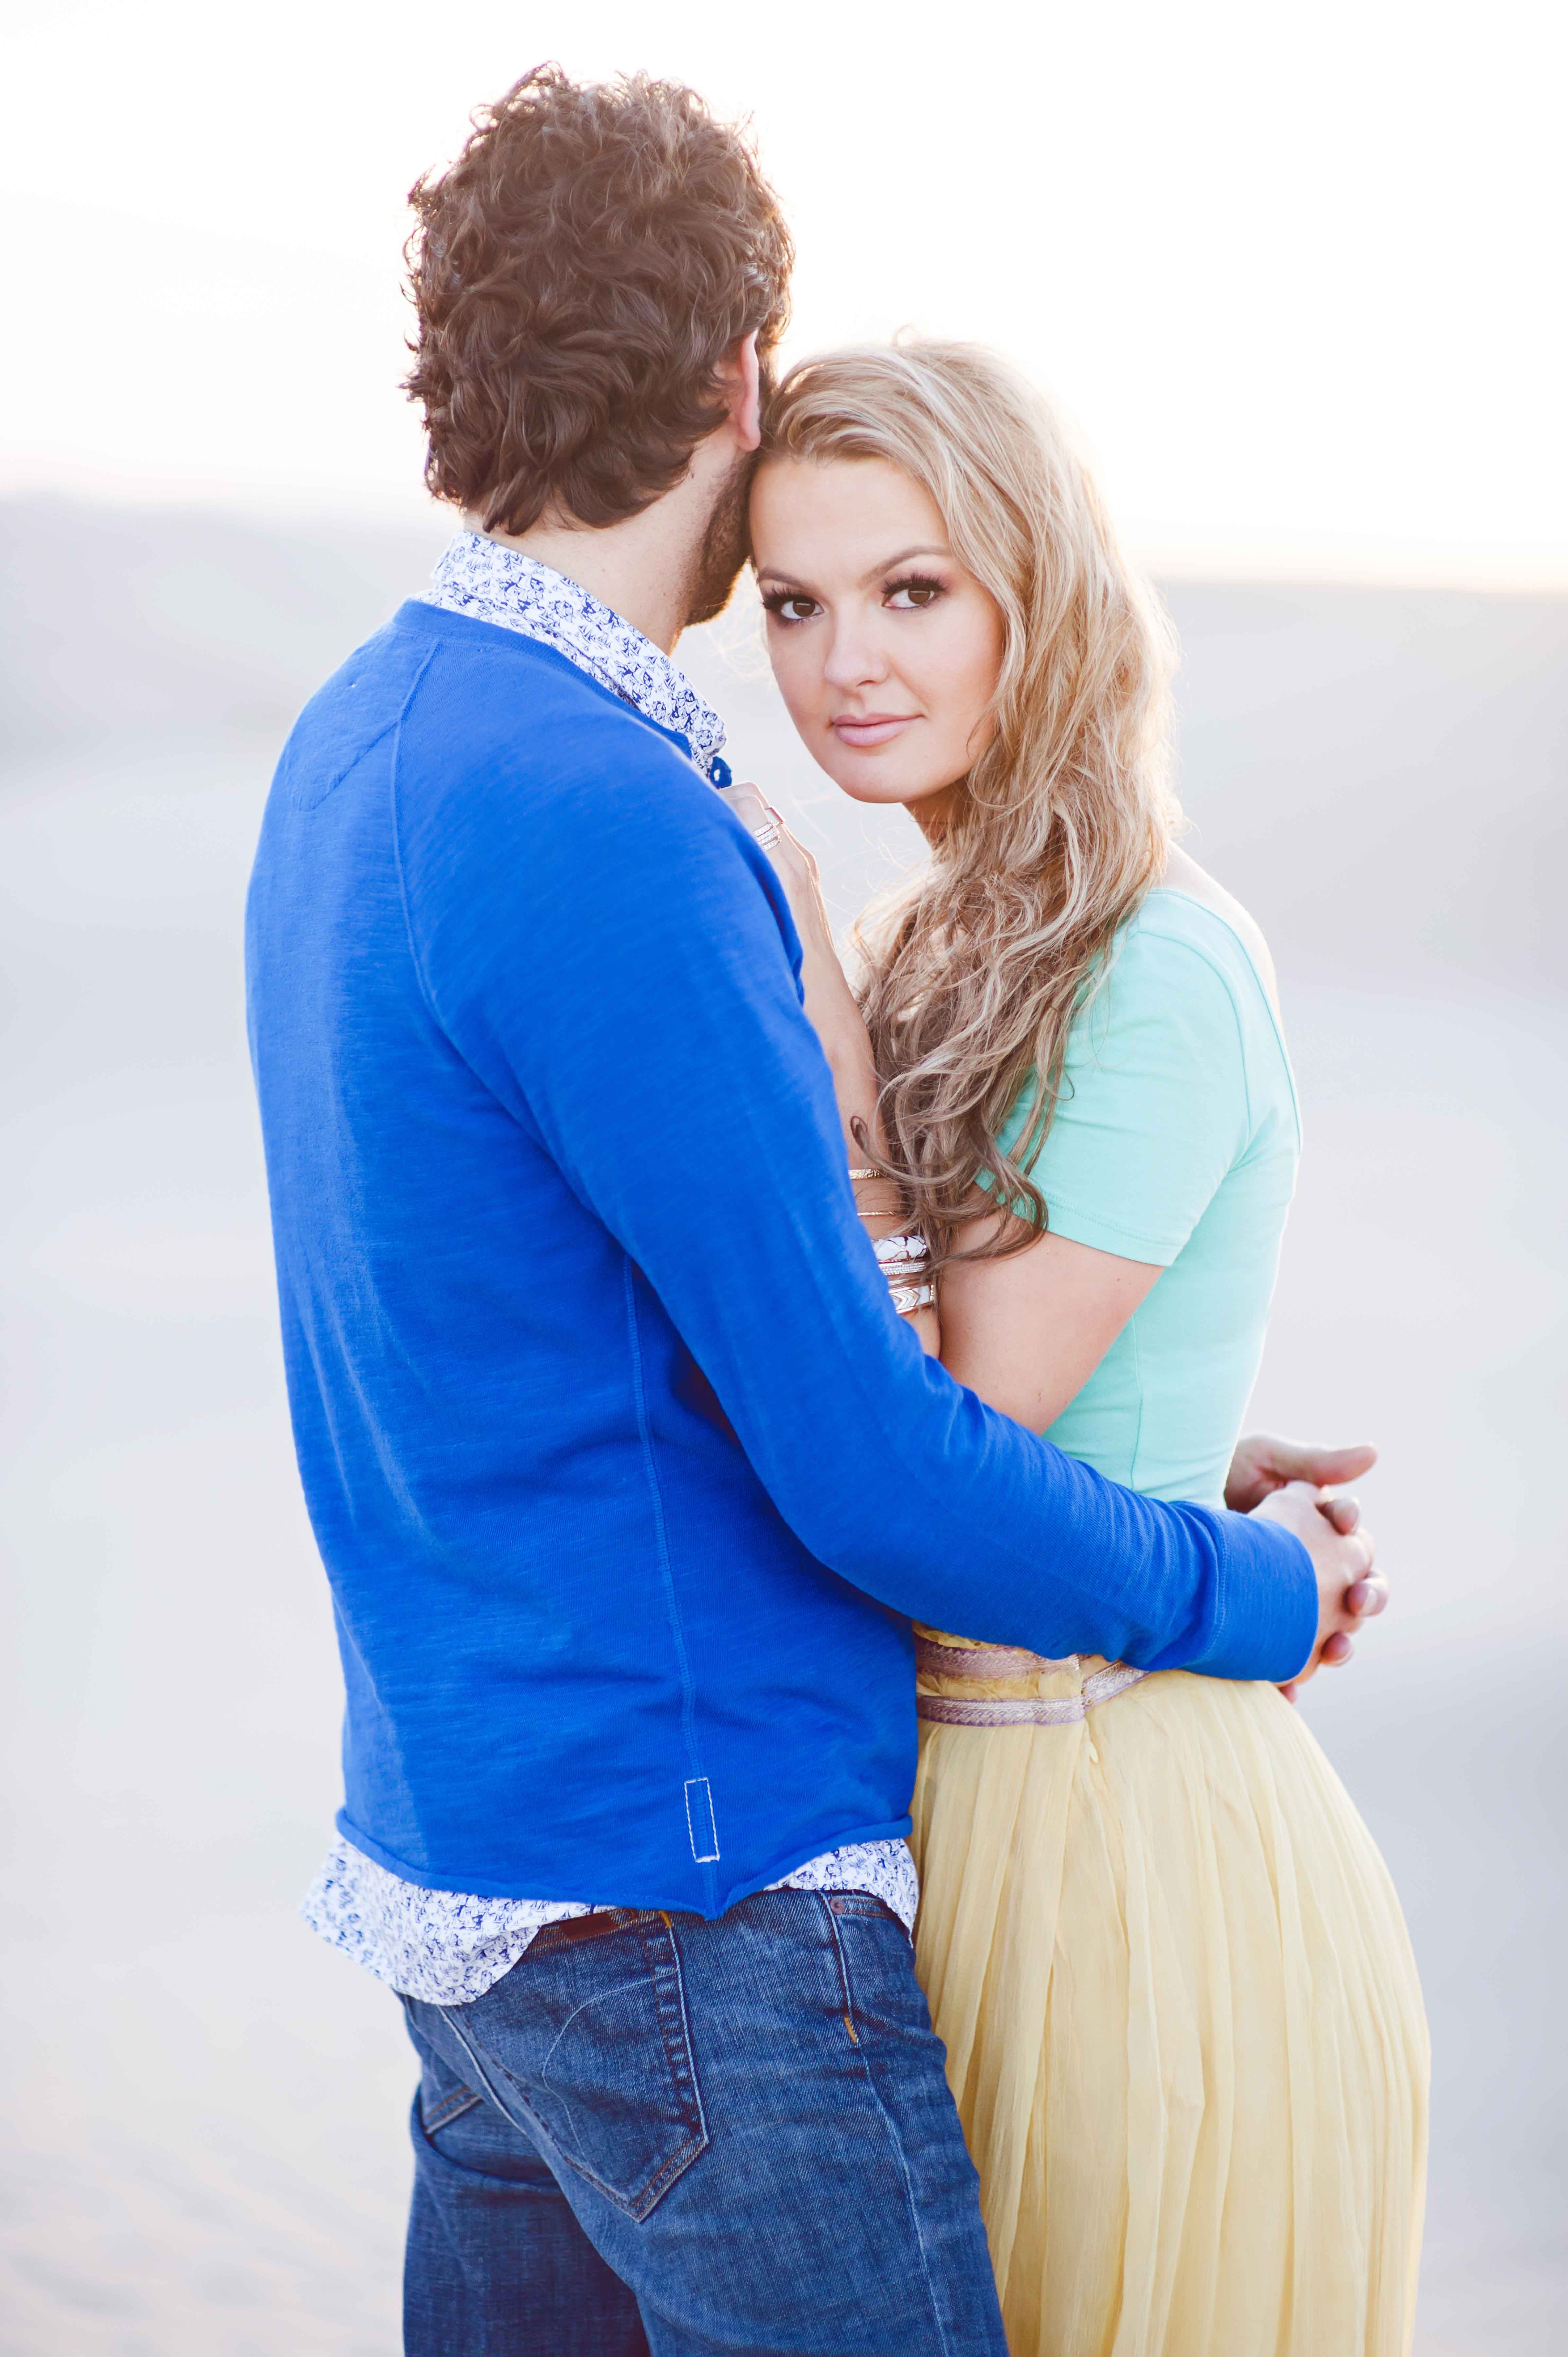
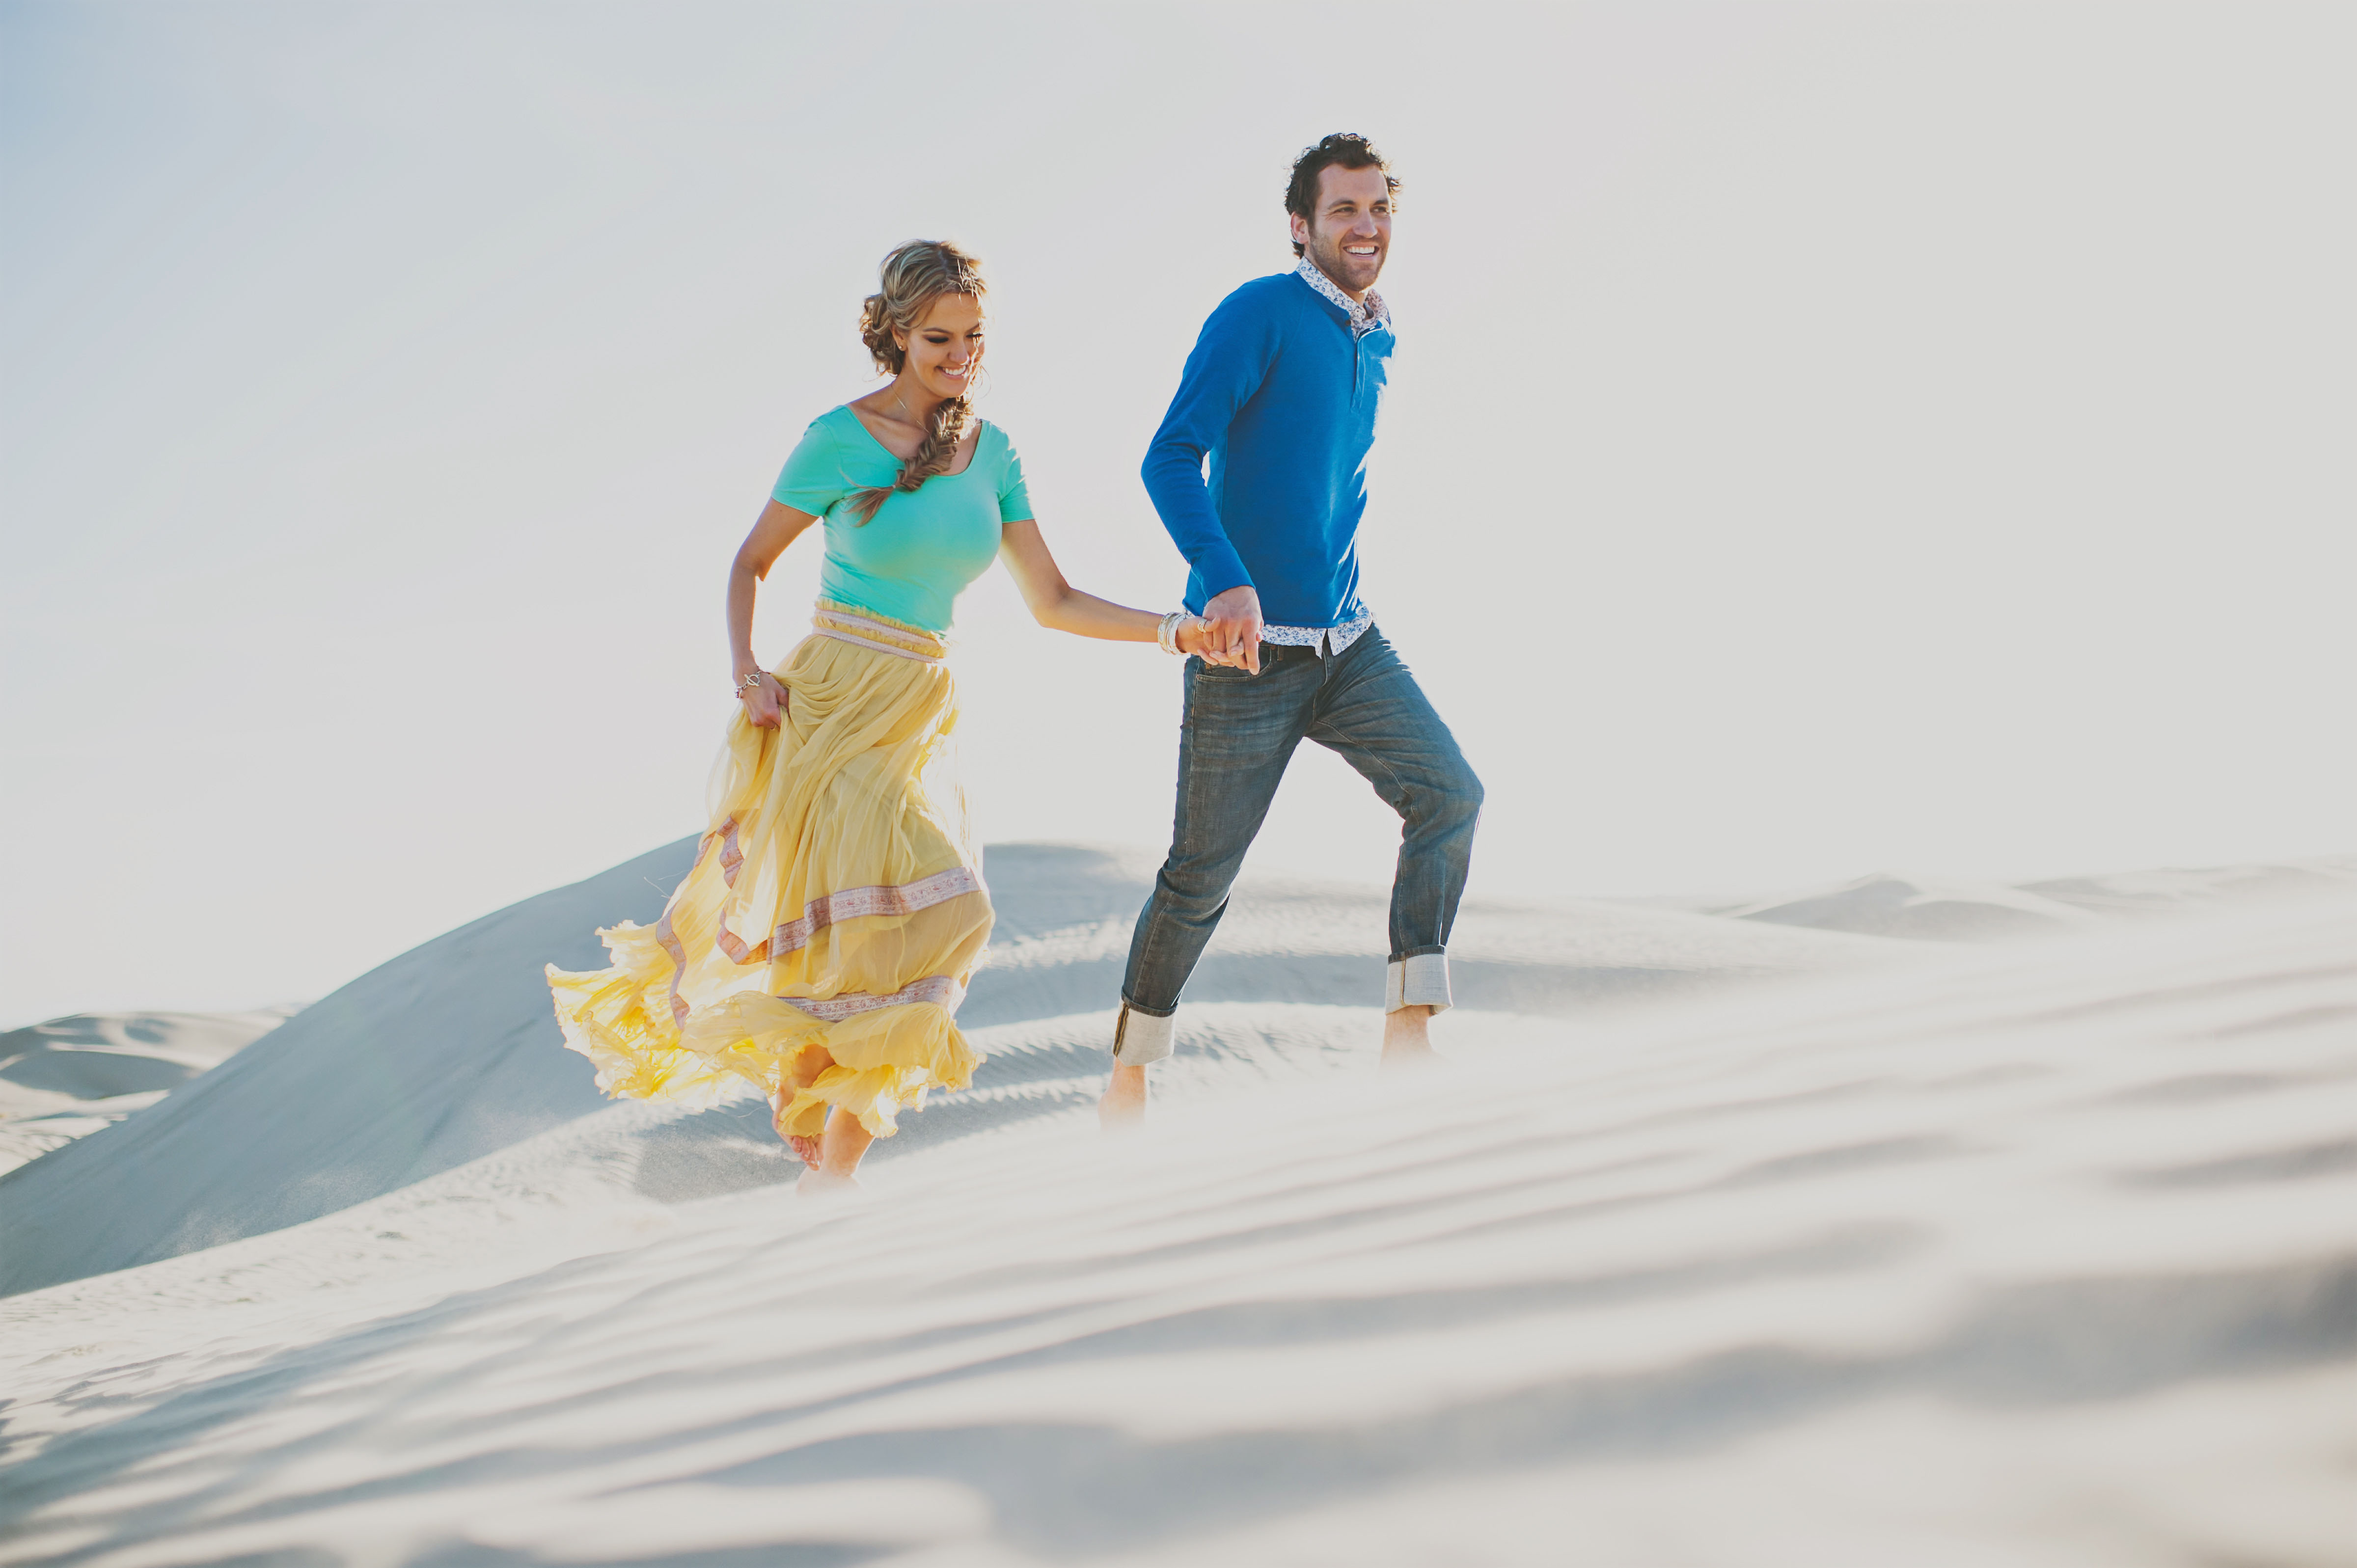
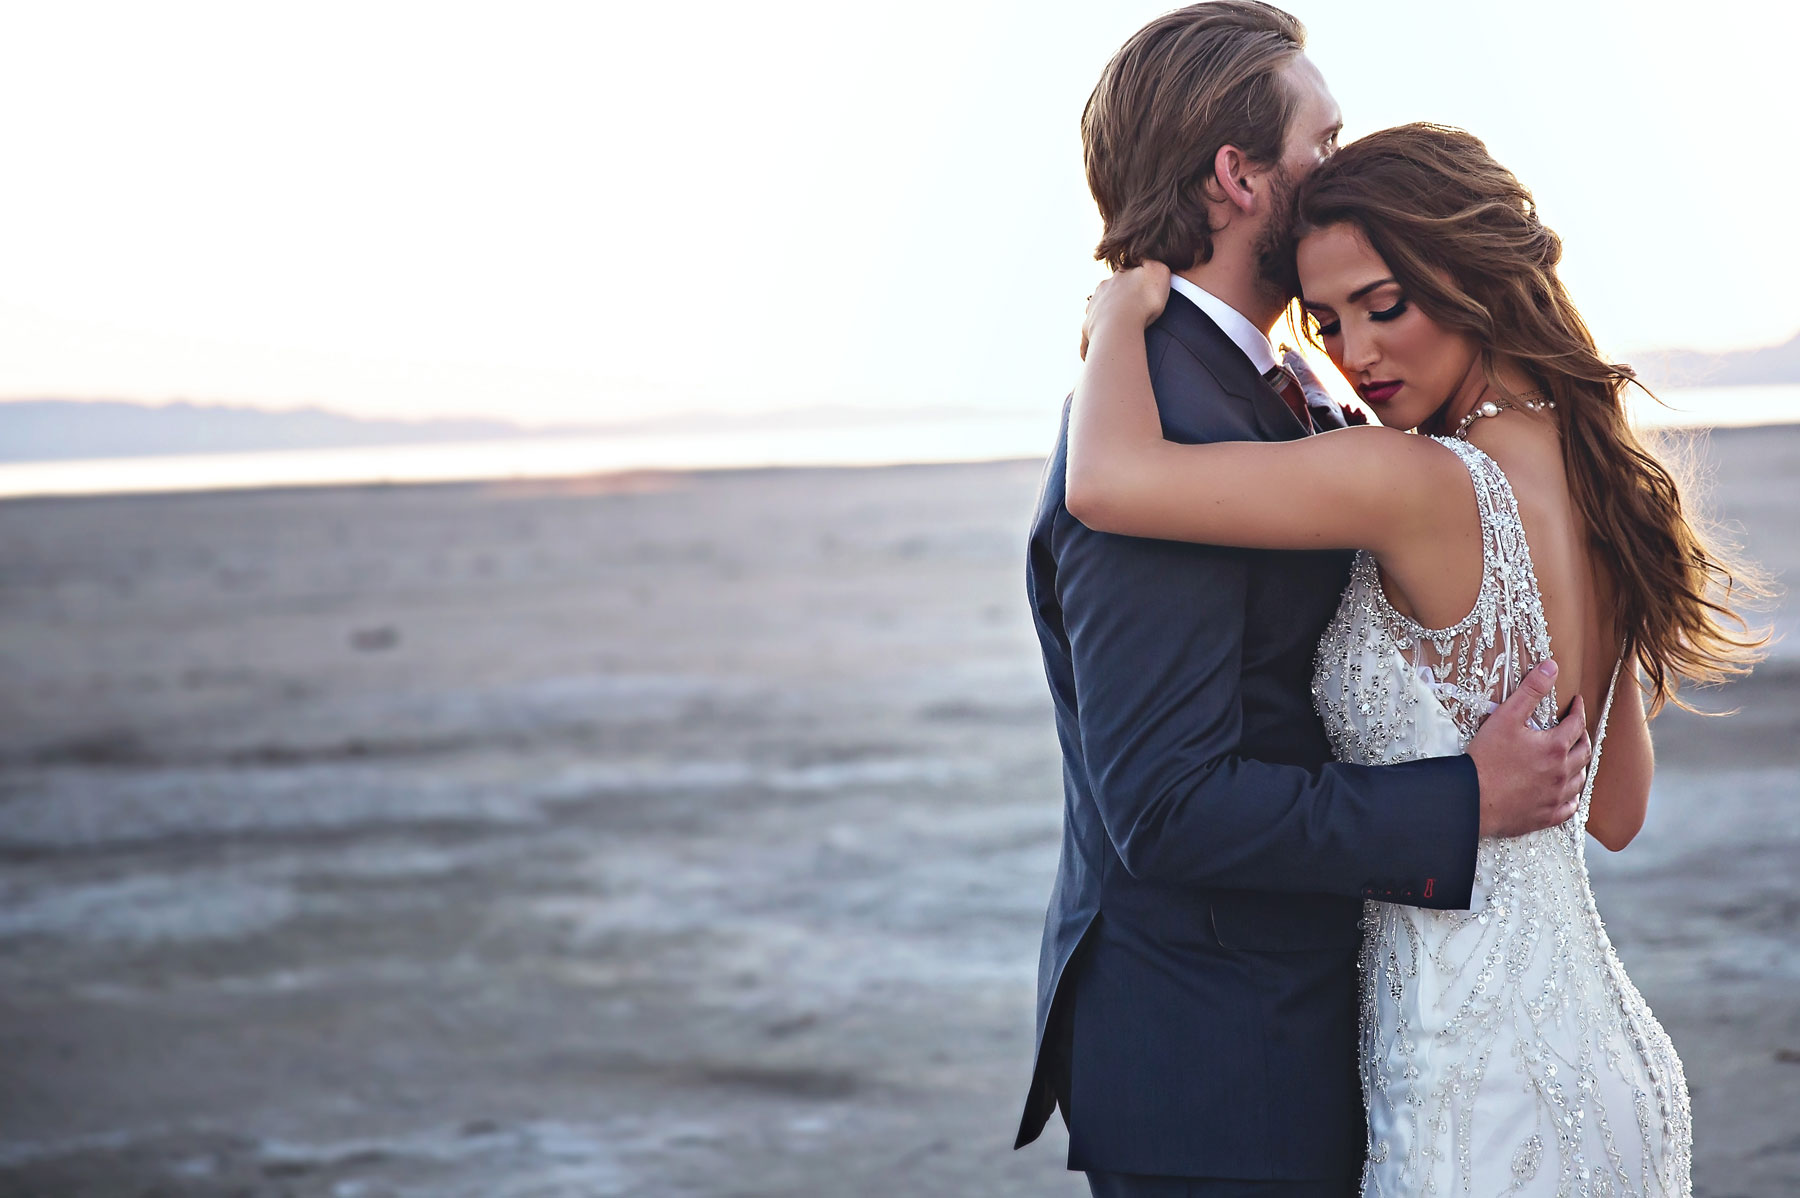
 We have oh so much fun together….


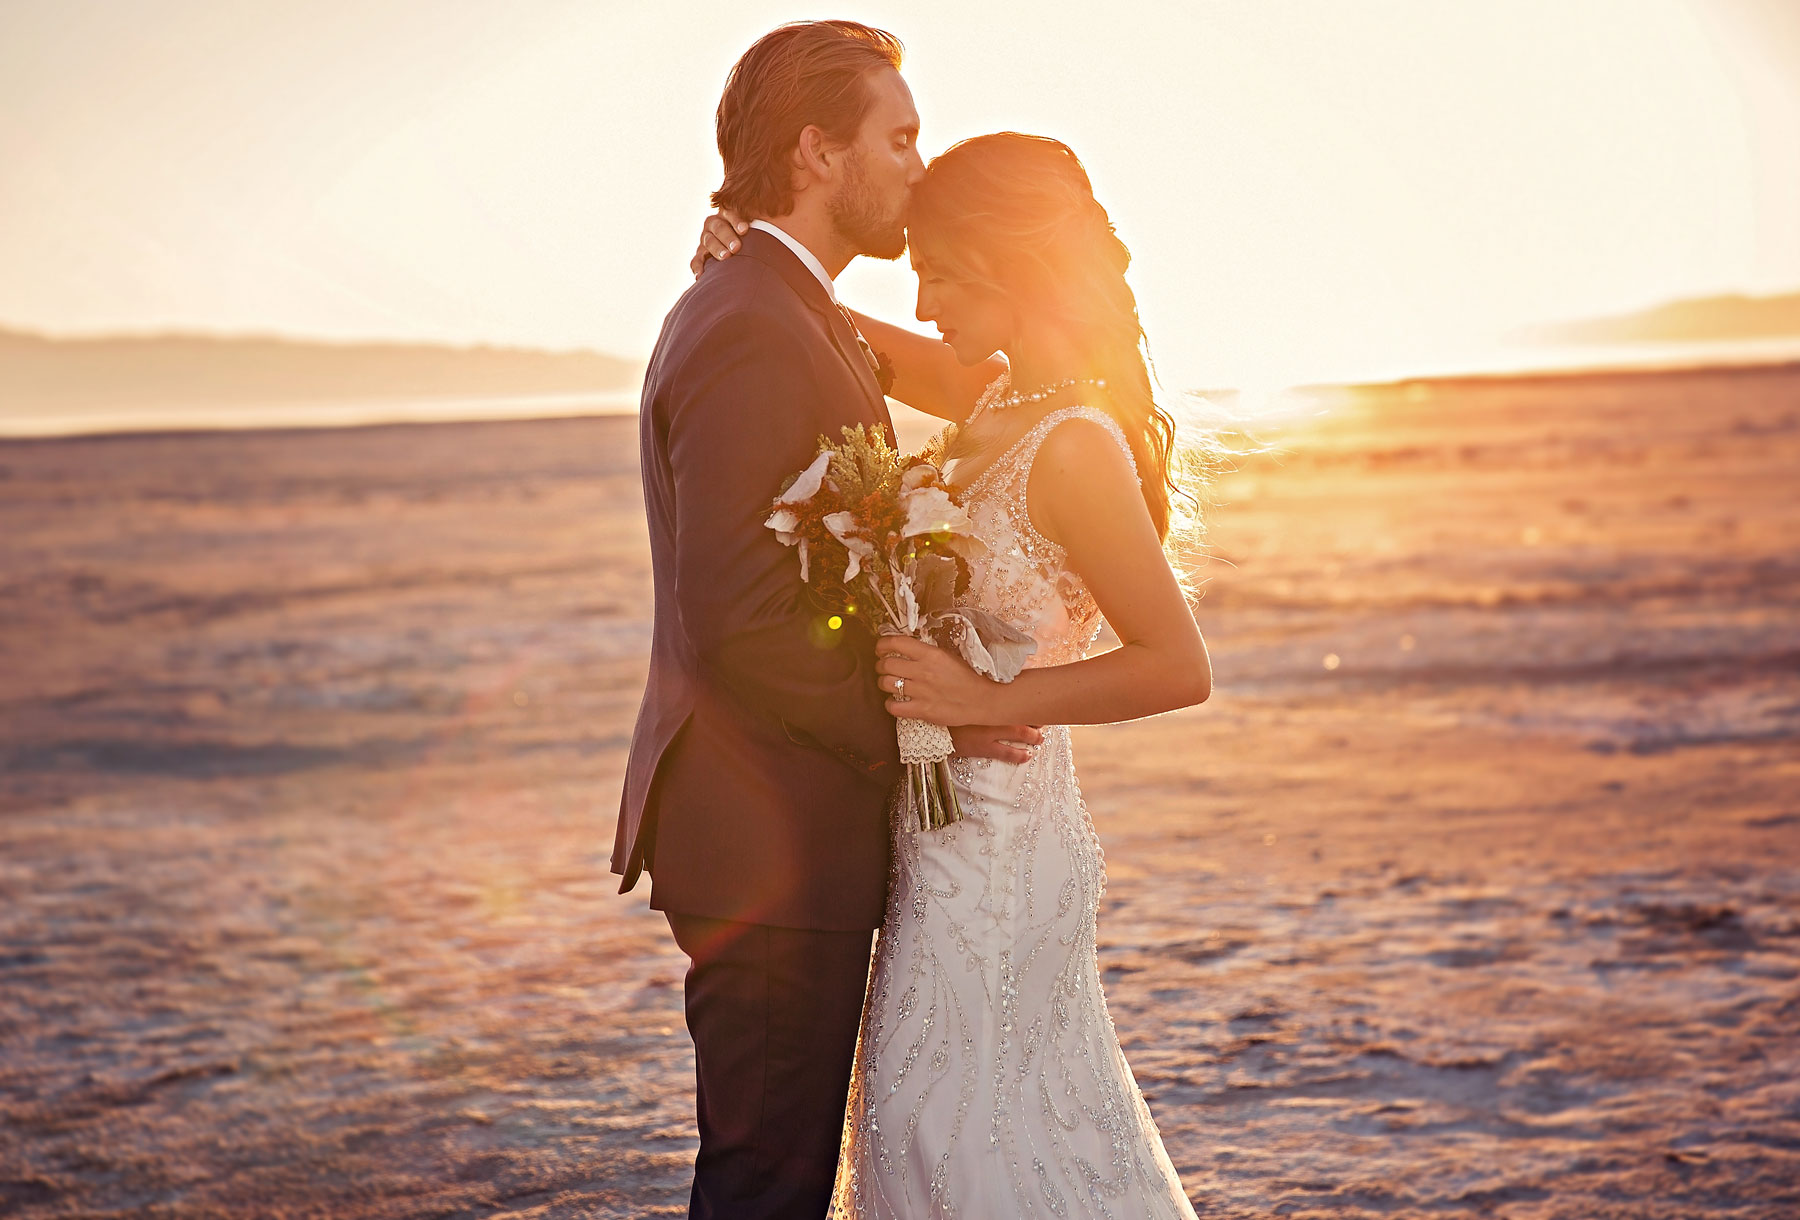
 We really did have so much fun, thanks to Angie! Simplicity Photography
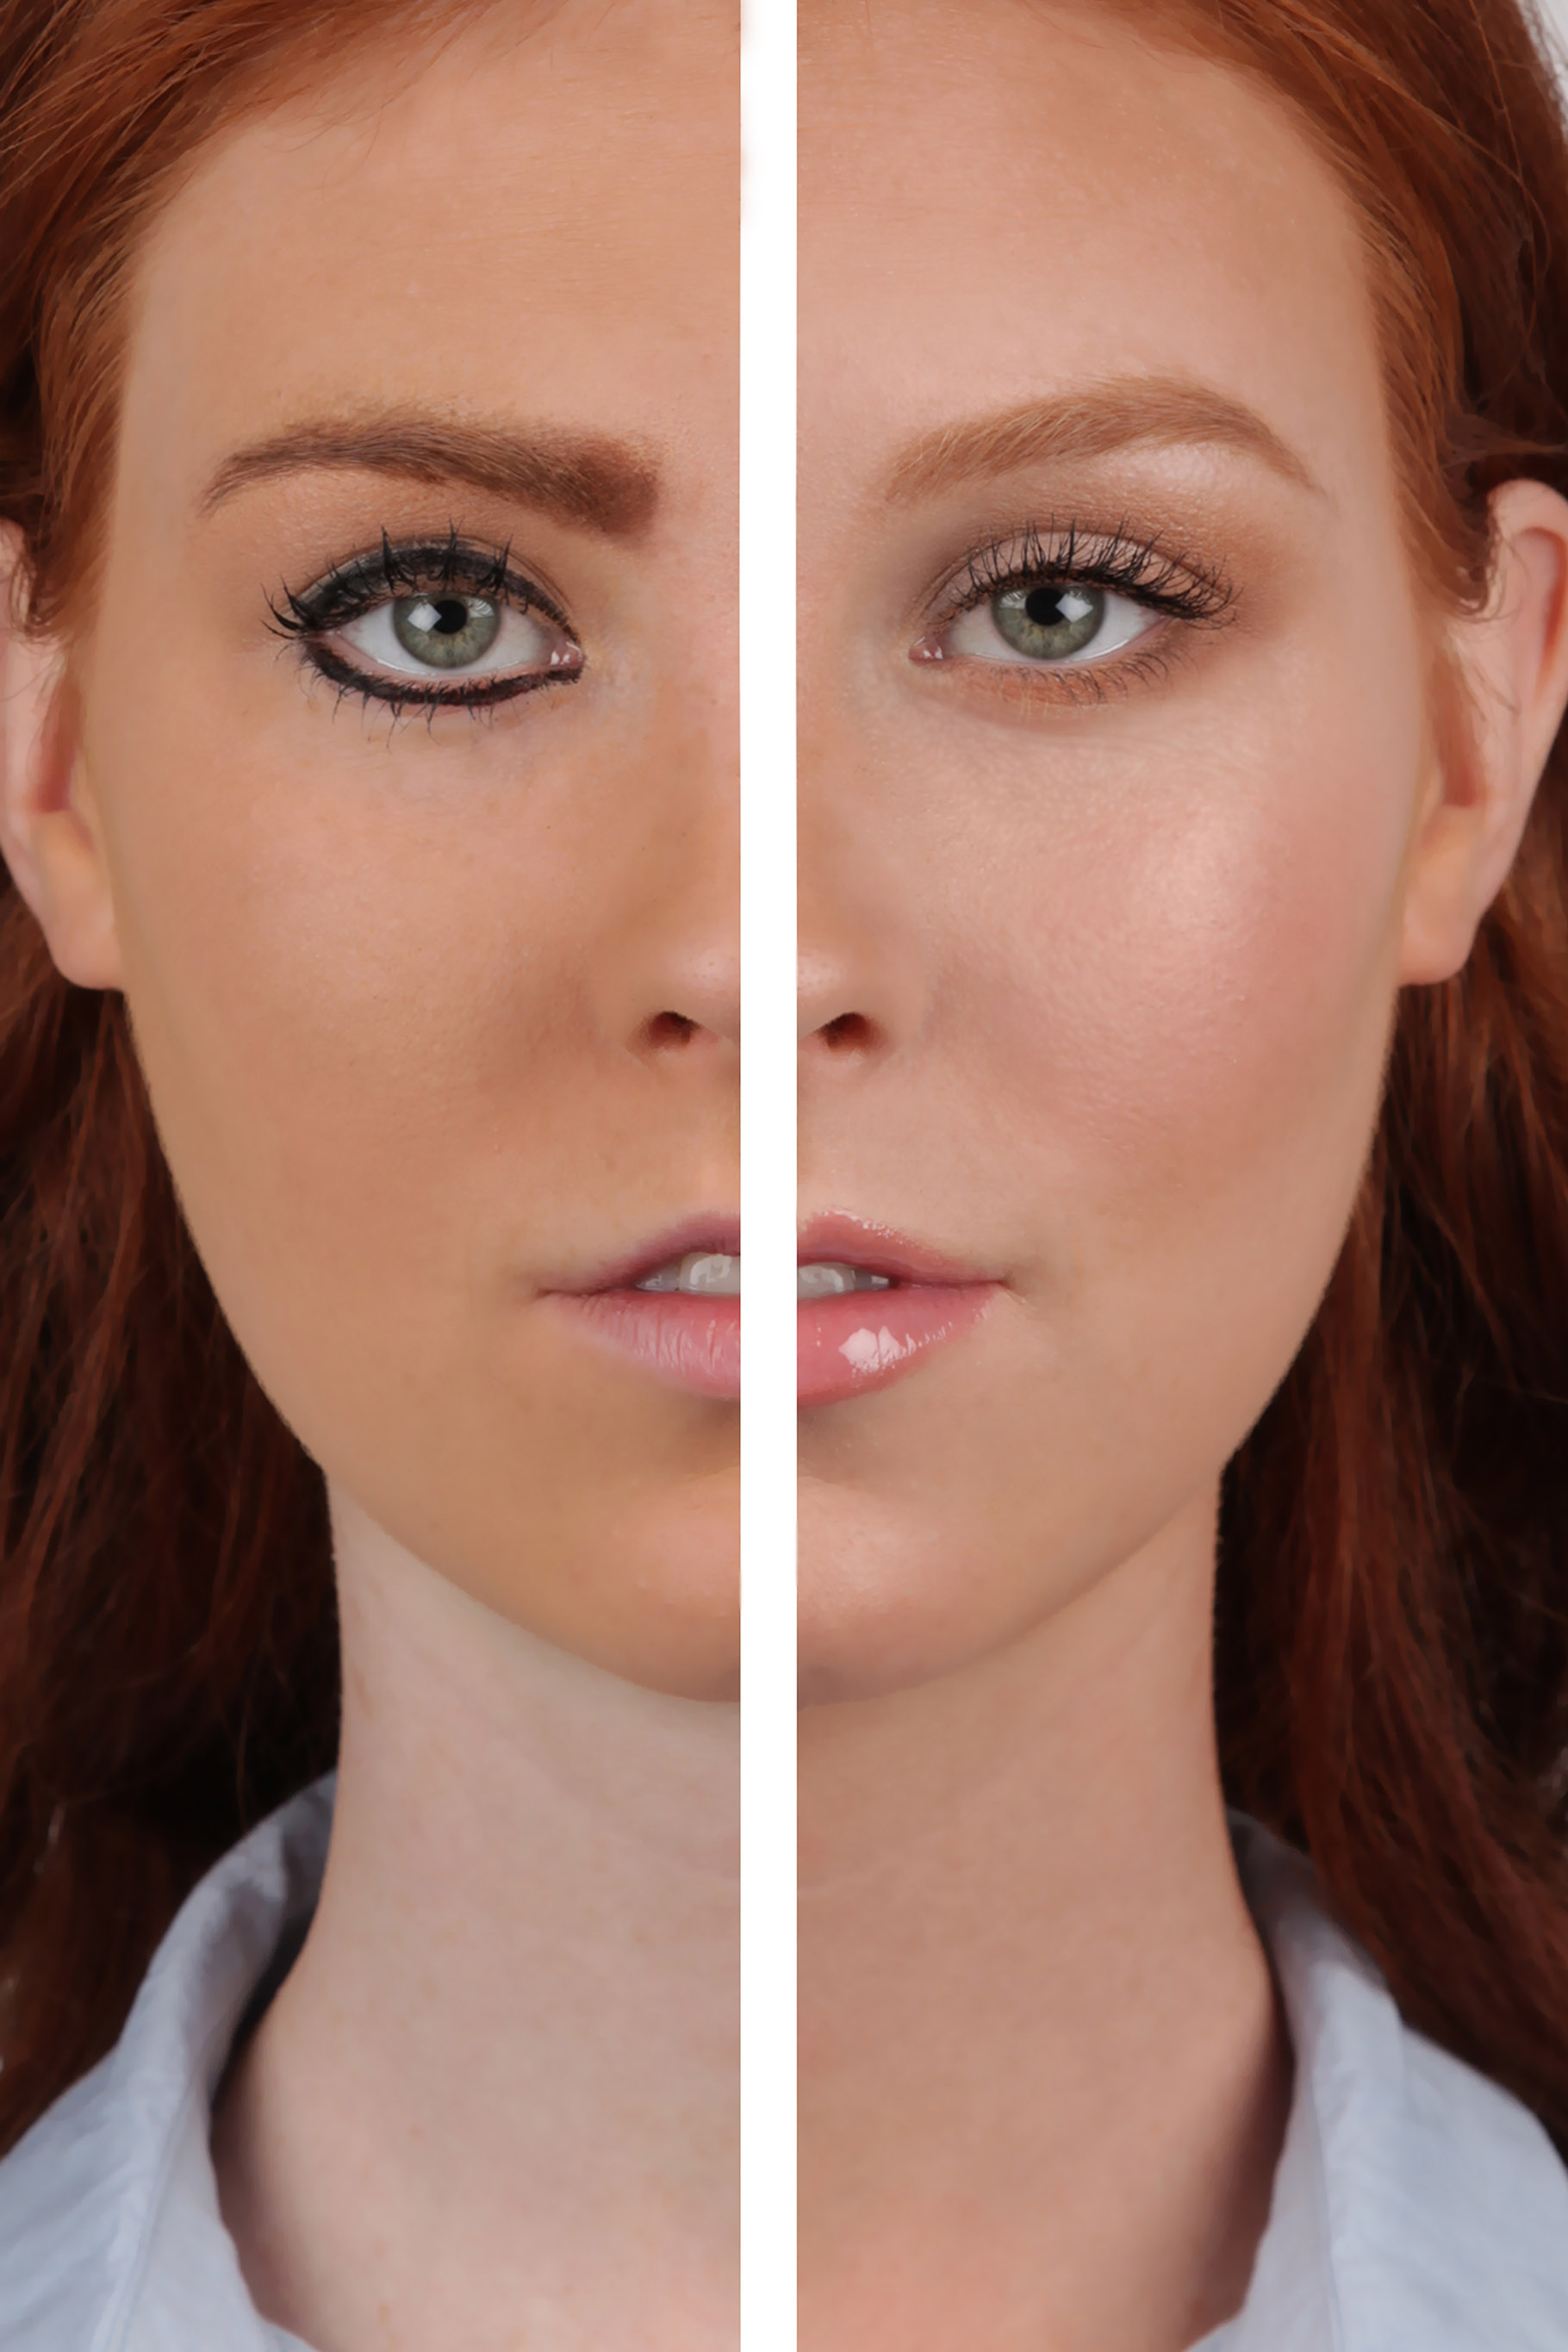


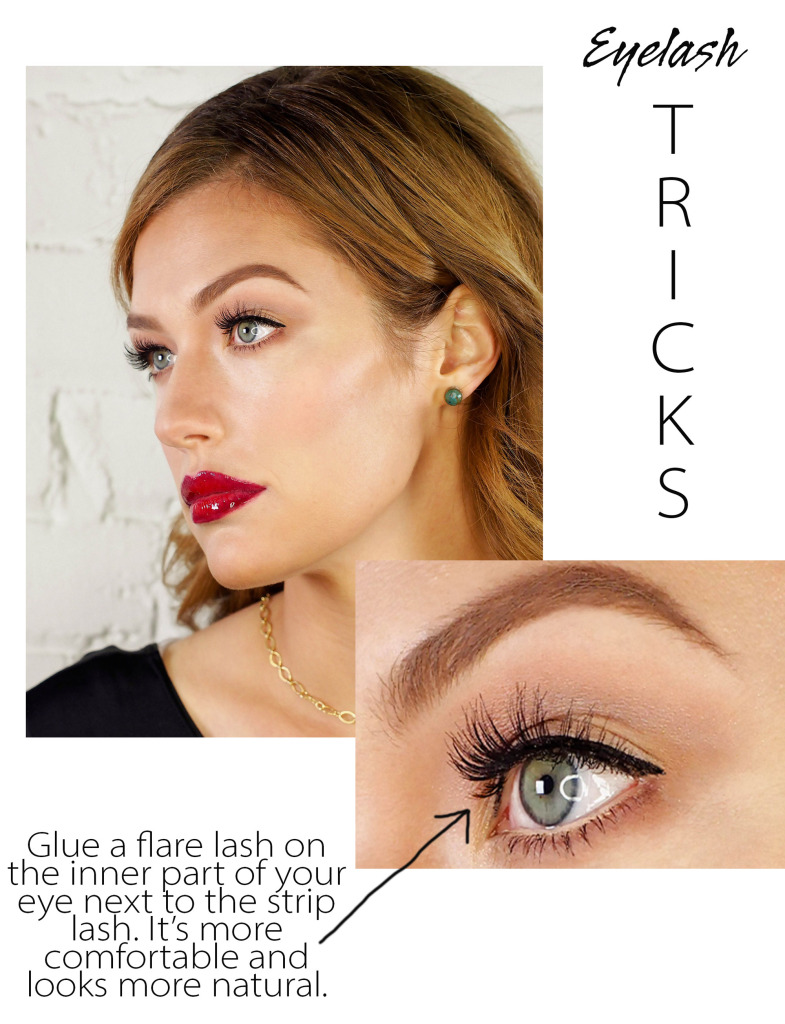 If you position the strip out a little bit further than normal it won’t feel like it’s poking you (if this doesn’t happen to you, then yay!) And then you can add a few flare lashes to the inner or outer corners to give a comfortable and tapered look.