Pinterest can be a wonderful resource for browsing options and getting ideas. However, it can also cause serious decision fatigue (it’s a thing. I read a book about it once!)
I am here to help you narrow down the options so you can make a non-cluttered decision (something I wish I would have done for myself when I was getting married! Ya live and ya learn.)
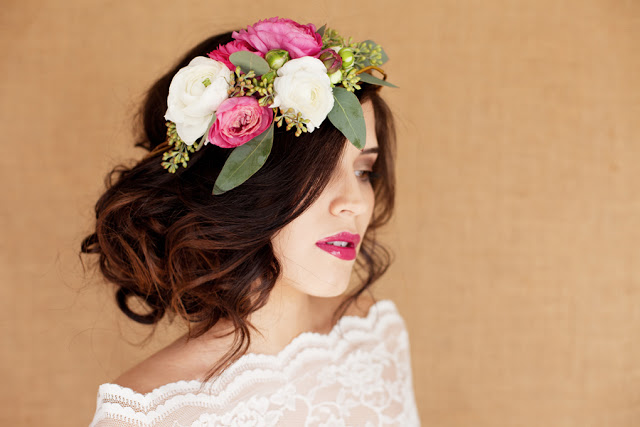
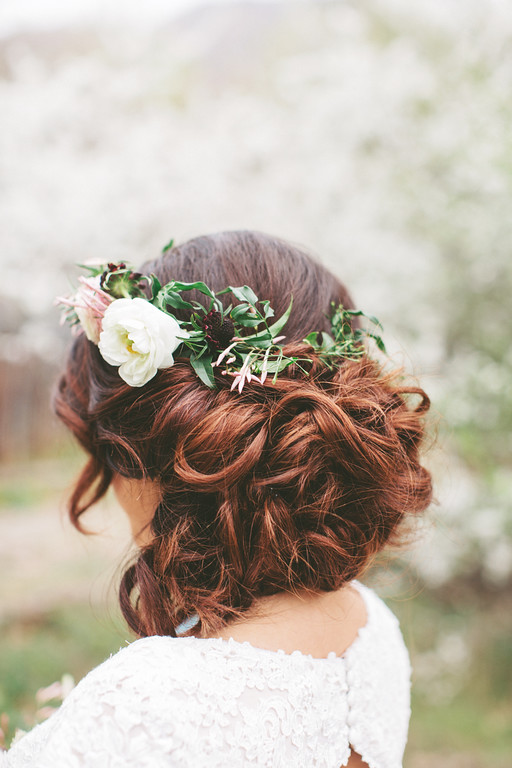
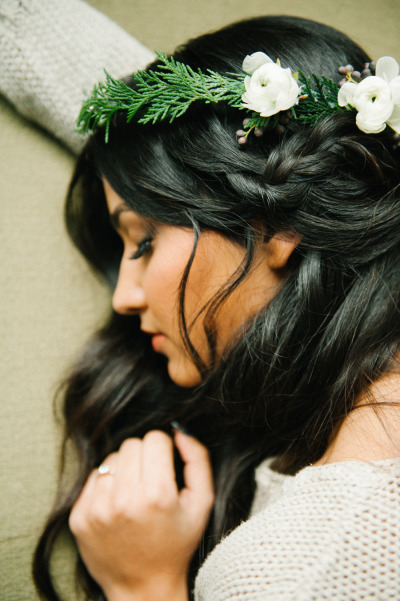
I have been shown this photo several times and I think it is just stunning (hair by Hair and Makeup by Steph. Model Kat Frazier, Photo by Amber Weimer, Florals by Janae Frazer.) I just want to point out a few things in this photo to consider when making your flower crown (or having it made.) The flowers are only on one side of the crown in this. A crown with flowers going all the way around looks beautiful as well, but has a different vibe.
Also the wispy pieces coming down and the amount of volume this hair style has, is part of what balances out this look. Ah so pretty!
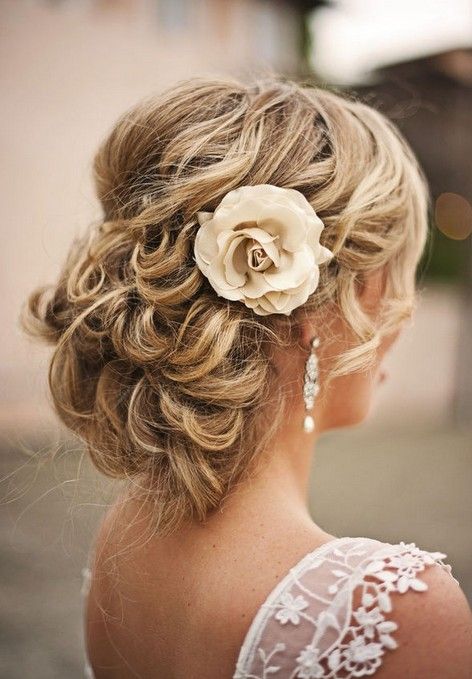
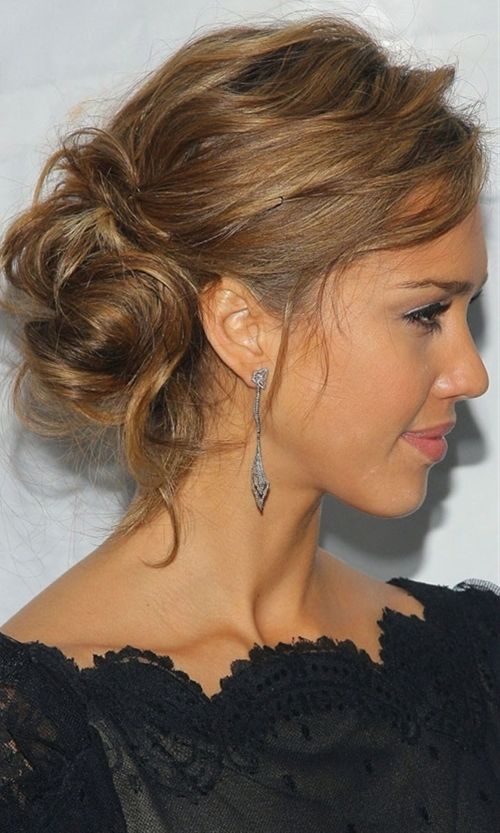
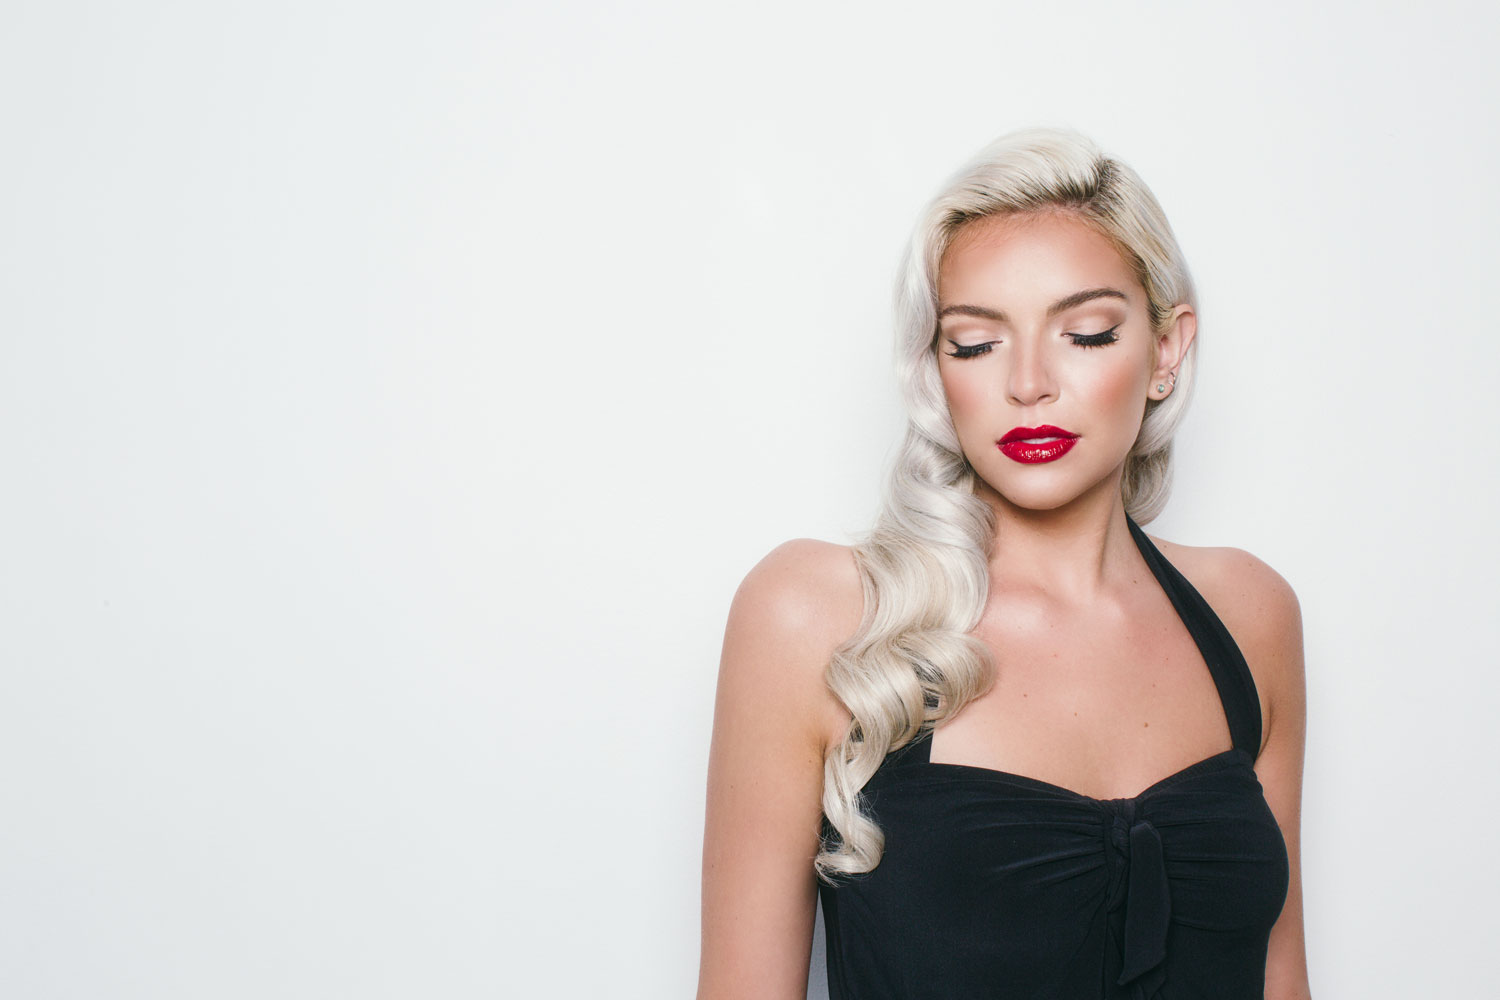
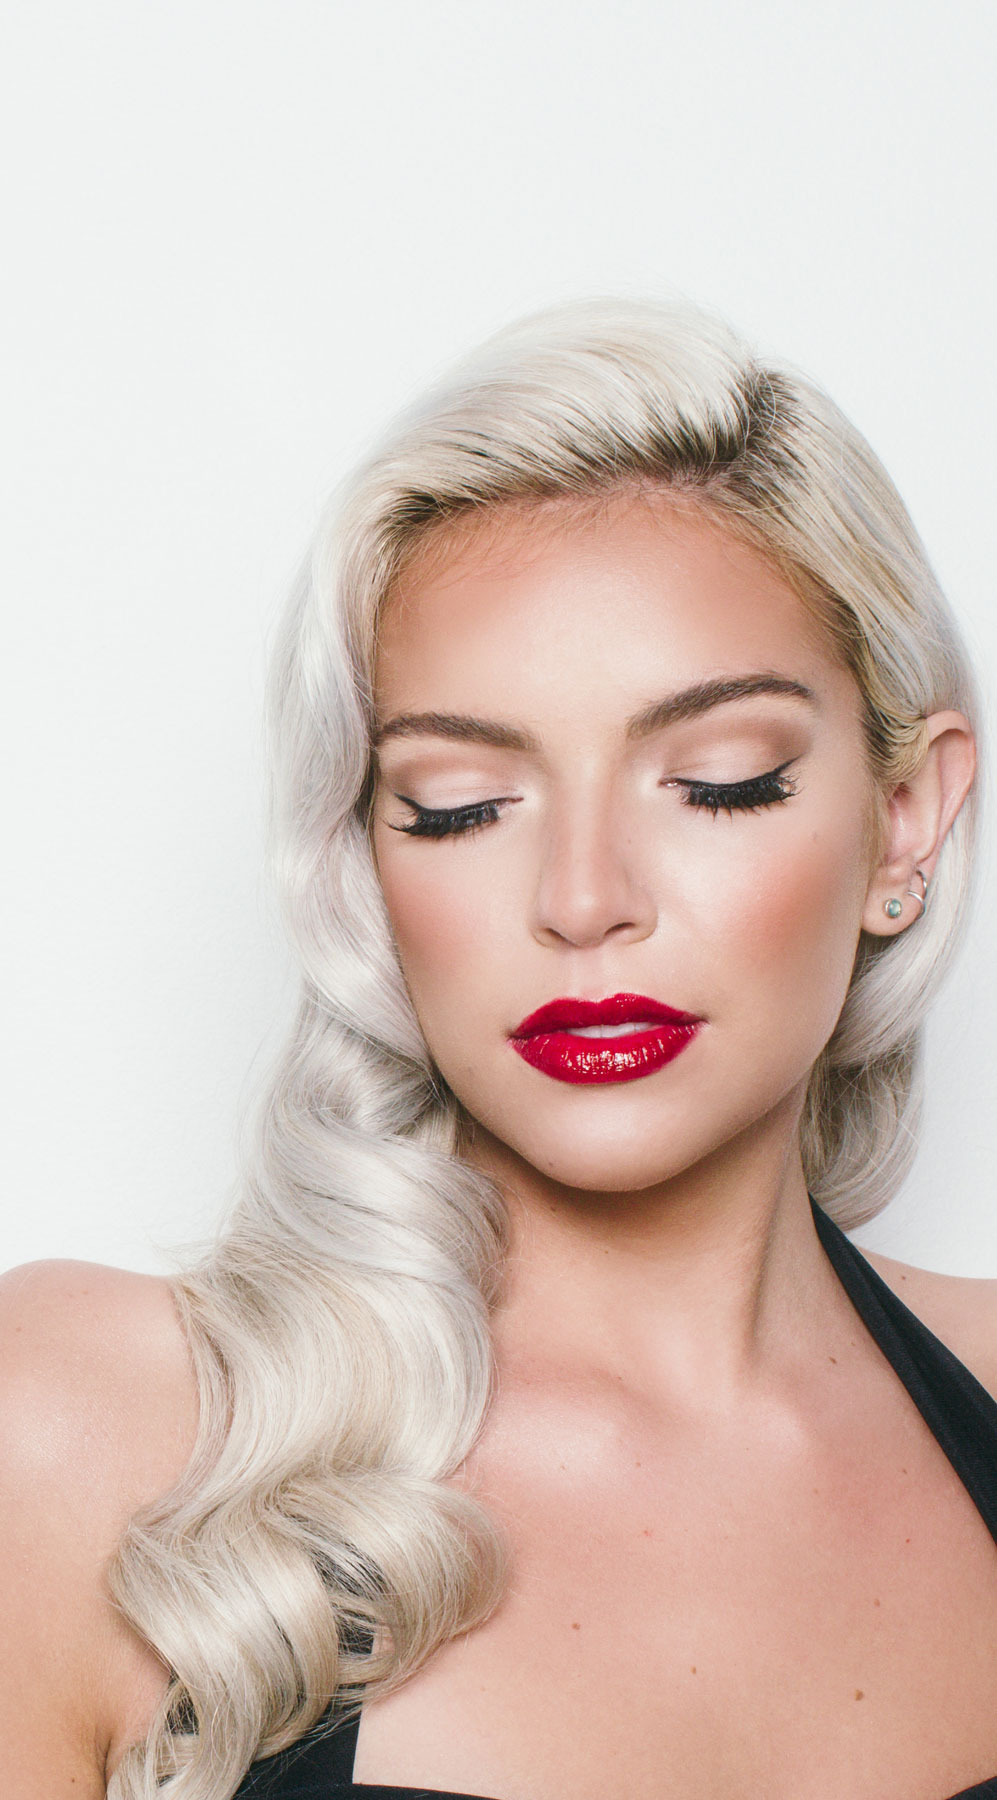
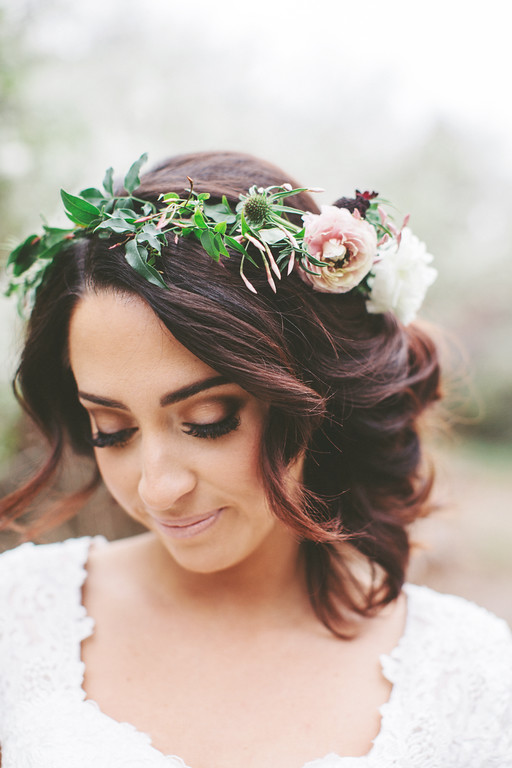
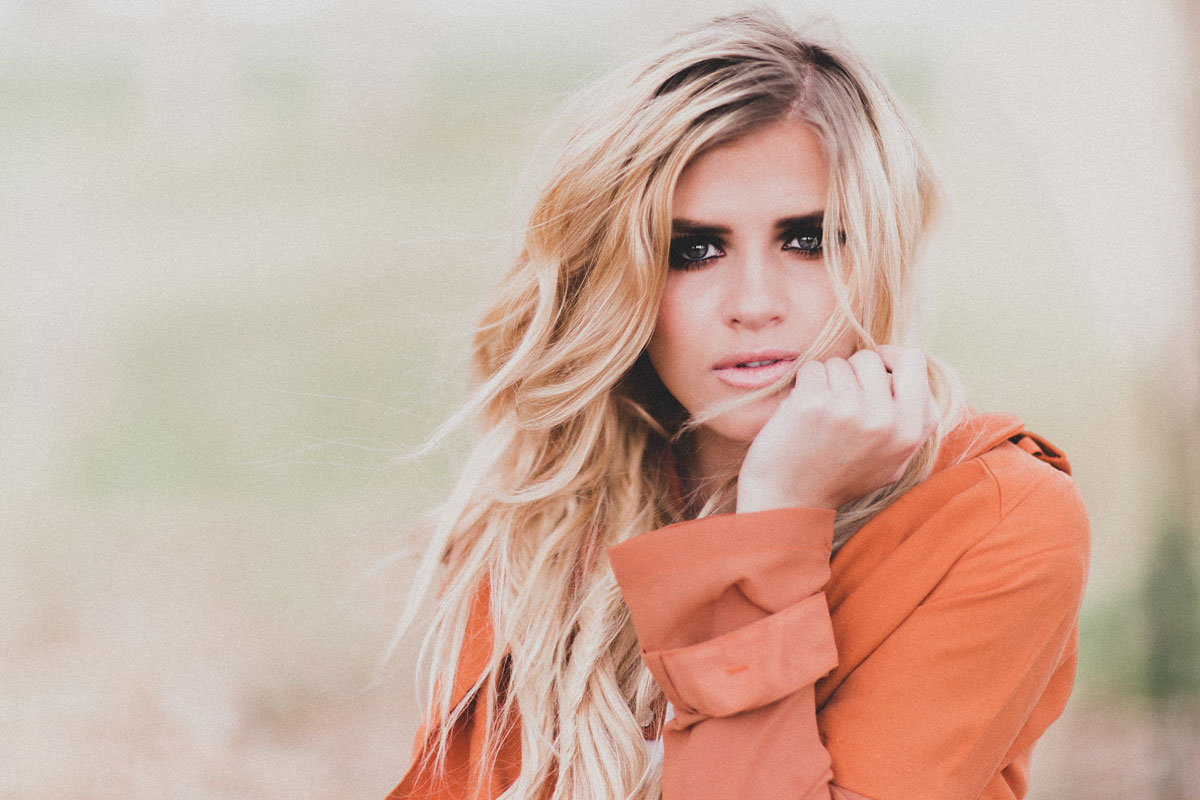
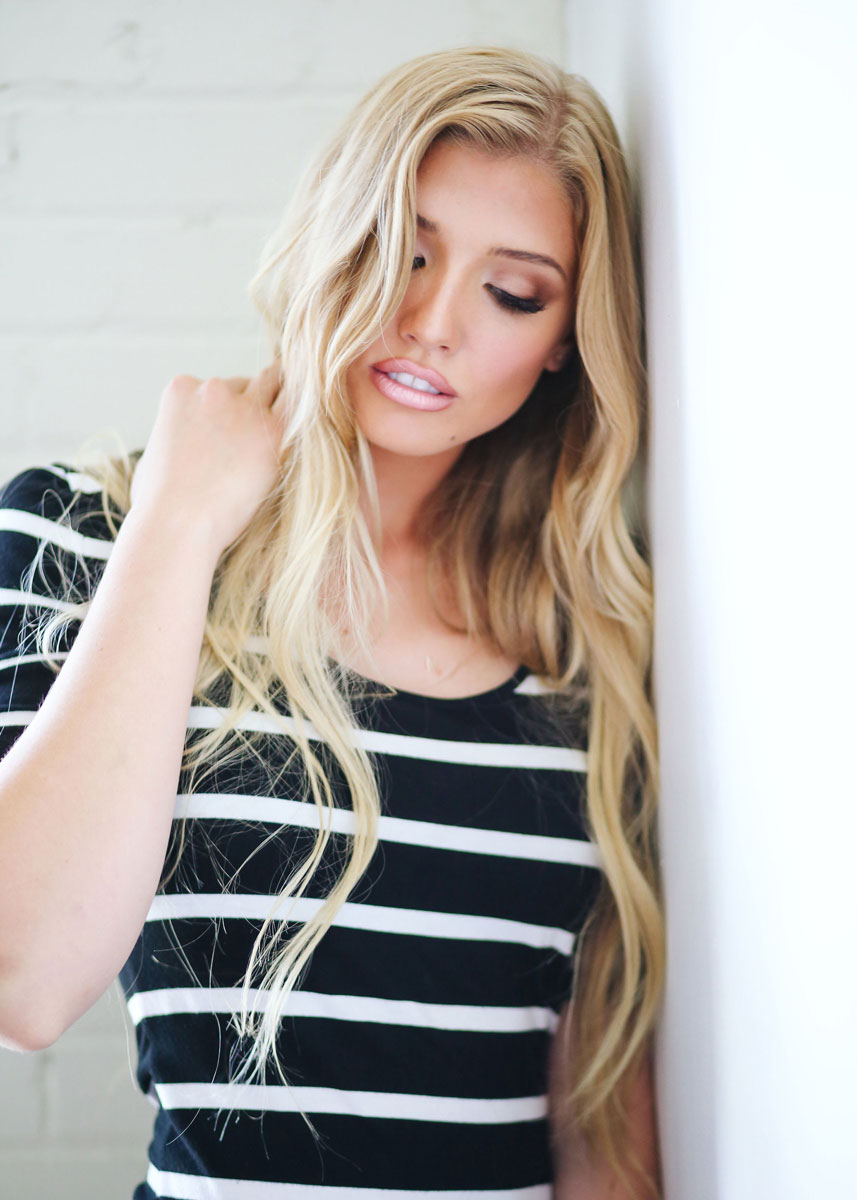
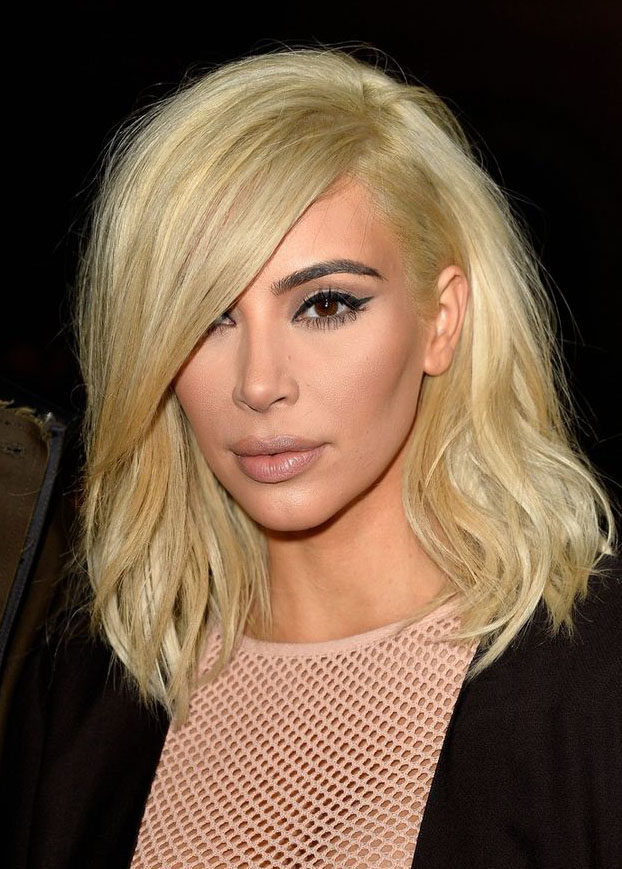
The next thing you want to think about is what you may want your hair to look like in the front. These hairstyles are beautiful, but……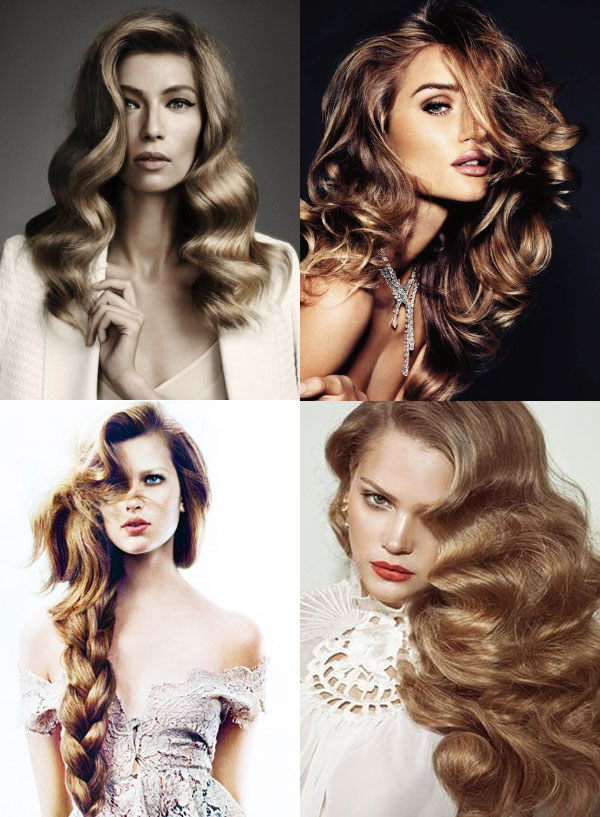 Do you notice anything that they all have in common? A trend that I like to call the Jessica Rabbit…..the eye cover.
While that makes for a gorgeous photo (I’ve had a few hair-covering-eye photos taken myself!) Having an alternative look in mind for the front of your hair can be helpful since you’re likely not going to wear your hair covering one of your eyes the entire day.
Unless you’re Kim, somehow she managed…..
But like I said, it can look really pretty in photos, so if you love it make sure to mention it to your photographer so they can get some photos with that vibe for you!
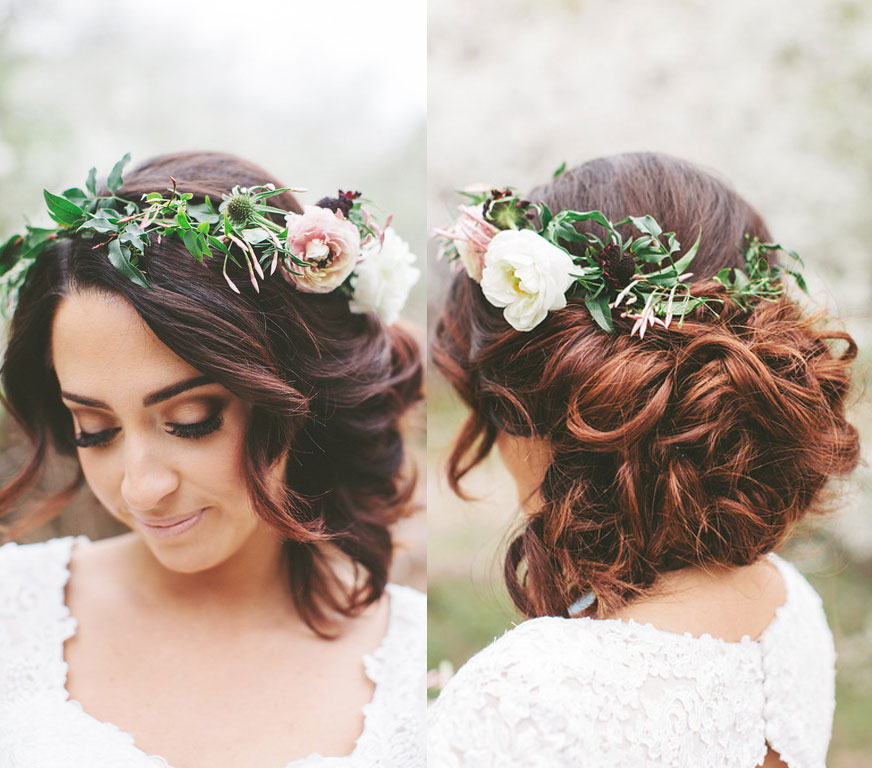
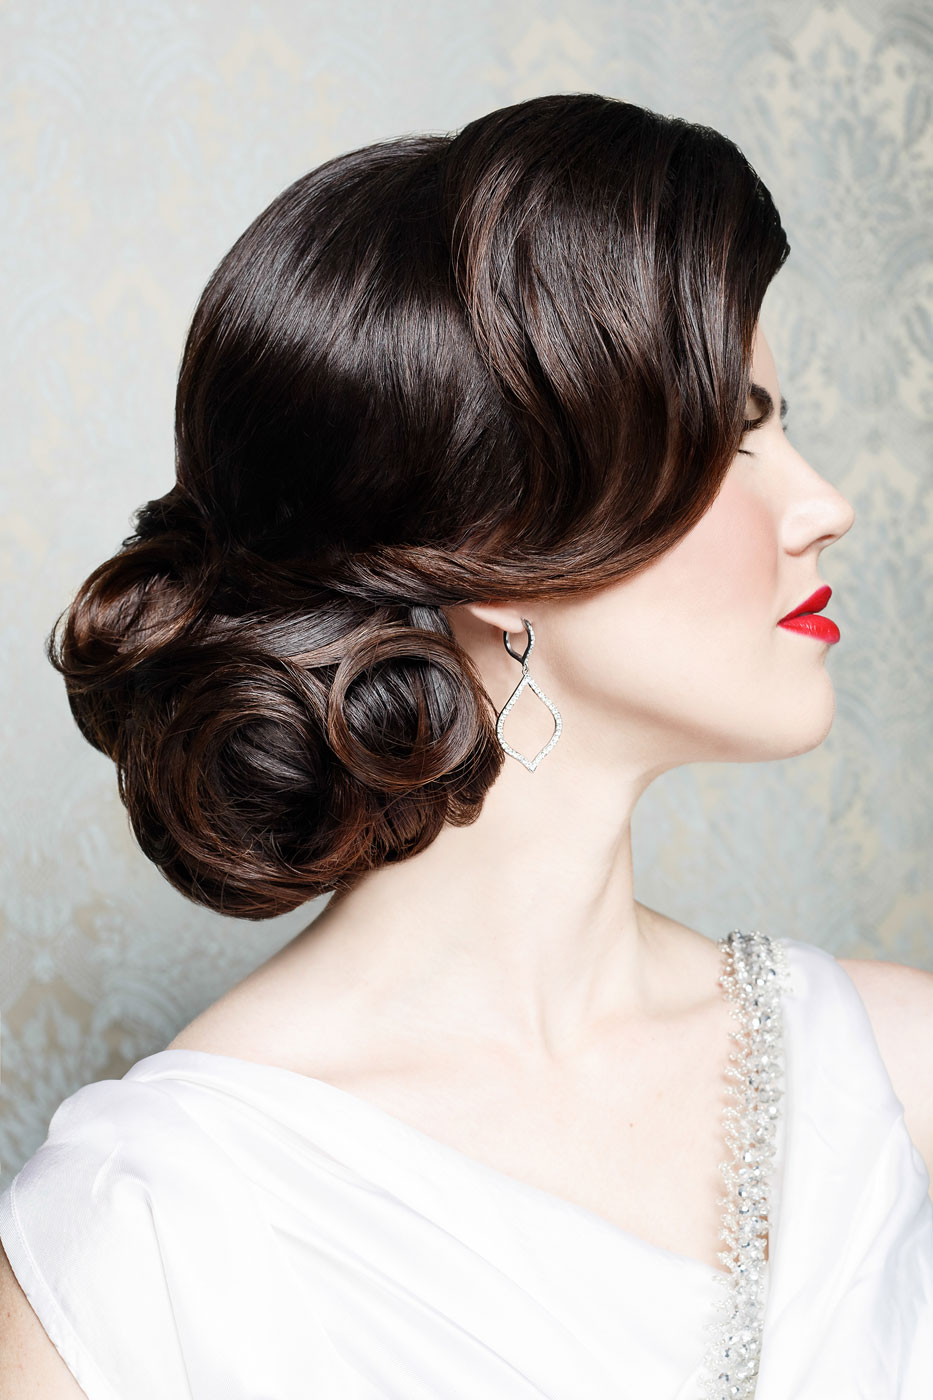
Next thing. If you’re considering an updo, to get a realistic idea of what the updo will look like as a whole, look for photos that also show the front and side, rather than just the back. It can be hard to do, so if you’re not able to then that’s ok!
But here’s an example of why:
Over the last few years I’ve had several clients show me this photo 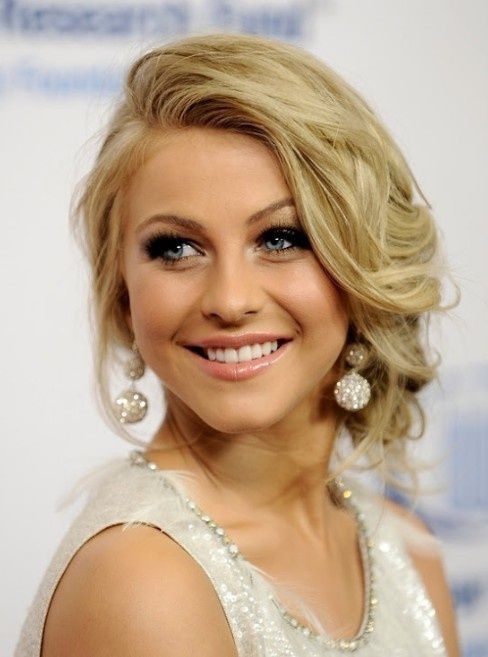 They liked her hair and we all assumed that she probably had some kind of elaborate, super full, amazing chignon updo of sorts happening in the back. Finally, I wanted to solve the puzzle so I hunted down a photo of the other side!
  (Hi Taylor, cute curls! 🙂 ) The other side of Juliane’s hair is actually suuuuper simple! Like, there isn’t really another side! Like all her hair is swooped over to the left to create it’s amazing-ness and also to probably keep a sleek and simple look.
Interesting.
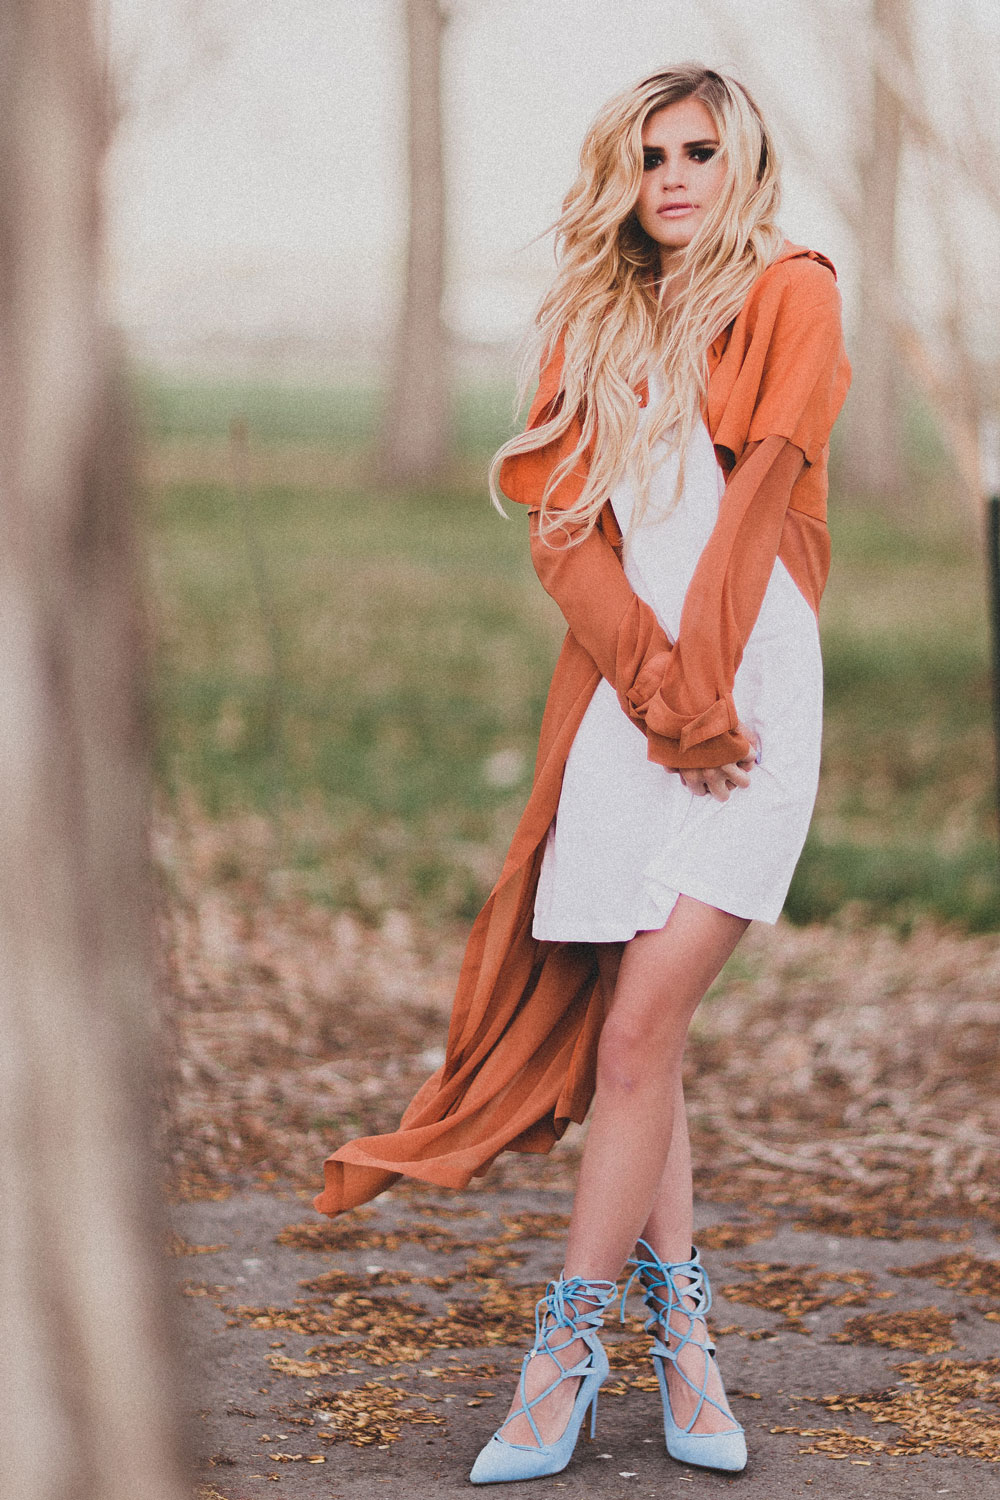
Moving on. The messy/textured updo phenomenon! 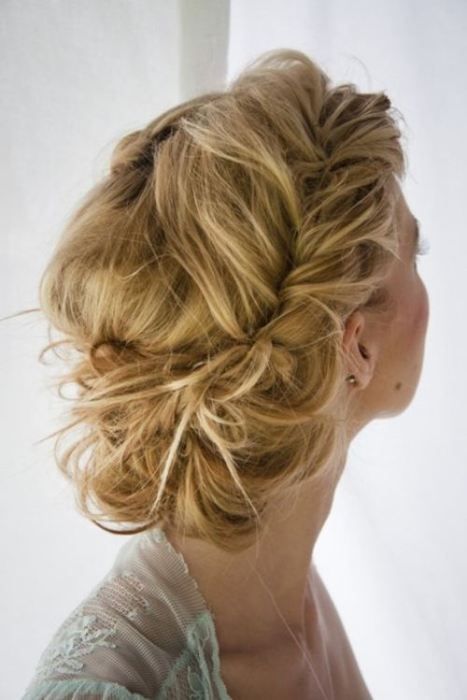 This look can be great because it allows for a lot more freedom (no need to panic if the wind blows or if you get a fly away!)
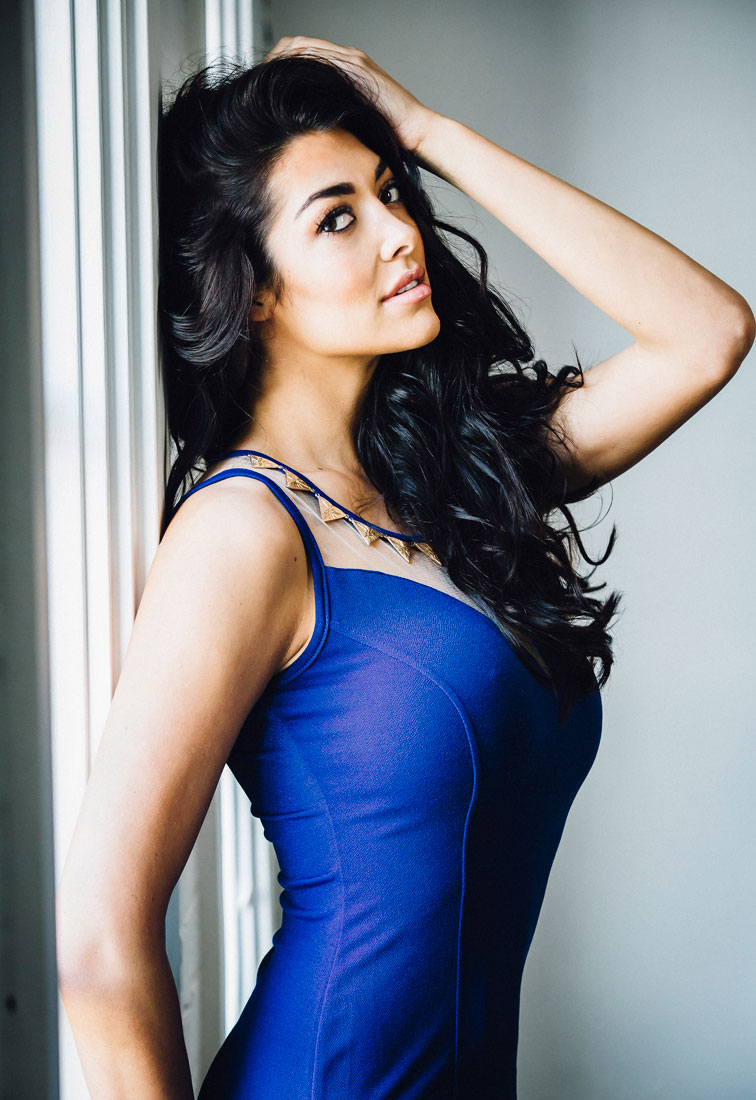
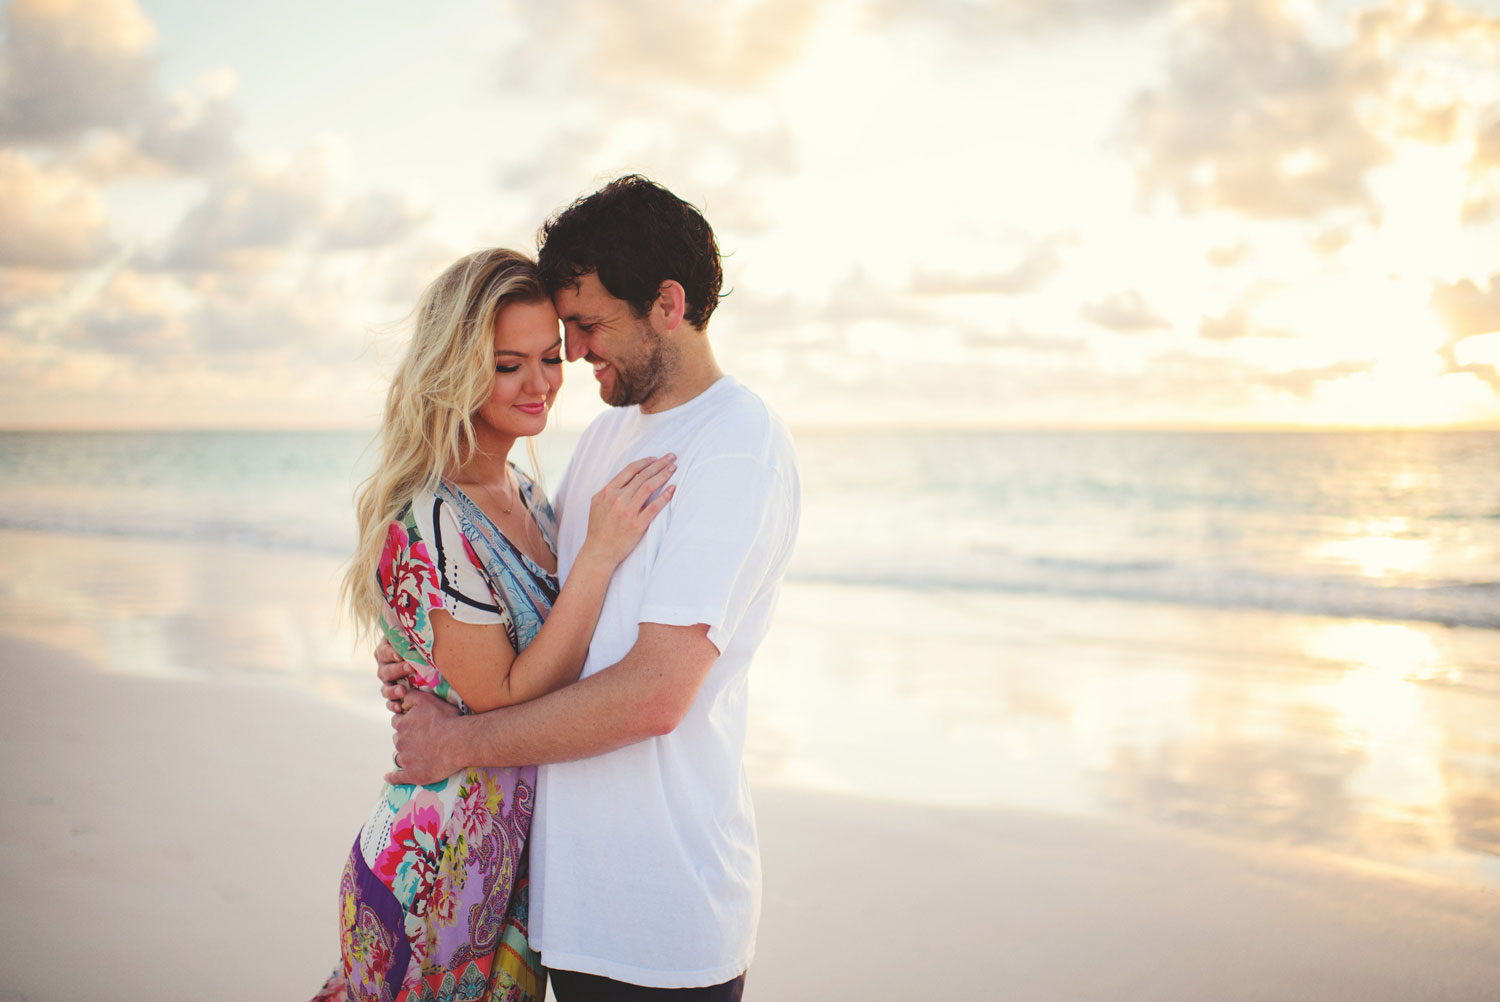
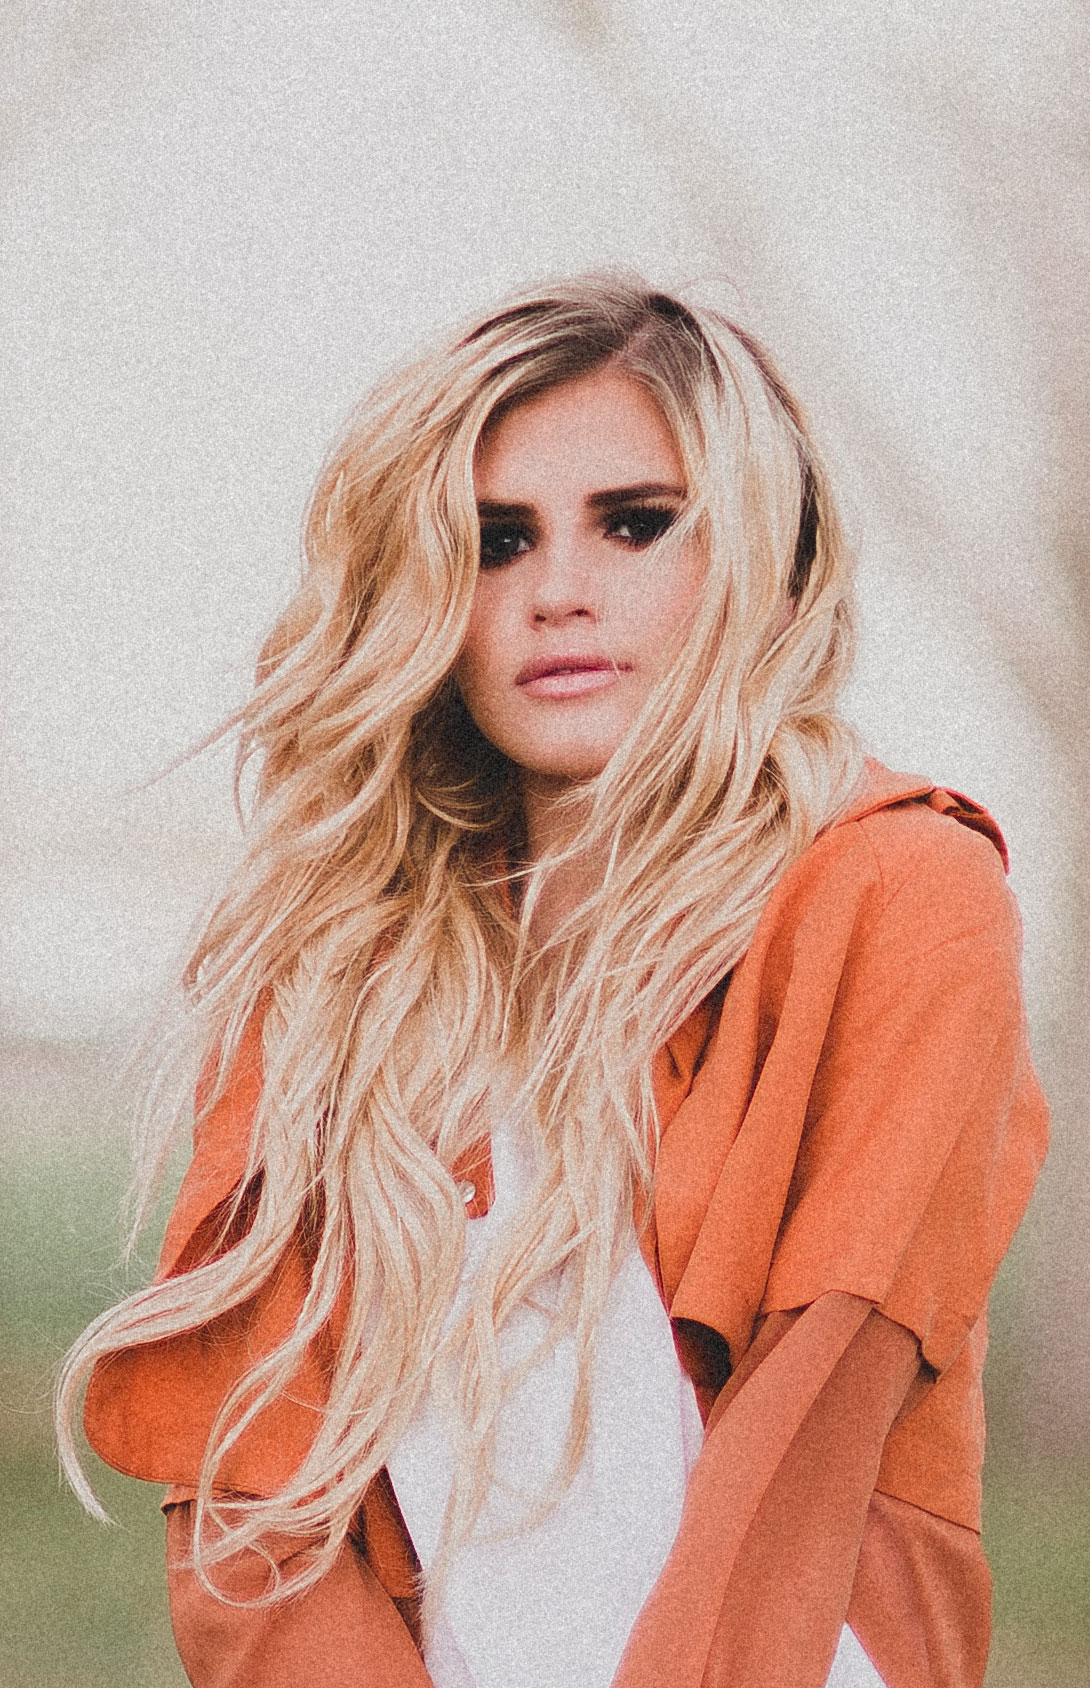
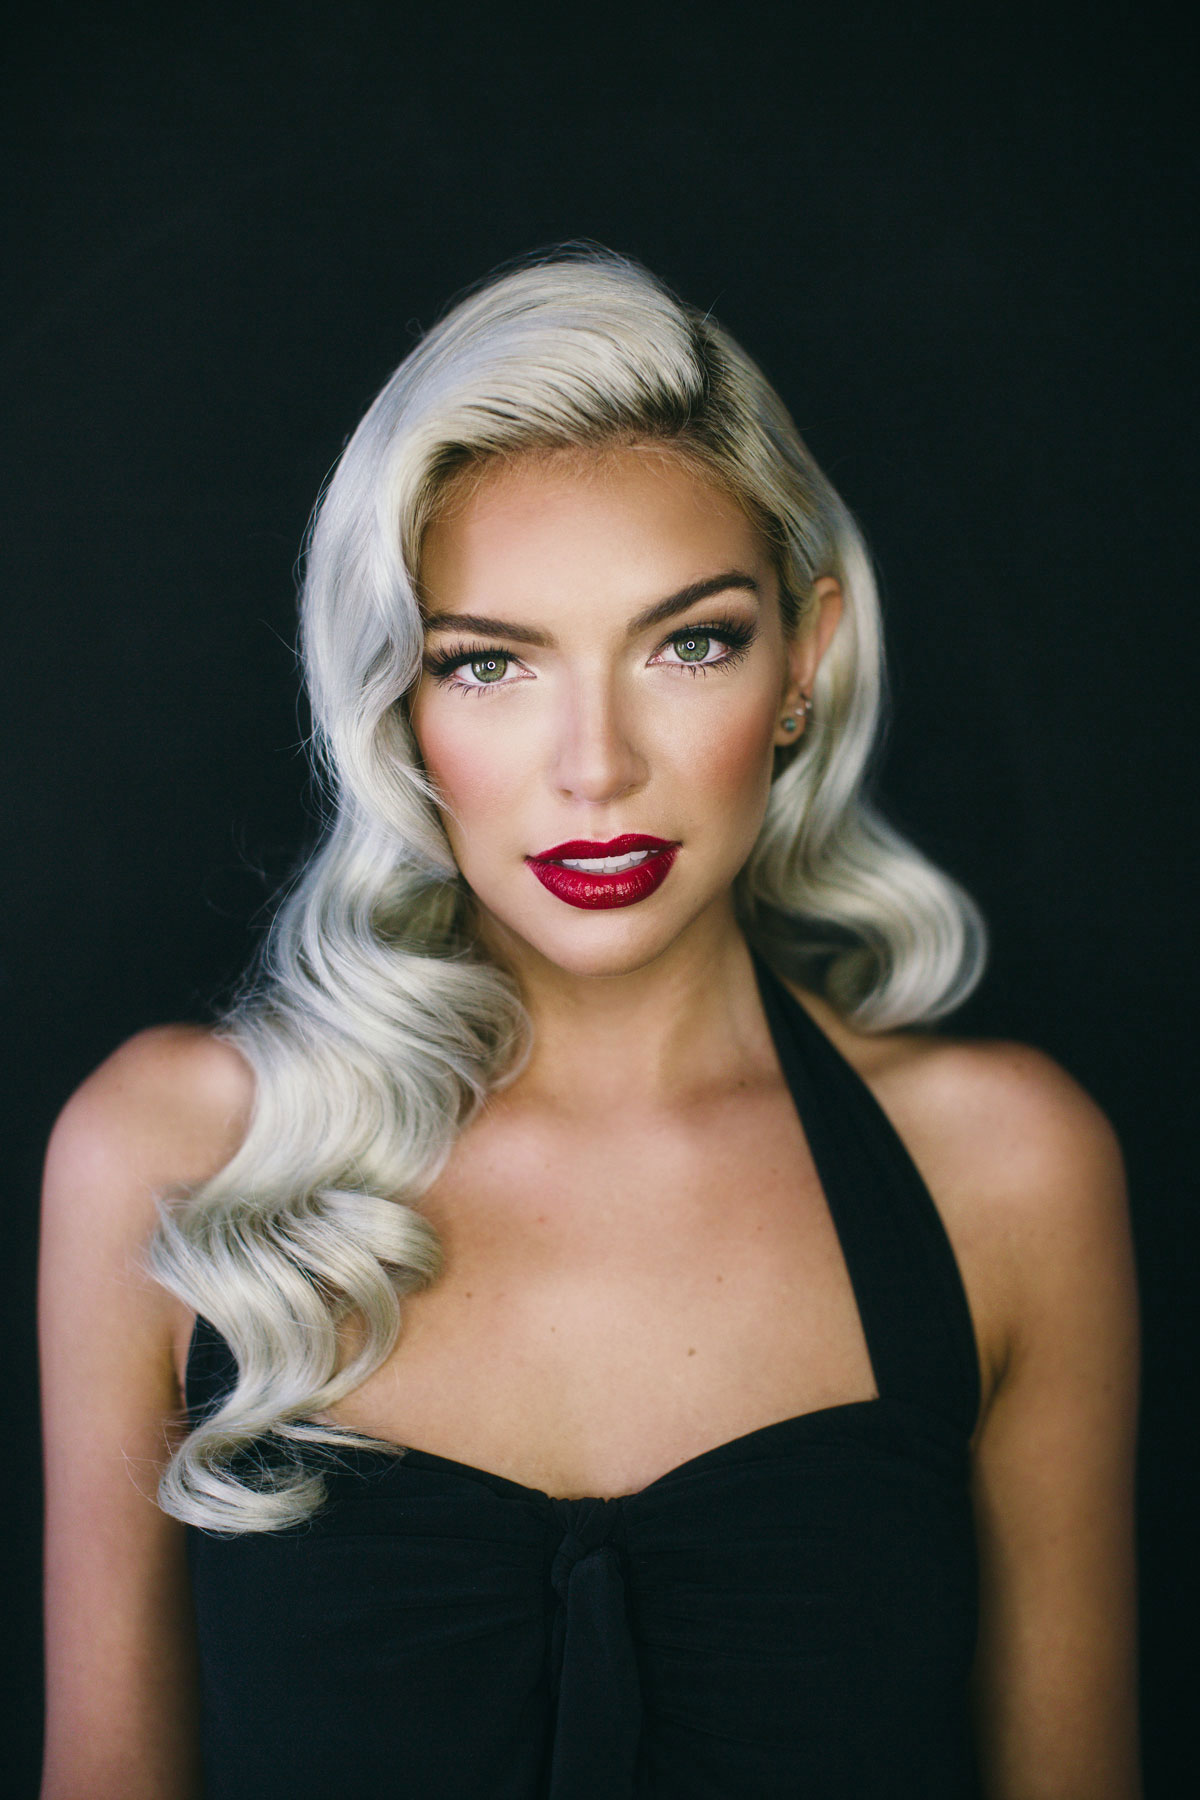
Some things to notice with this hairstyle—-A LOT of the photos shown online of this look are going to have highlights in their hair (I am mentioning this because all of the photos ever shown to me by someone wanting this kind of hairstyle, have highlights.)
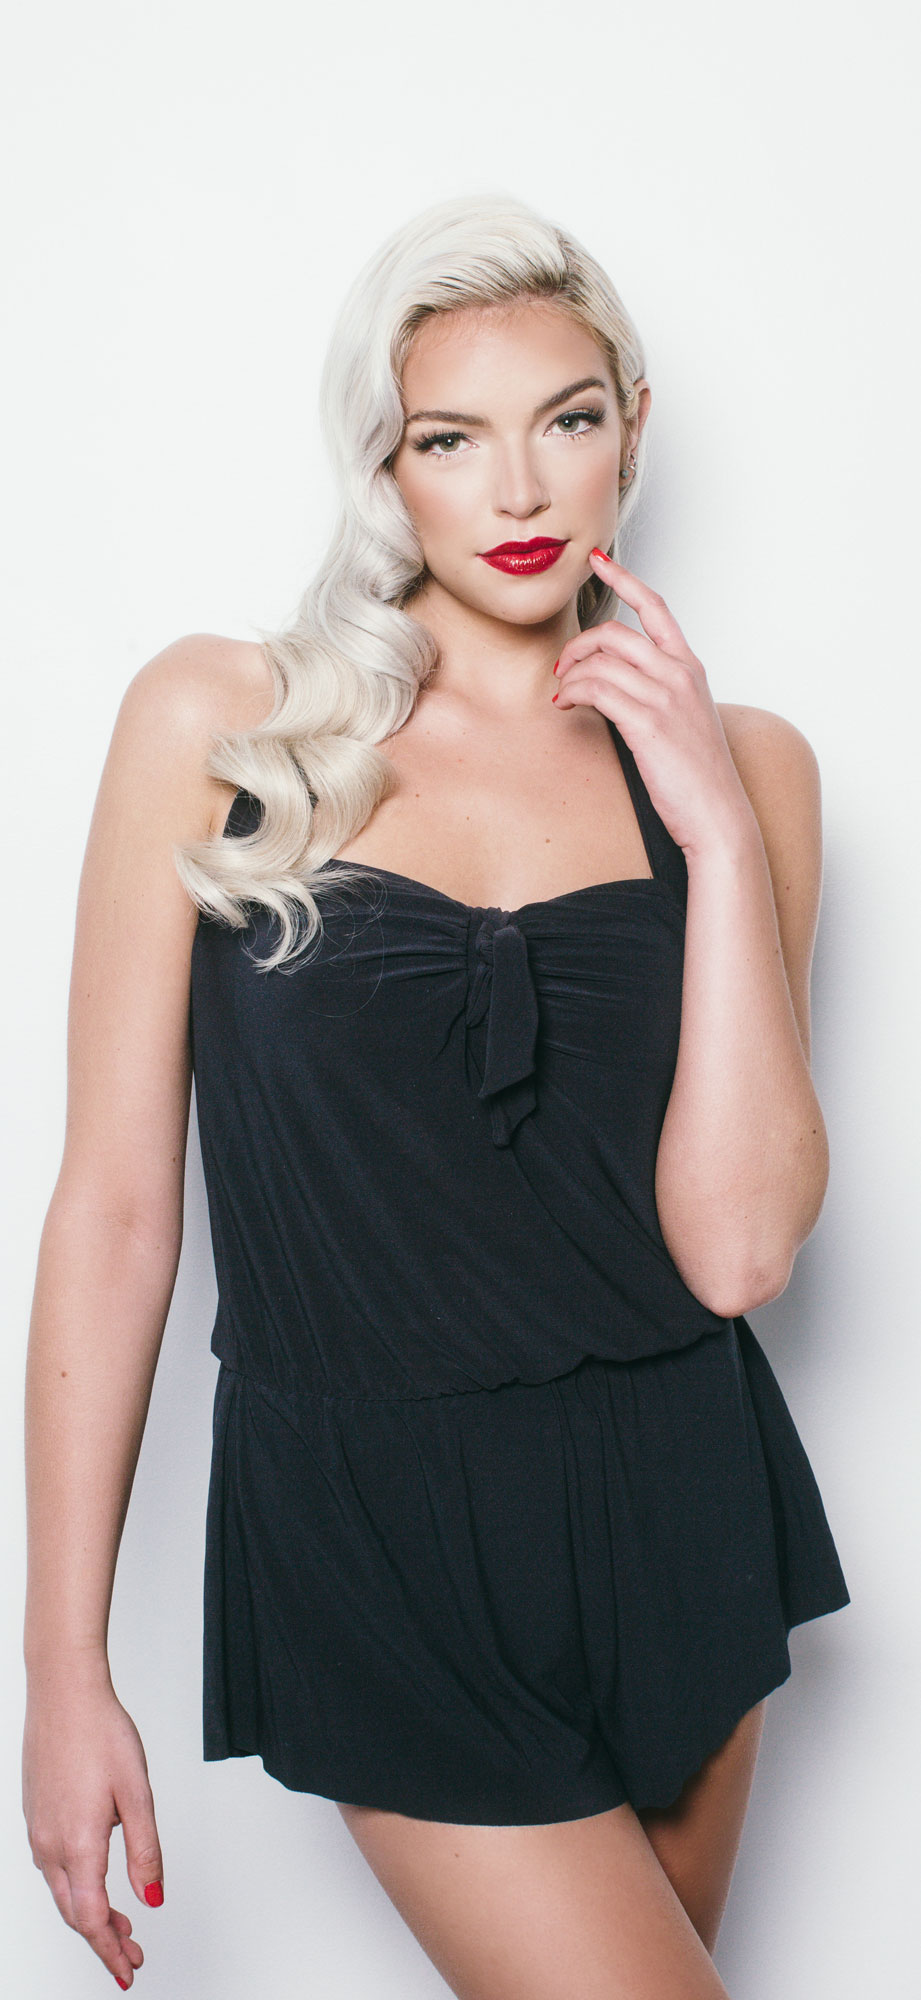
 But what if you have no highlights? And instead you have silky, satiny, not-naturally-textured hair? No worries! You can definitely still have this kind of a hairstyle! Just know that it may look a little bit more smooth.
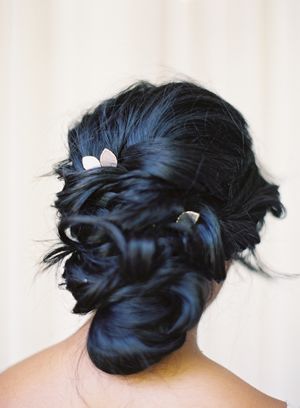
Also if you have dark silky hair, here’s a great way to add a little texture if you don’t want to highlight your hair (this is also great even if you do have highlights!)
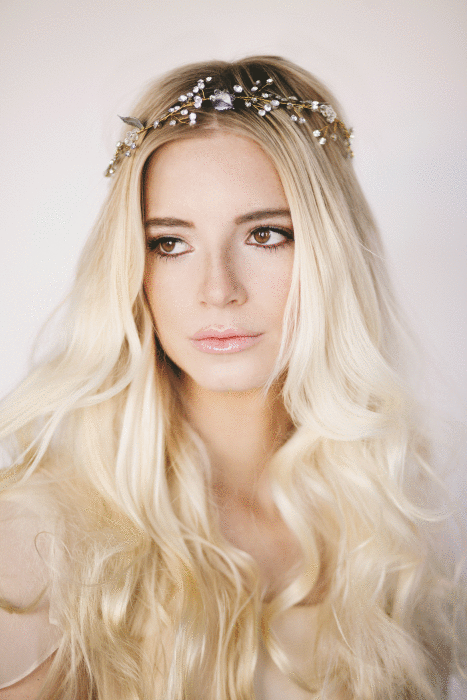
Add some dainty details!
 Or instead of a veil something like this
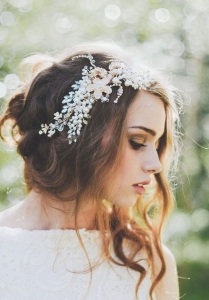 (head piece is from Australia and can be found here.)
 (That hairstyle was actually done by me. Photo of Michelle by Brooke Schultz.)
I just threw a whole lot of info at you! So now what?!
Consider these things:
How do I feel the prettiest? (down, up, half-up?)
What will look best with my dress?
Am I going to wear a veil? If so glance at photos of the type of hairstyle you’re considering and how it will look with a veil. A veil can really change the look of things!
Bonus tips:
When you’re getting ready, if it feels too fancy or like it’s too much, picture yourself in your wedding dress (or put it on if you can) then reassess. Sometimes hairstyles can feel a little too glam if you’re getting ready in an old baggy t-shirt.
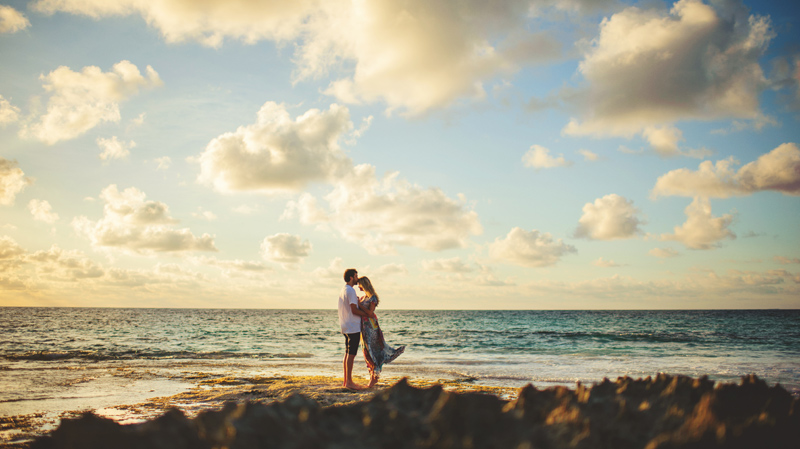
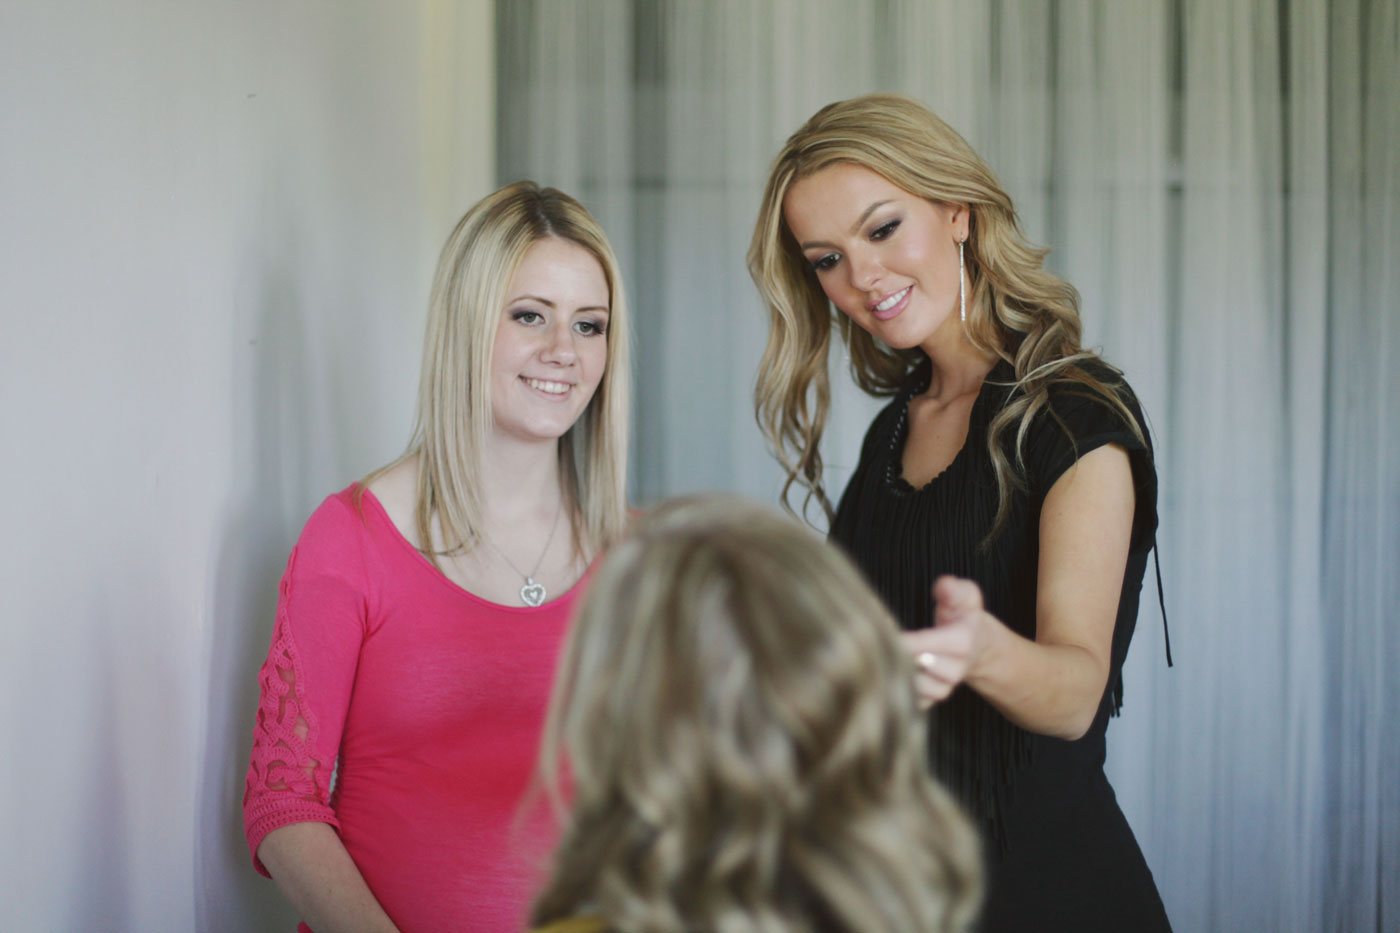
On that note. When going to your appointment or just doing your own hair, don’t forget to wear something with a very wide neckline or a button up, so the beautifulness doesn’t get destroyed when it’s time to change your clothes! How about we end with a few photos of my pretty clients? 🙂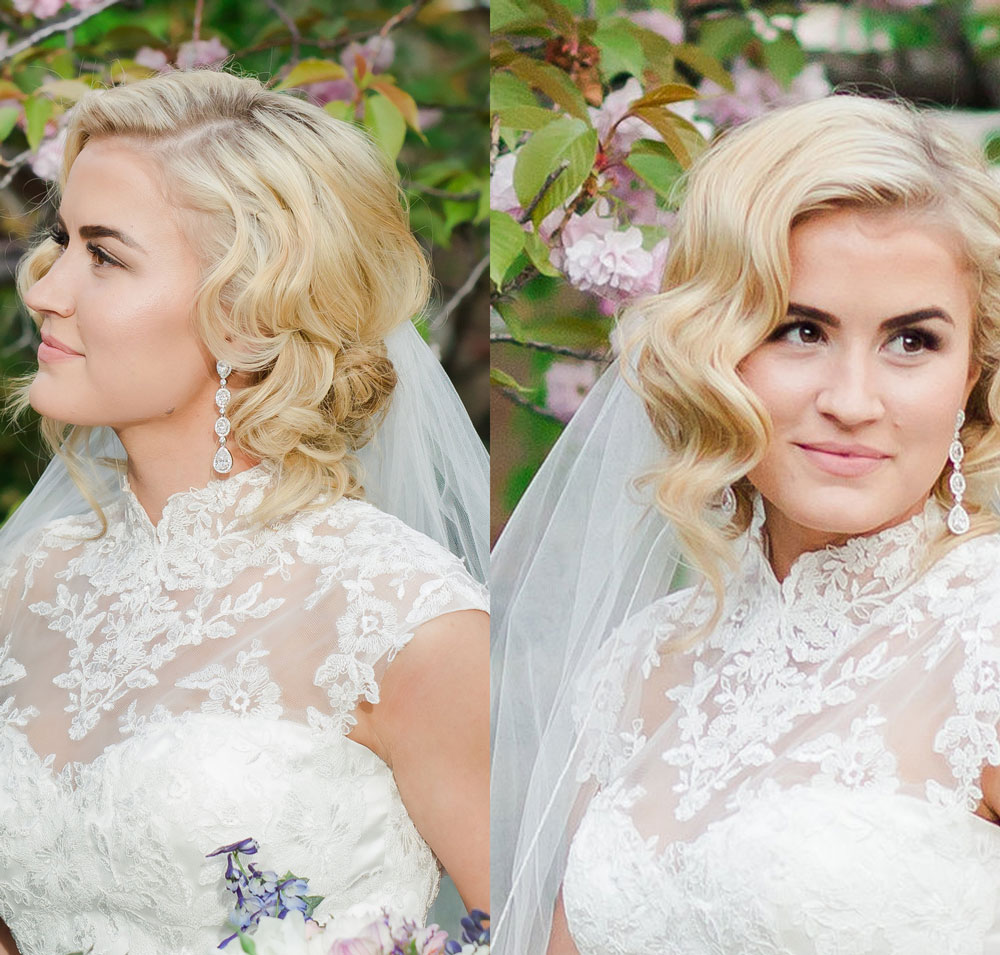 Photo by Kailey Rae Photography
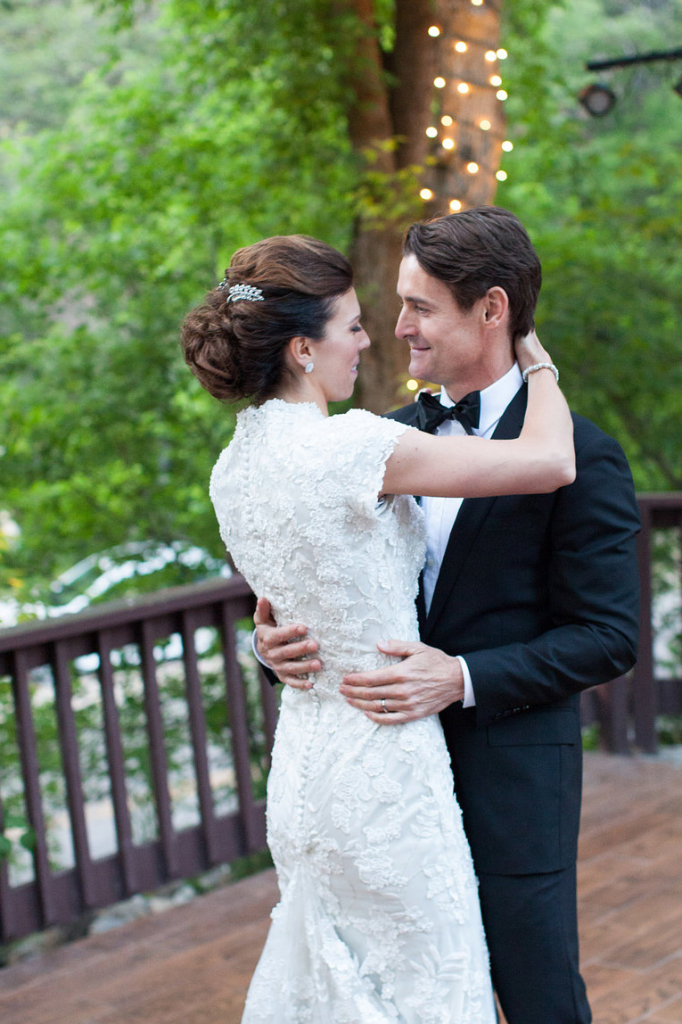 Photo of Caroline by Roslyn Photography
 Photo by Zuzanna Audette


 And Miss Utah Teen USA, Brooke Skabelund….and bird
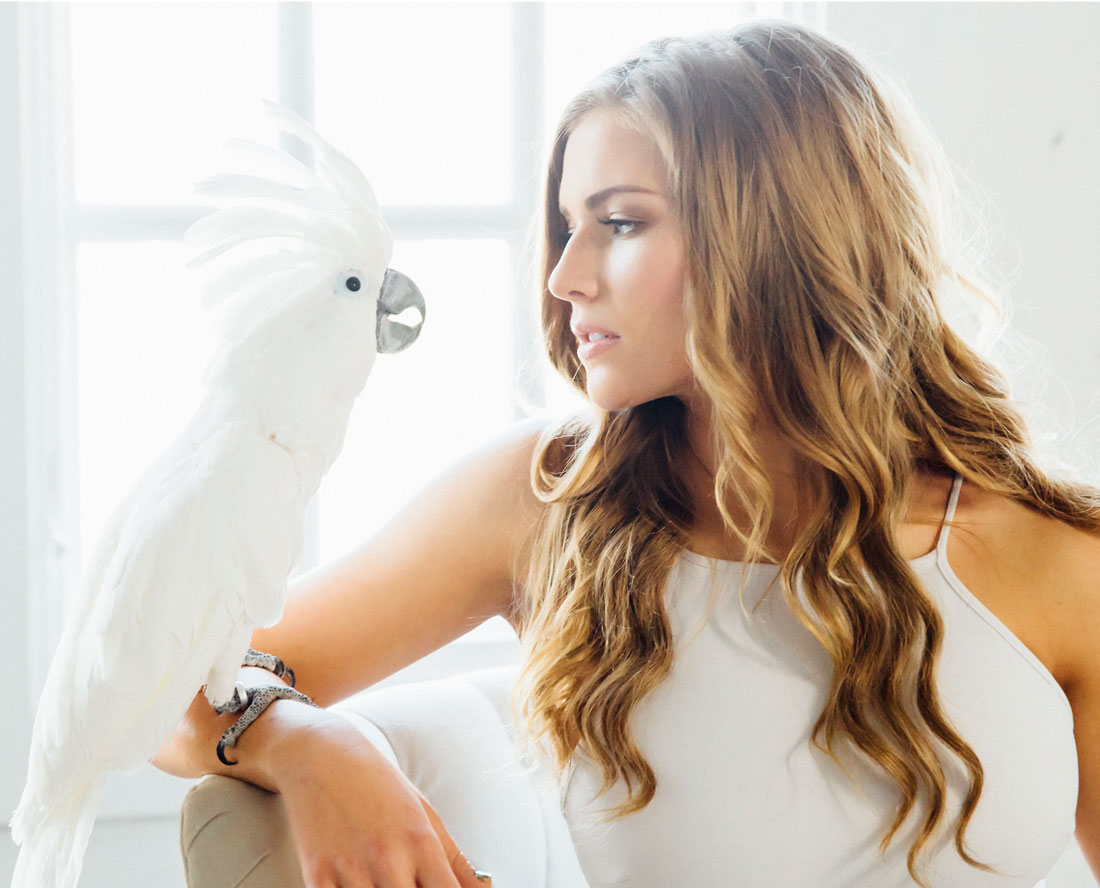 Photos by Michael Angelo Photography
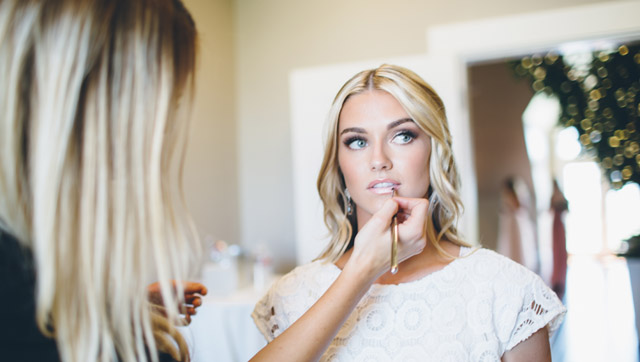

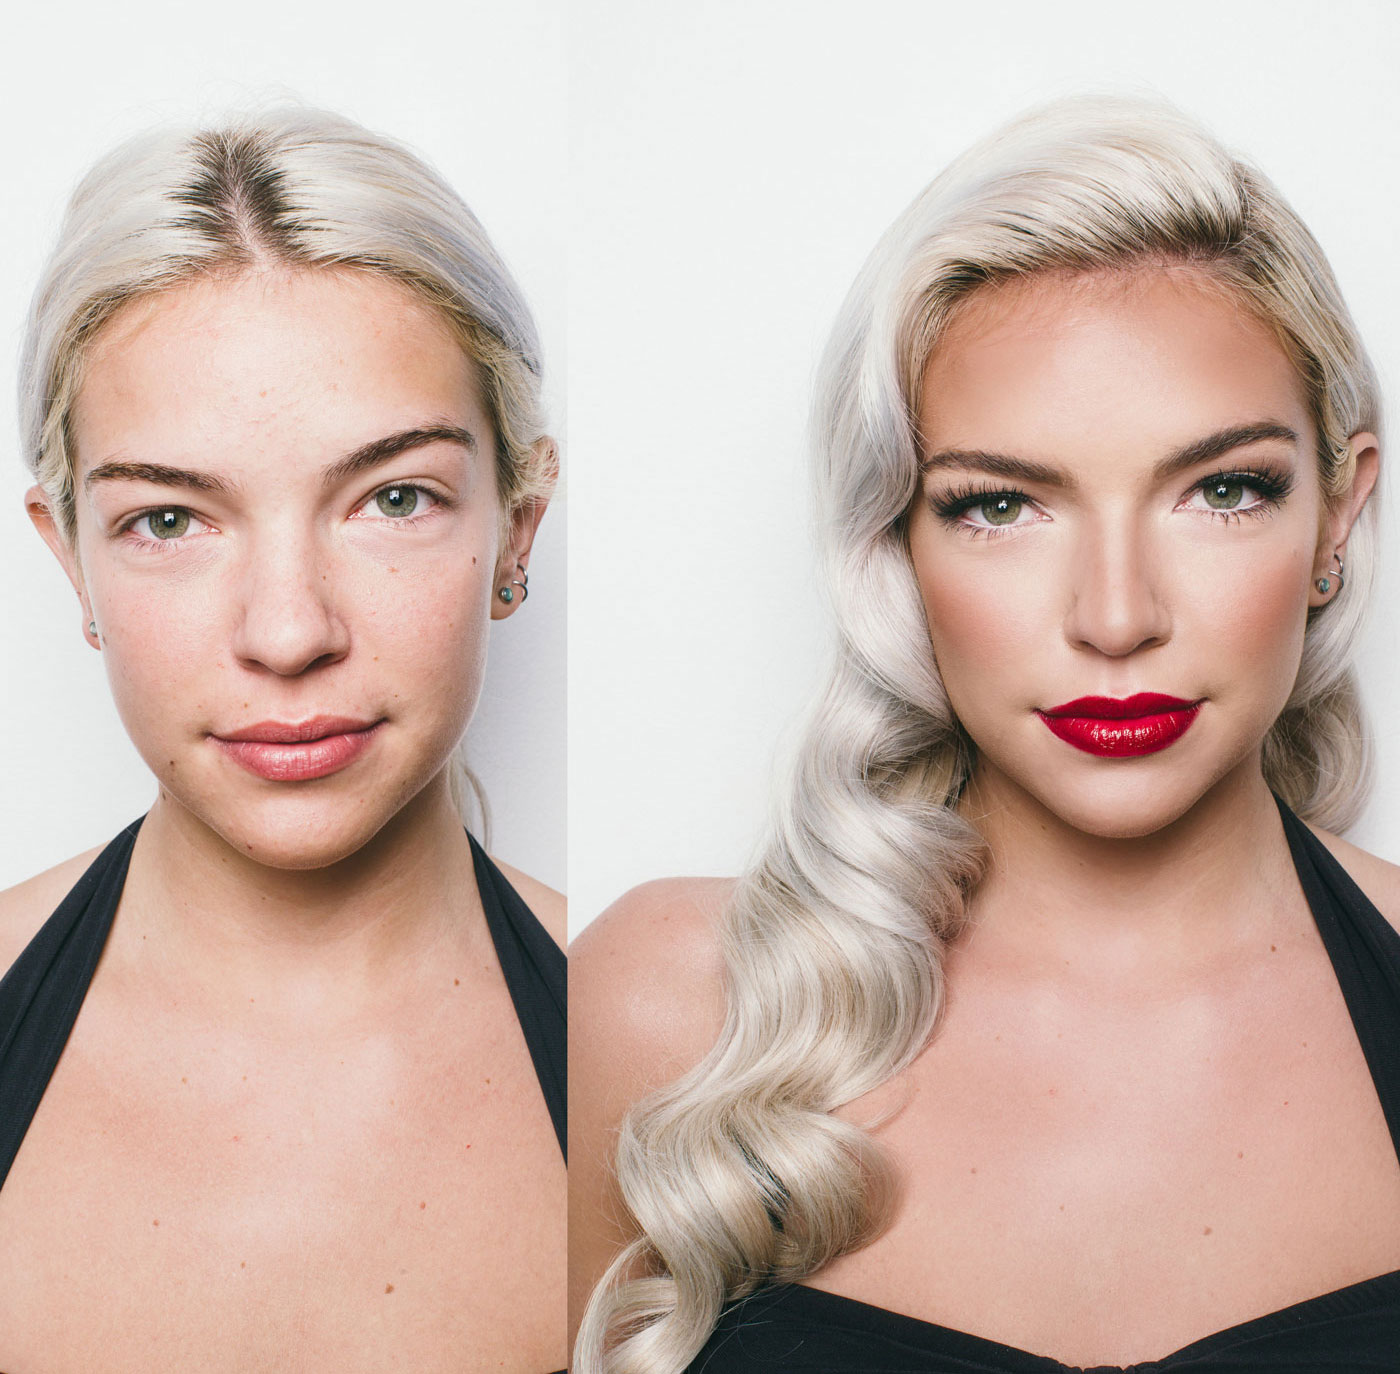 Complexion:

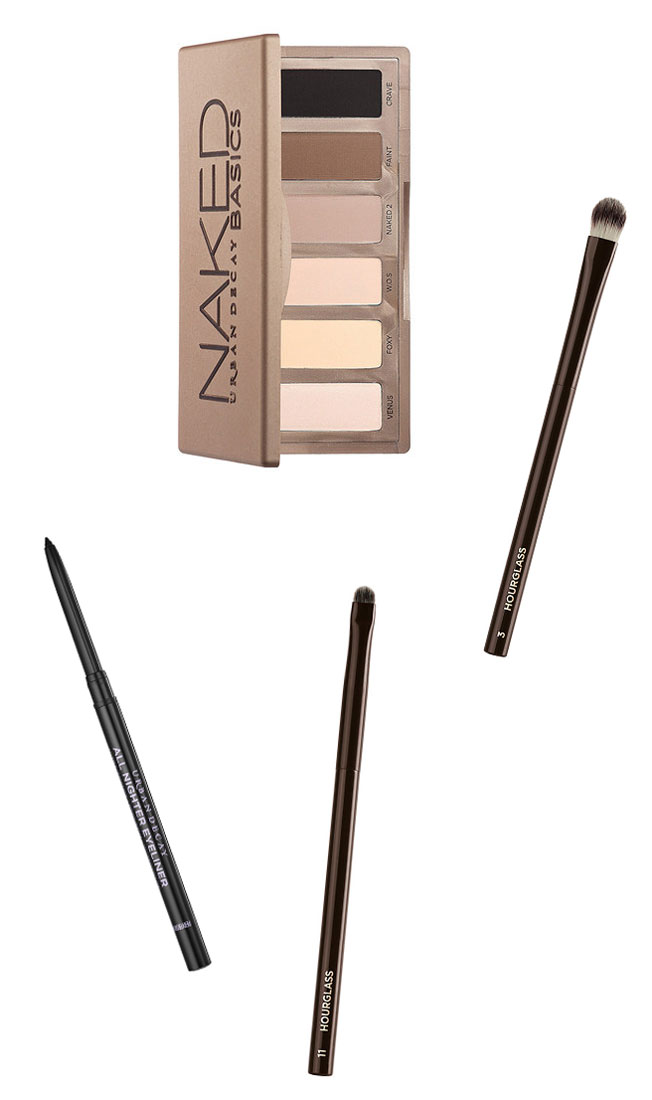


 The brushes I used:
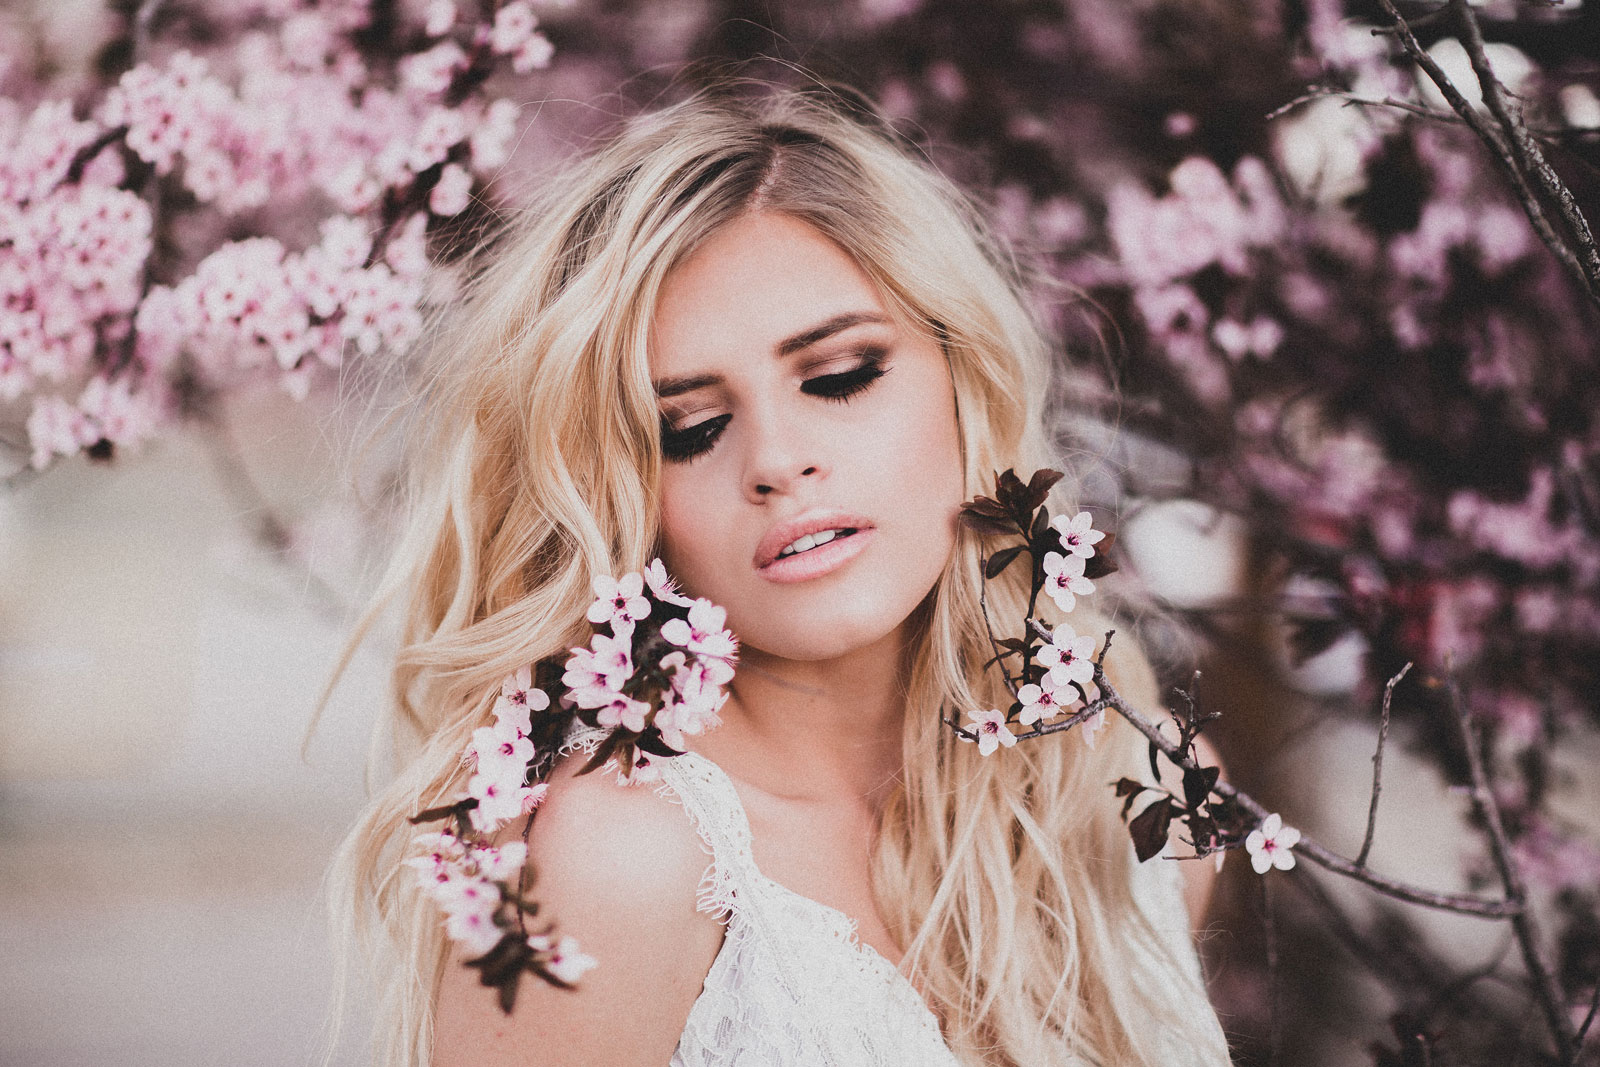