

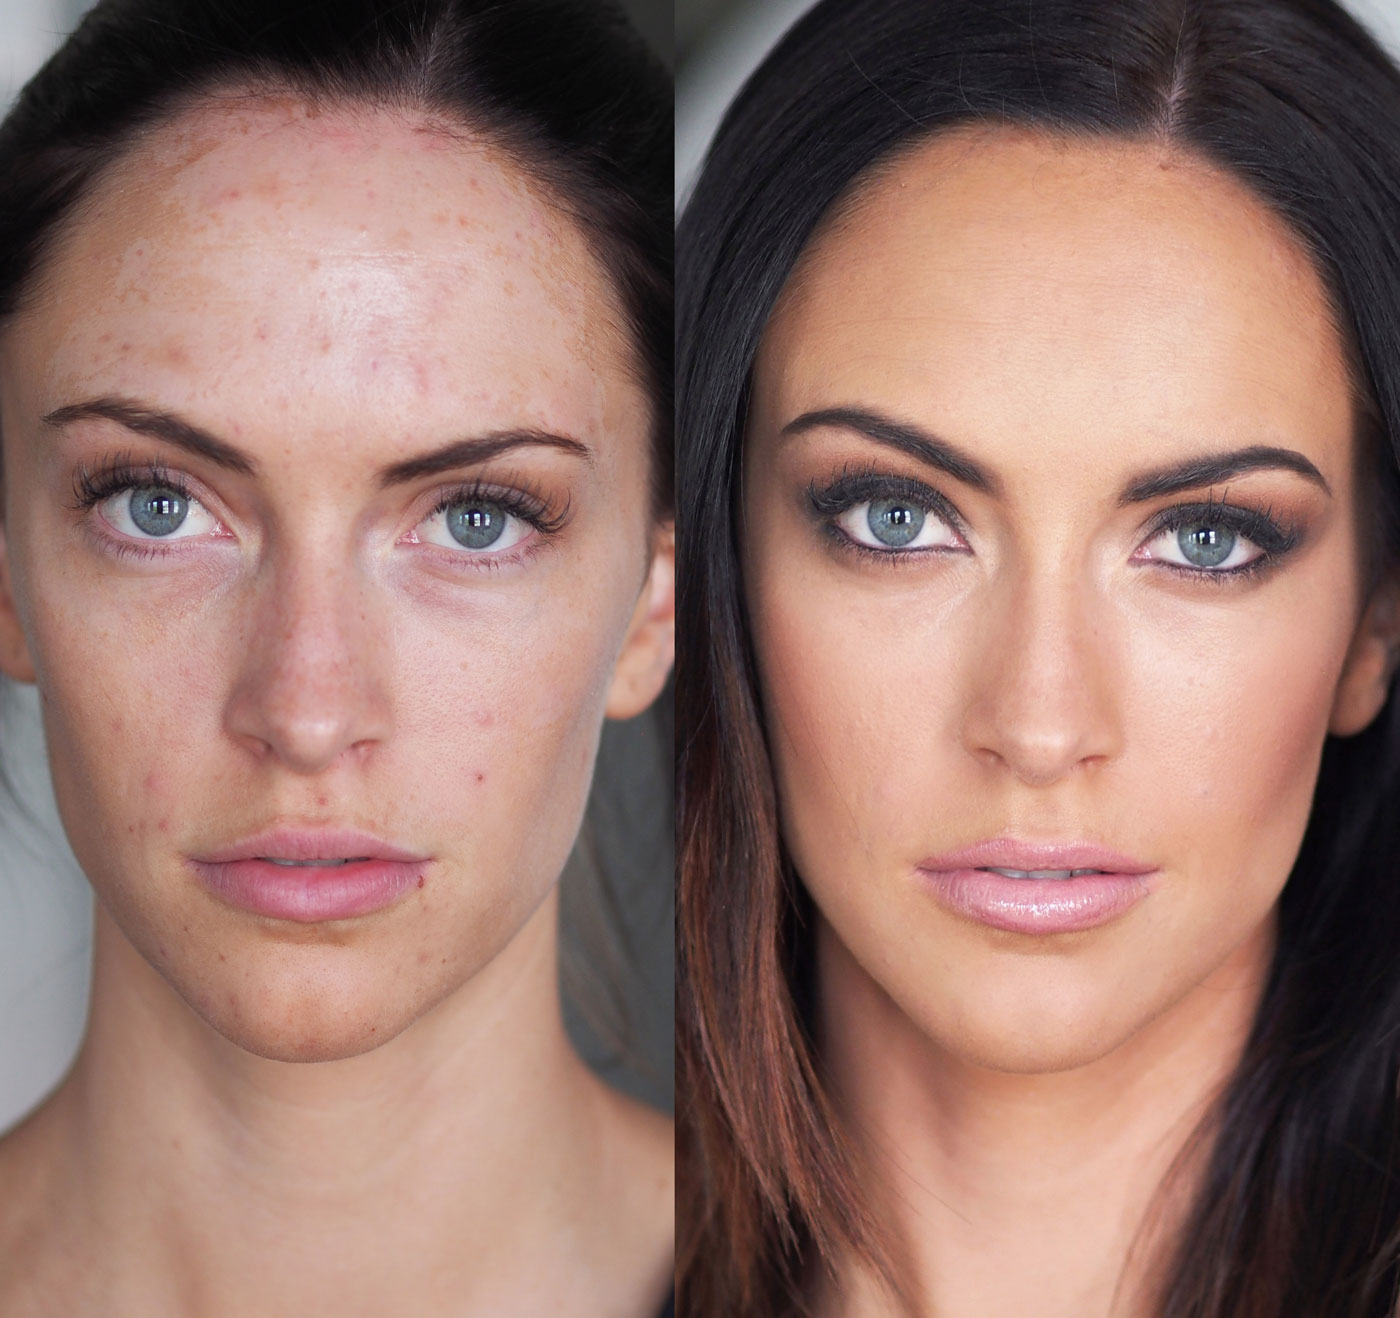
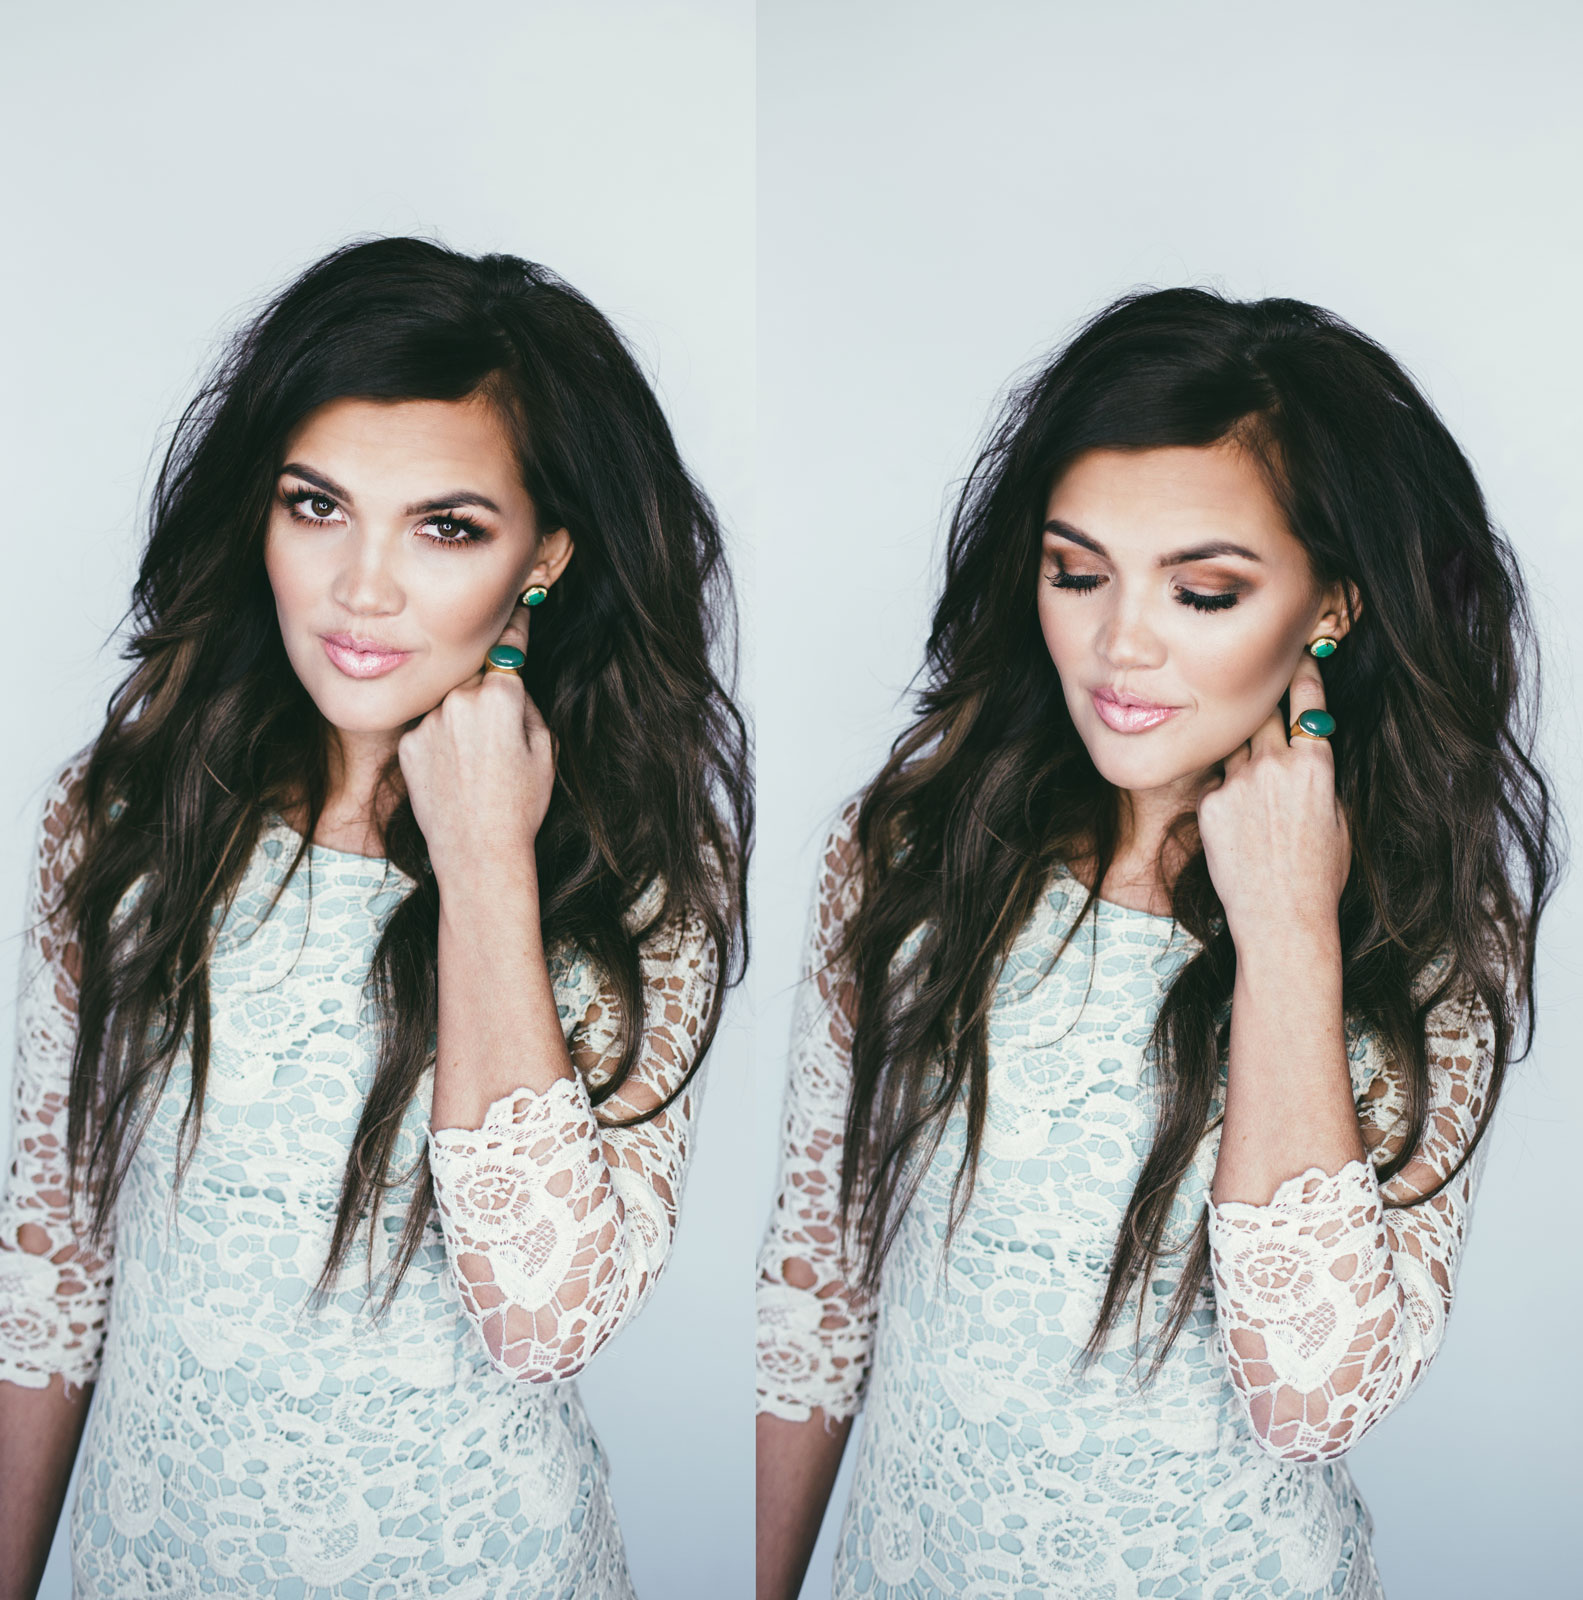
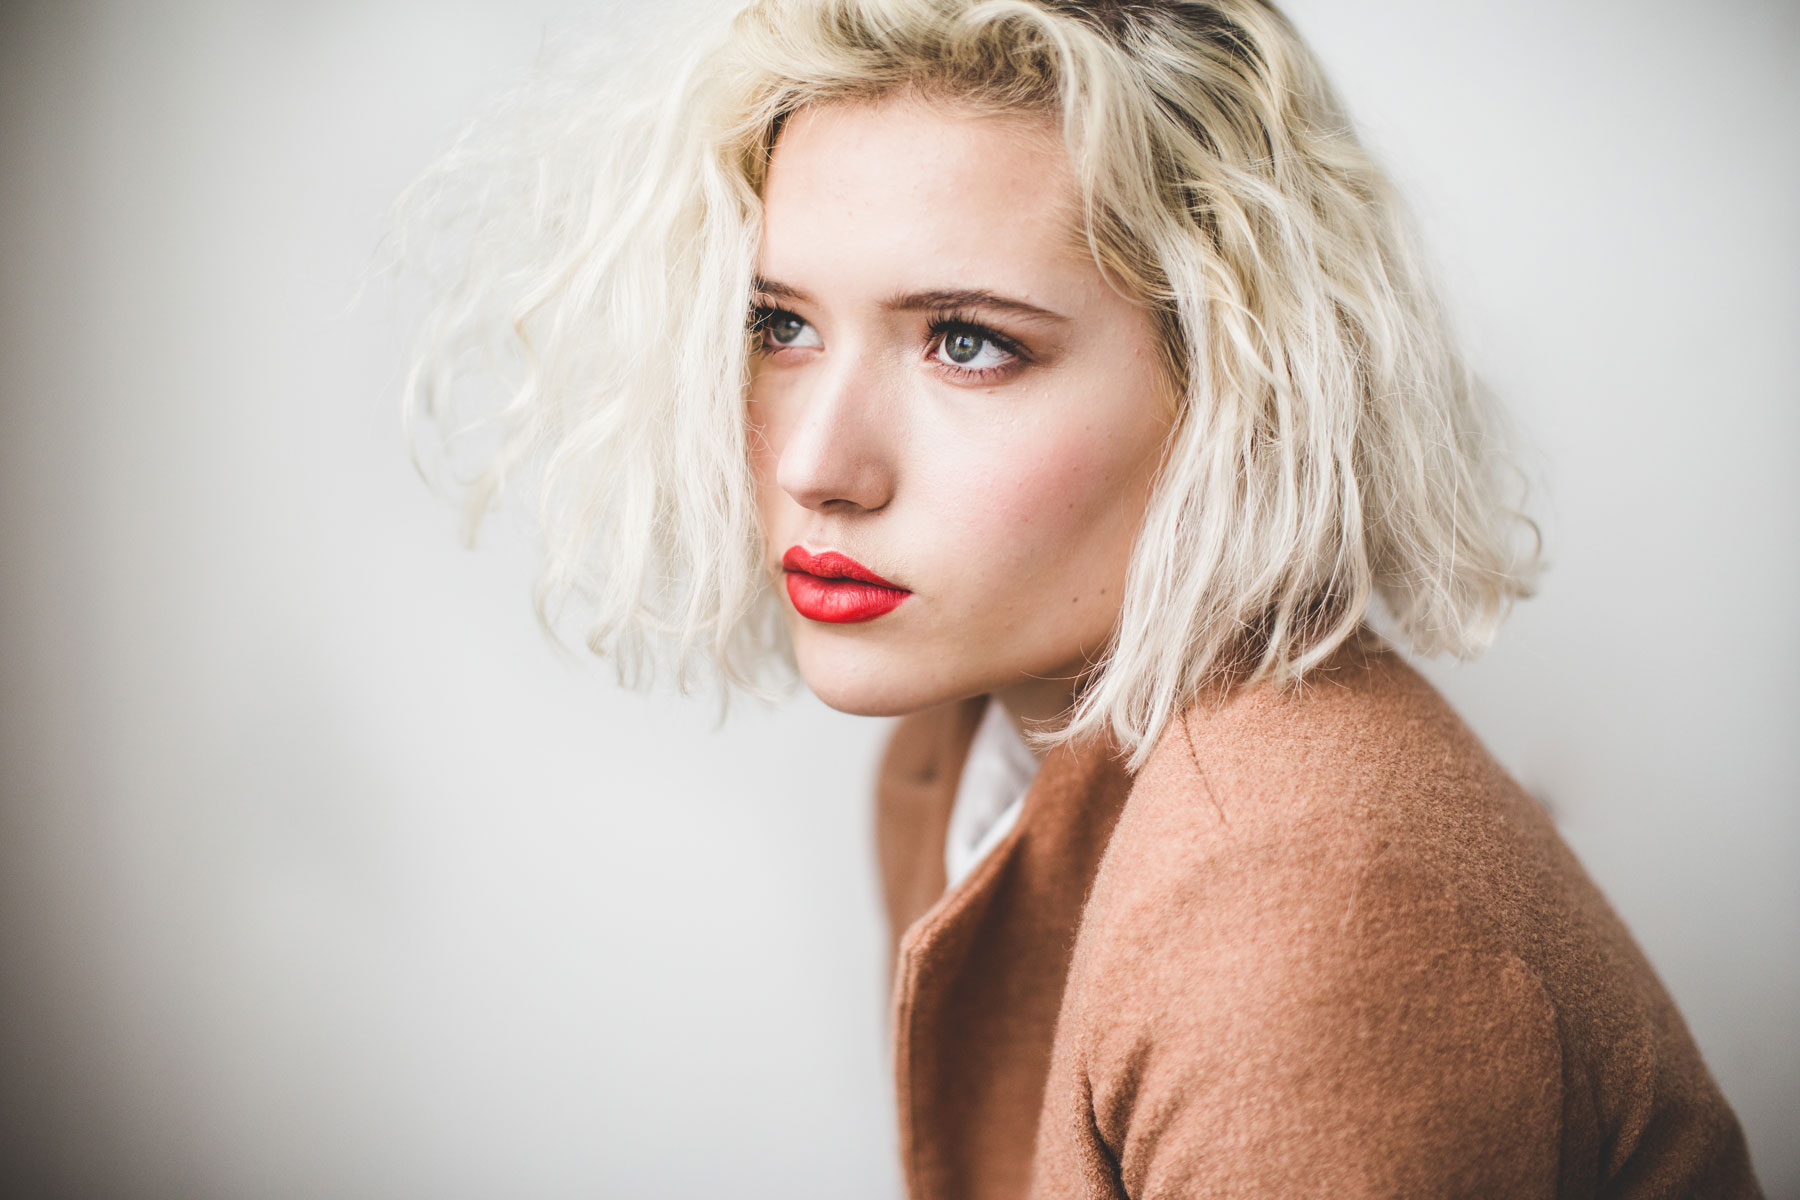
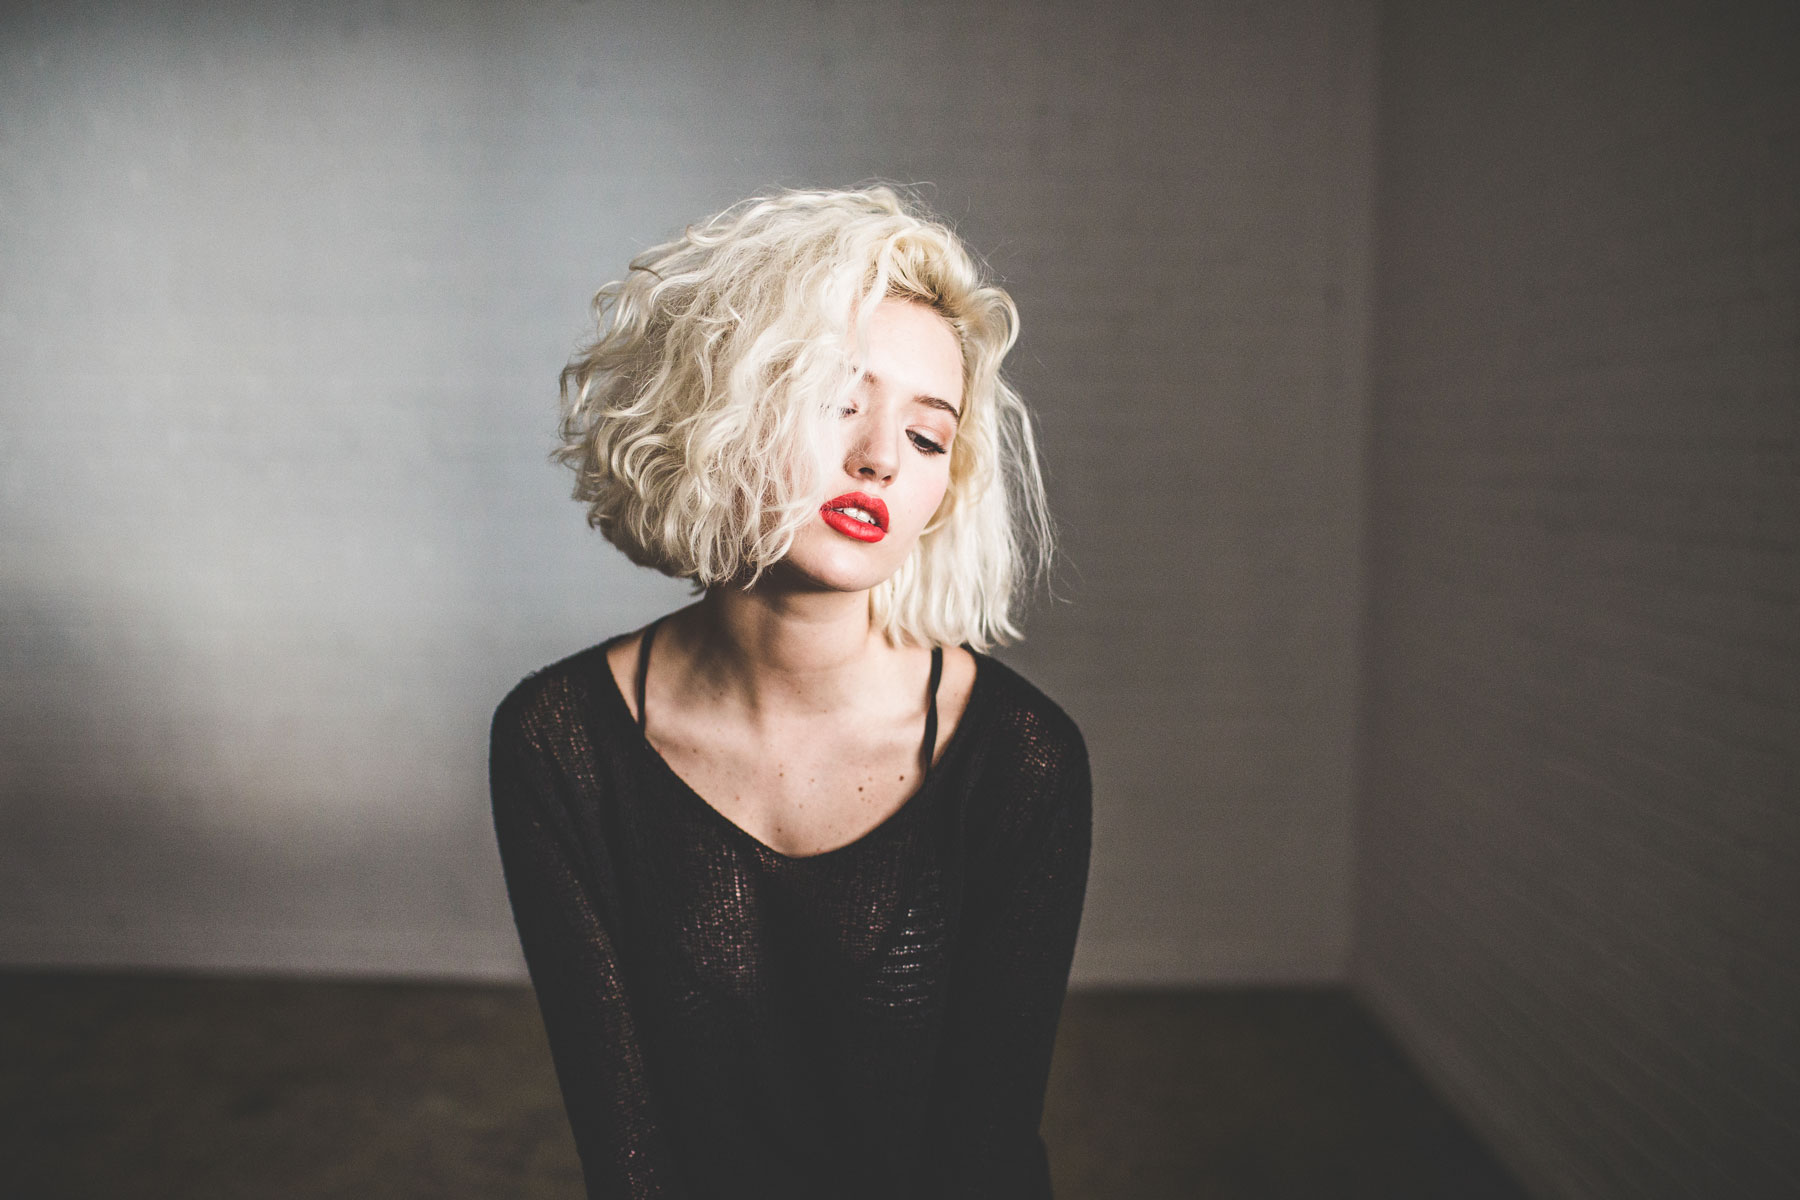
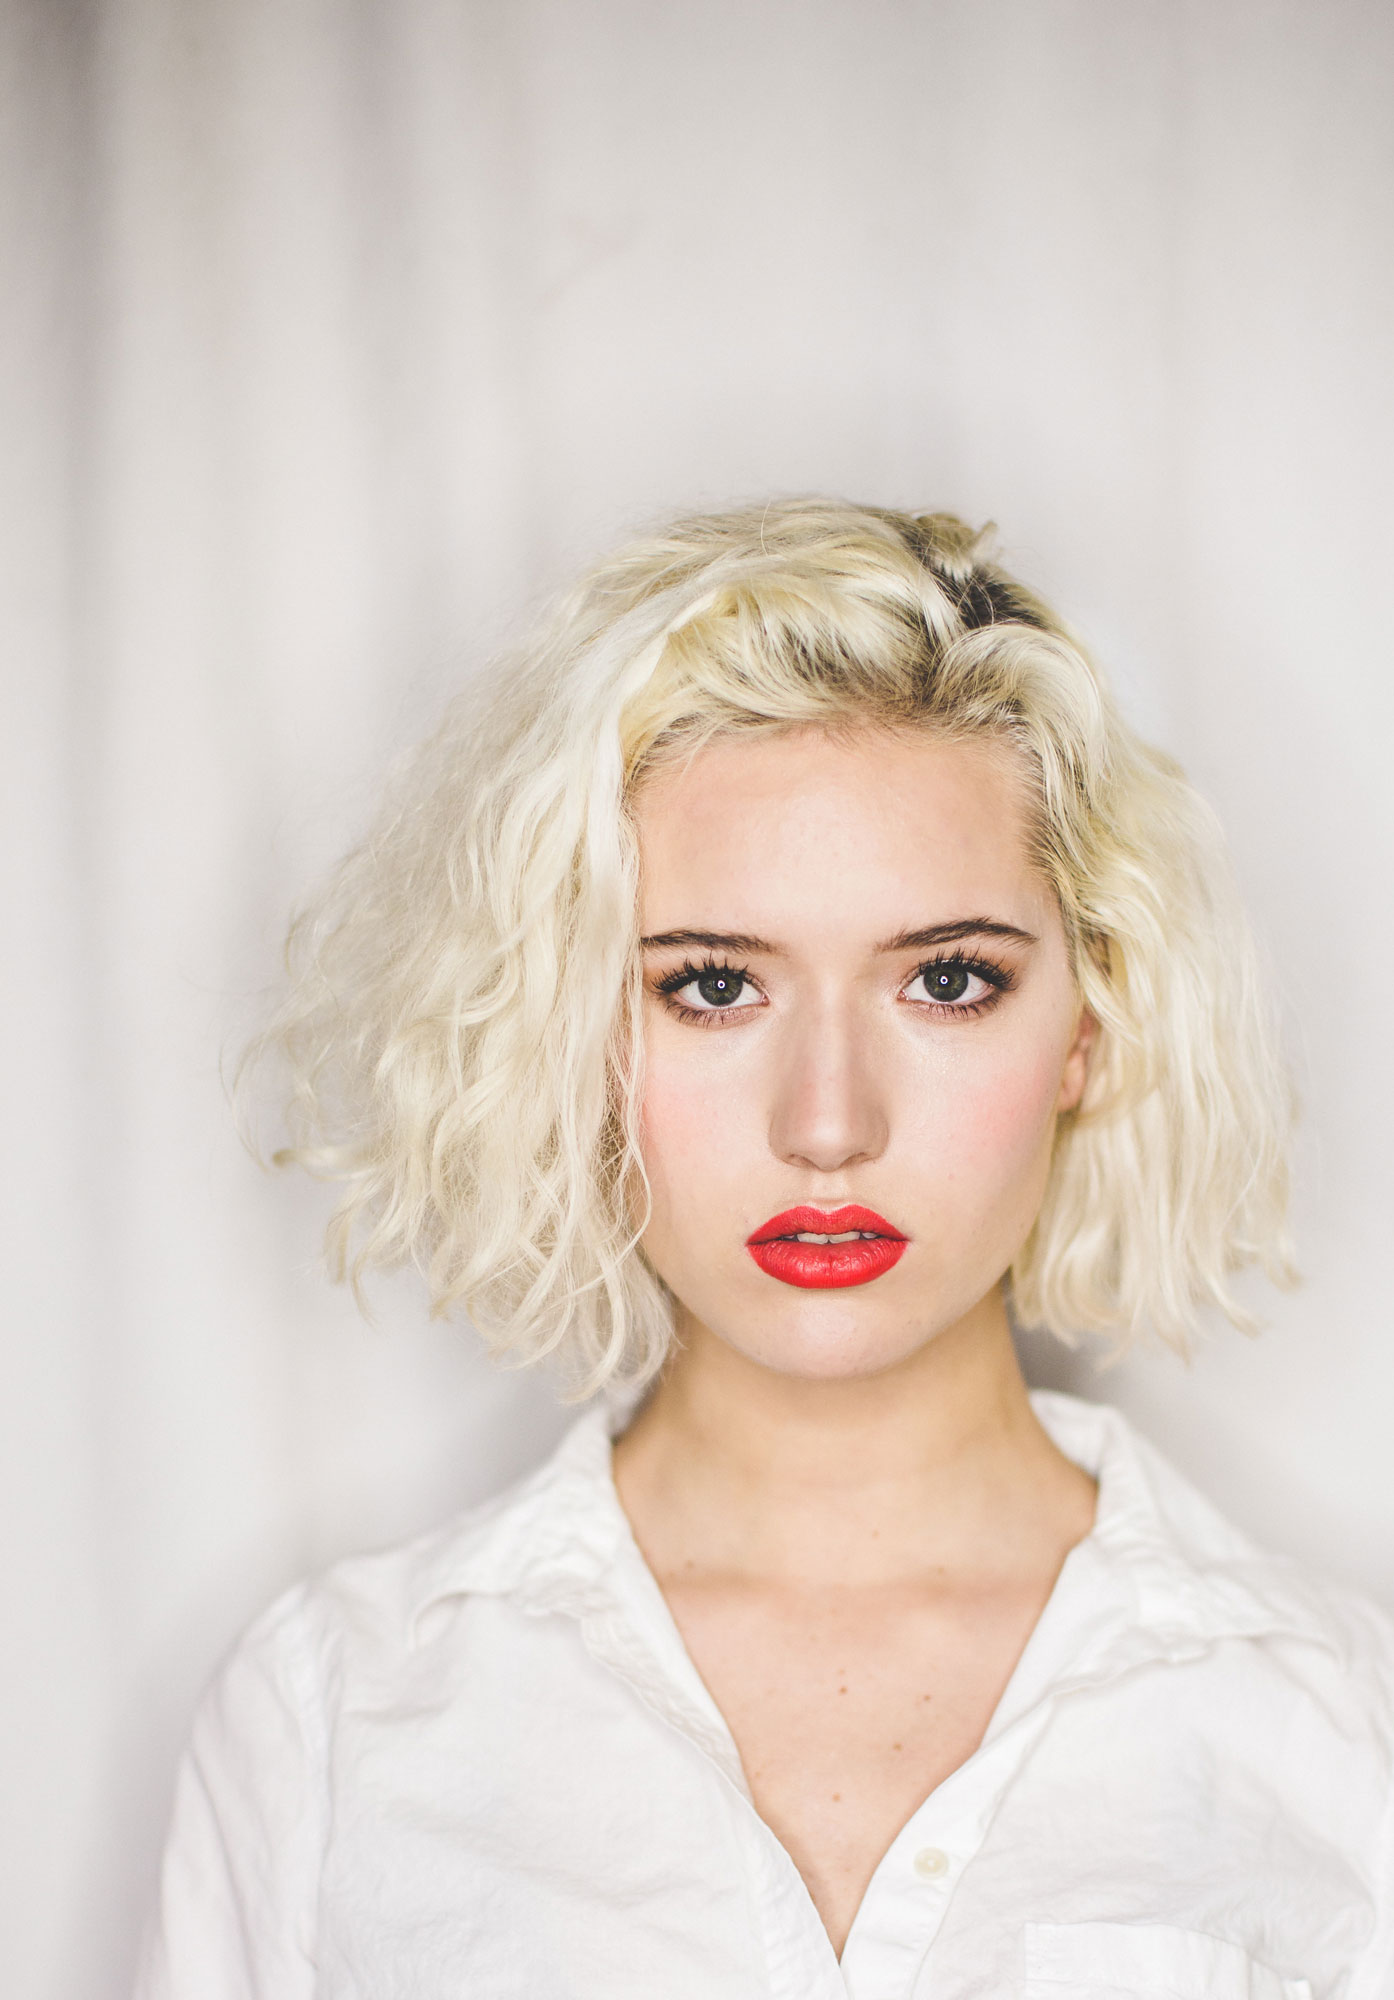
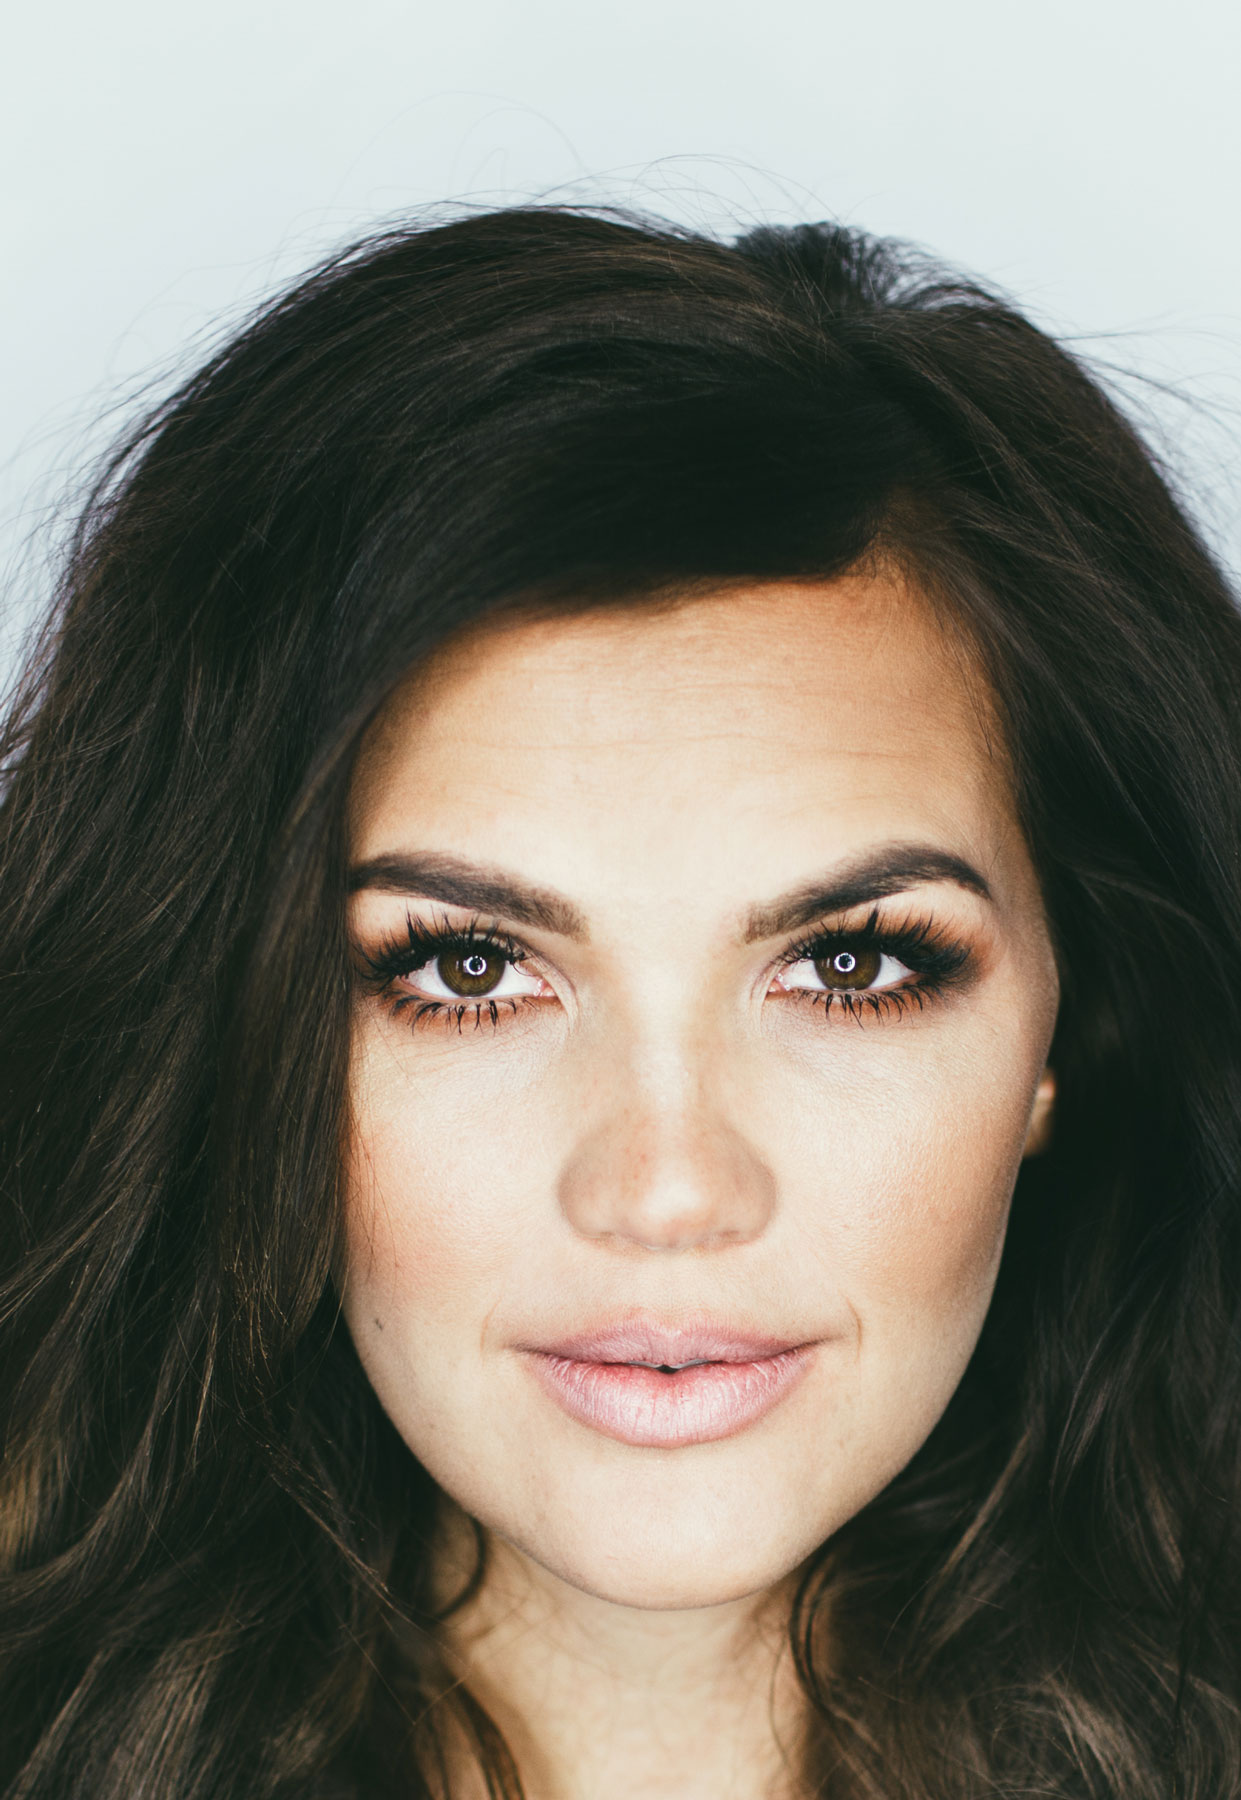
The Perfect Smokey Eye
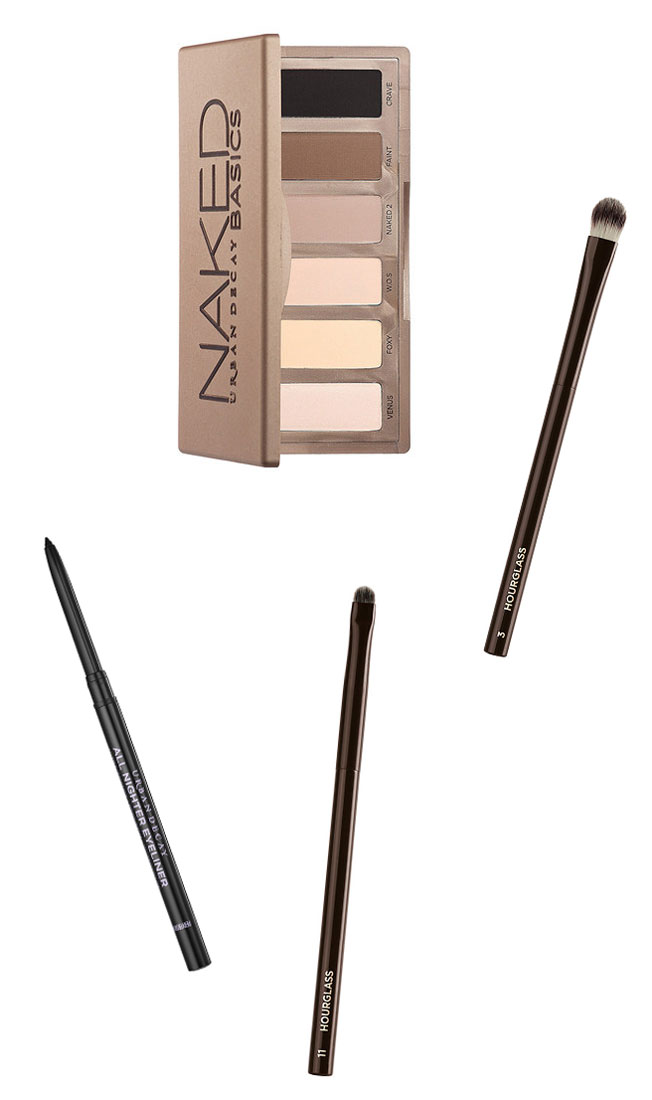
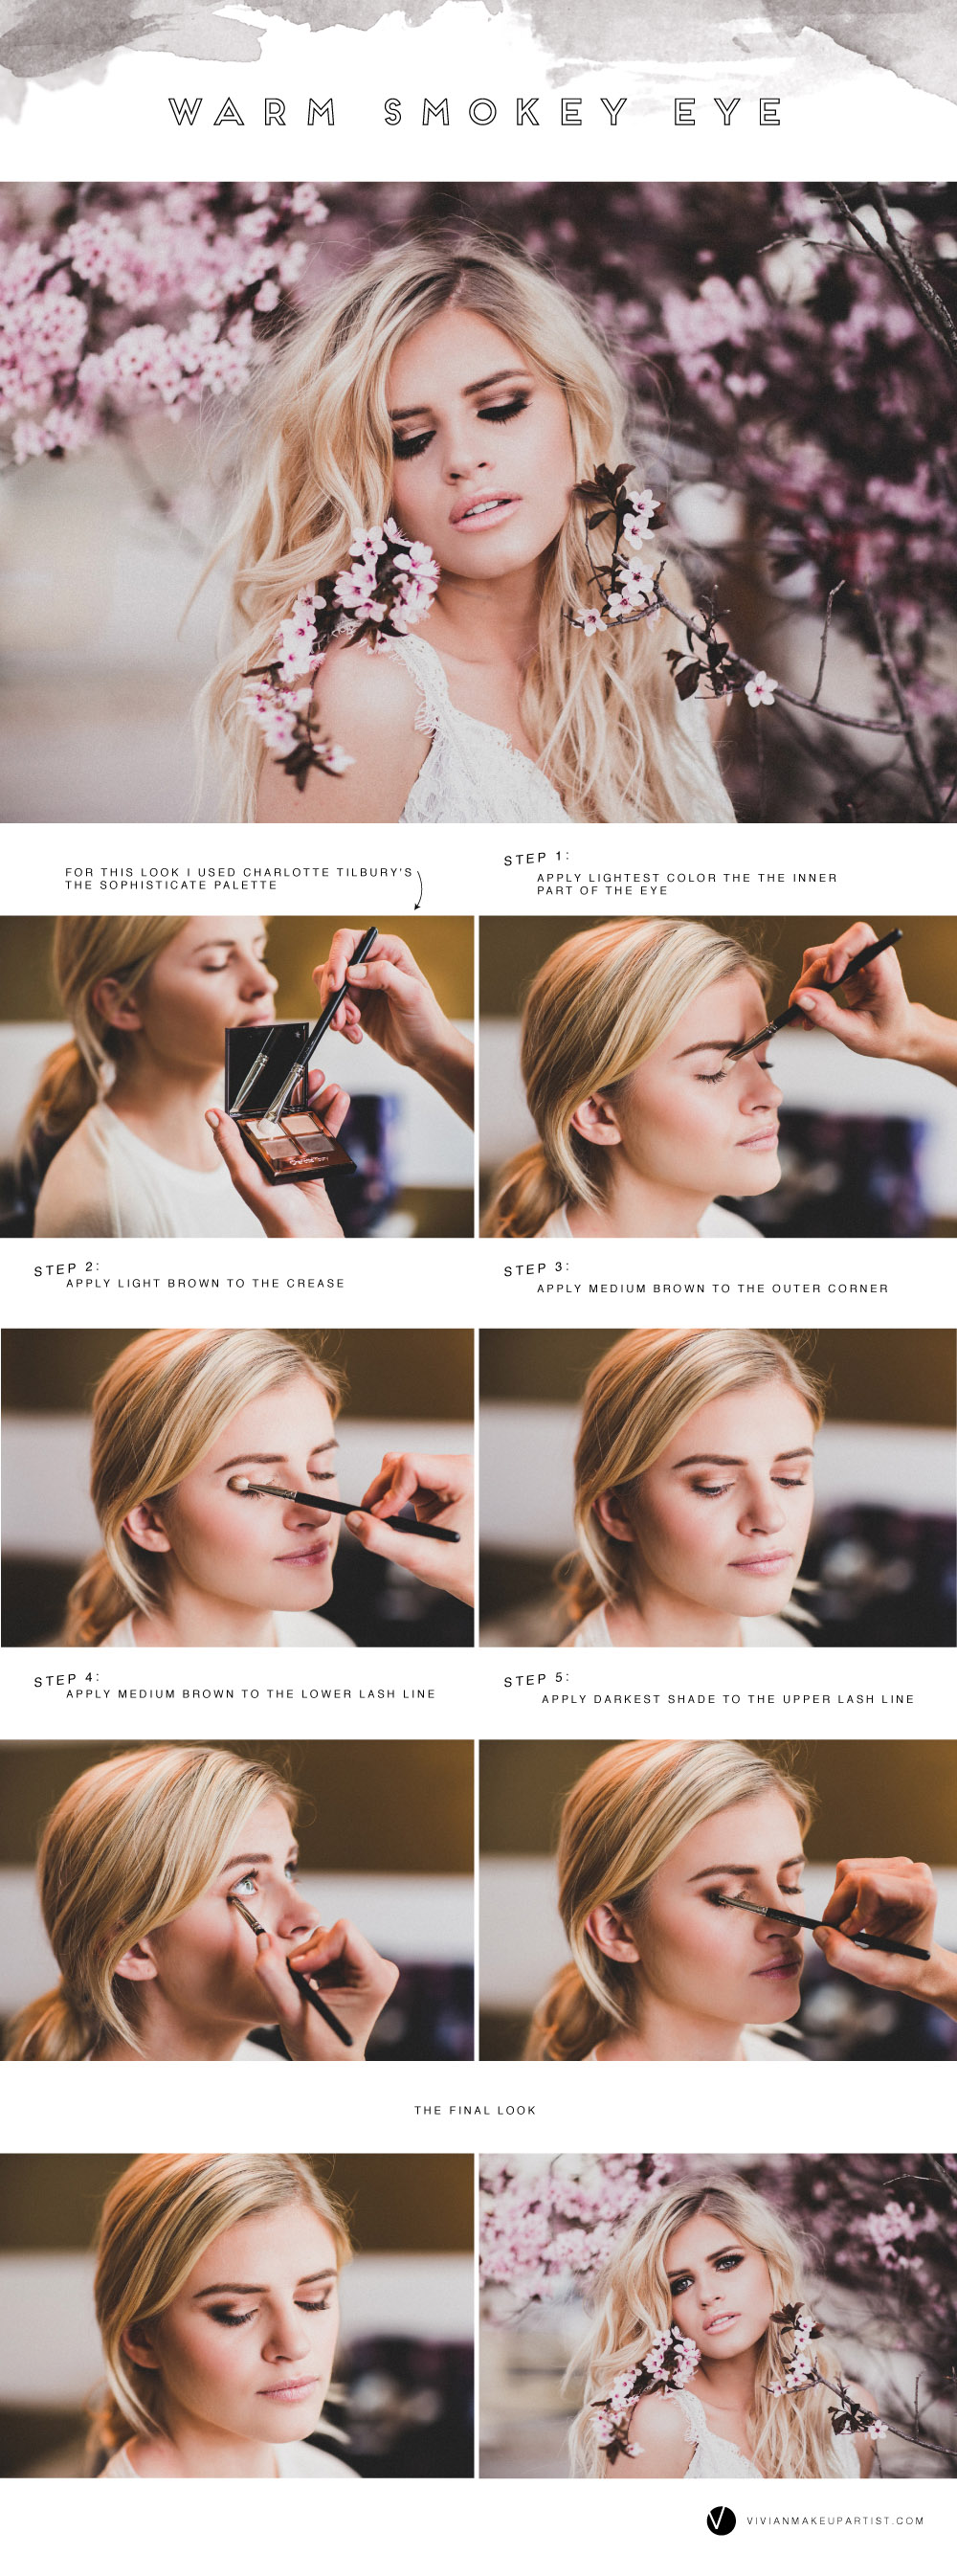
I used these products to create a smokey eye that will flatter any eye color.  Step 1 and 2: Use Urban Decay All Nighter eyeliner to line your eye.
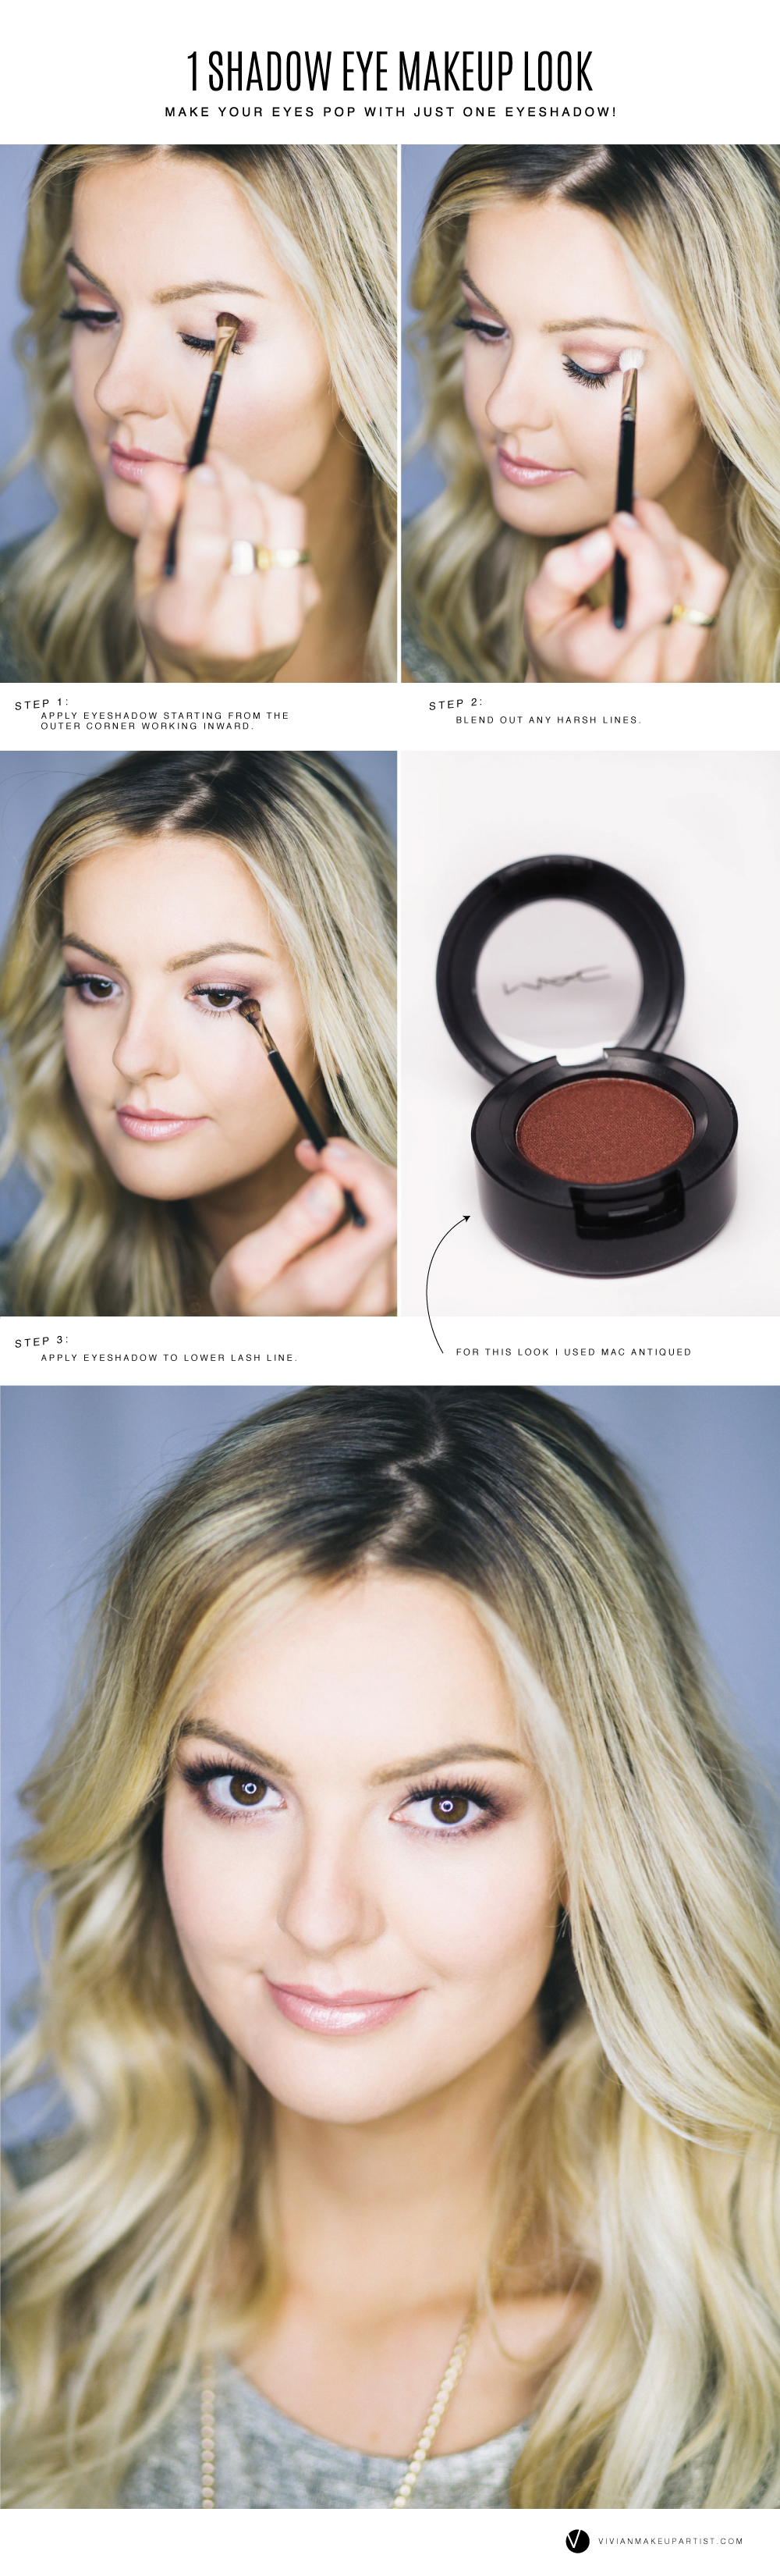
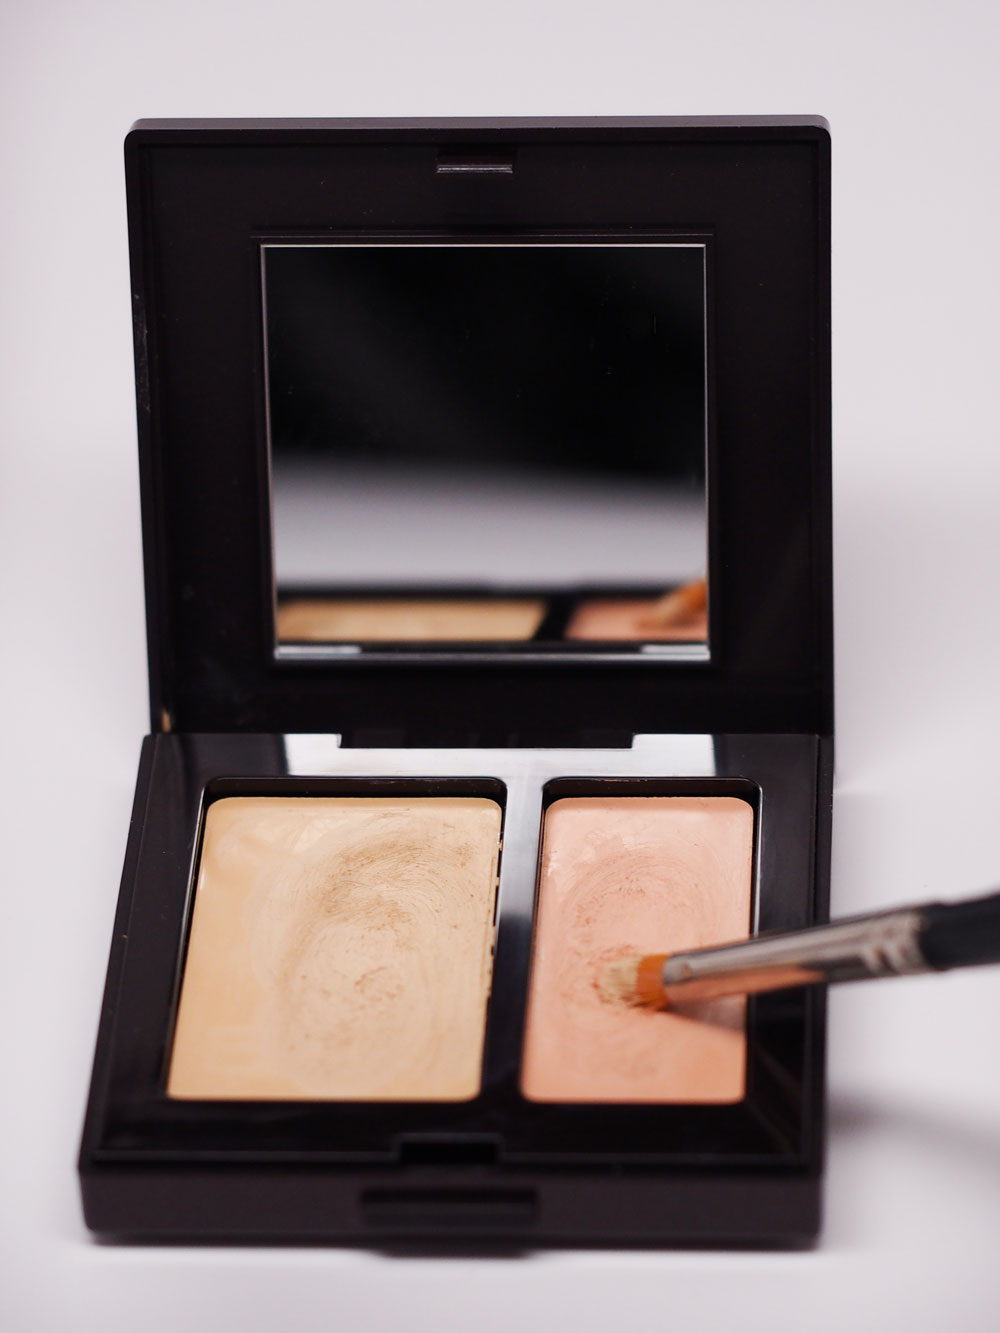
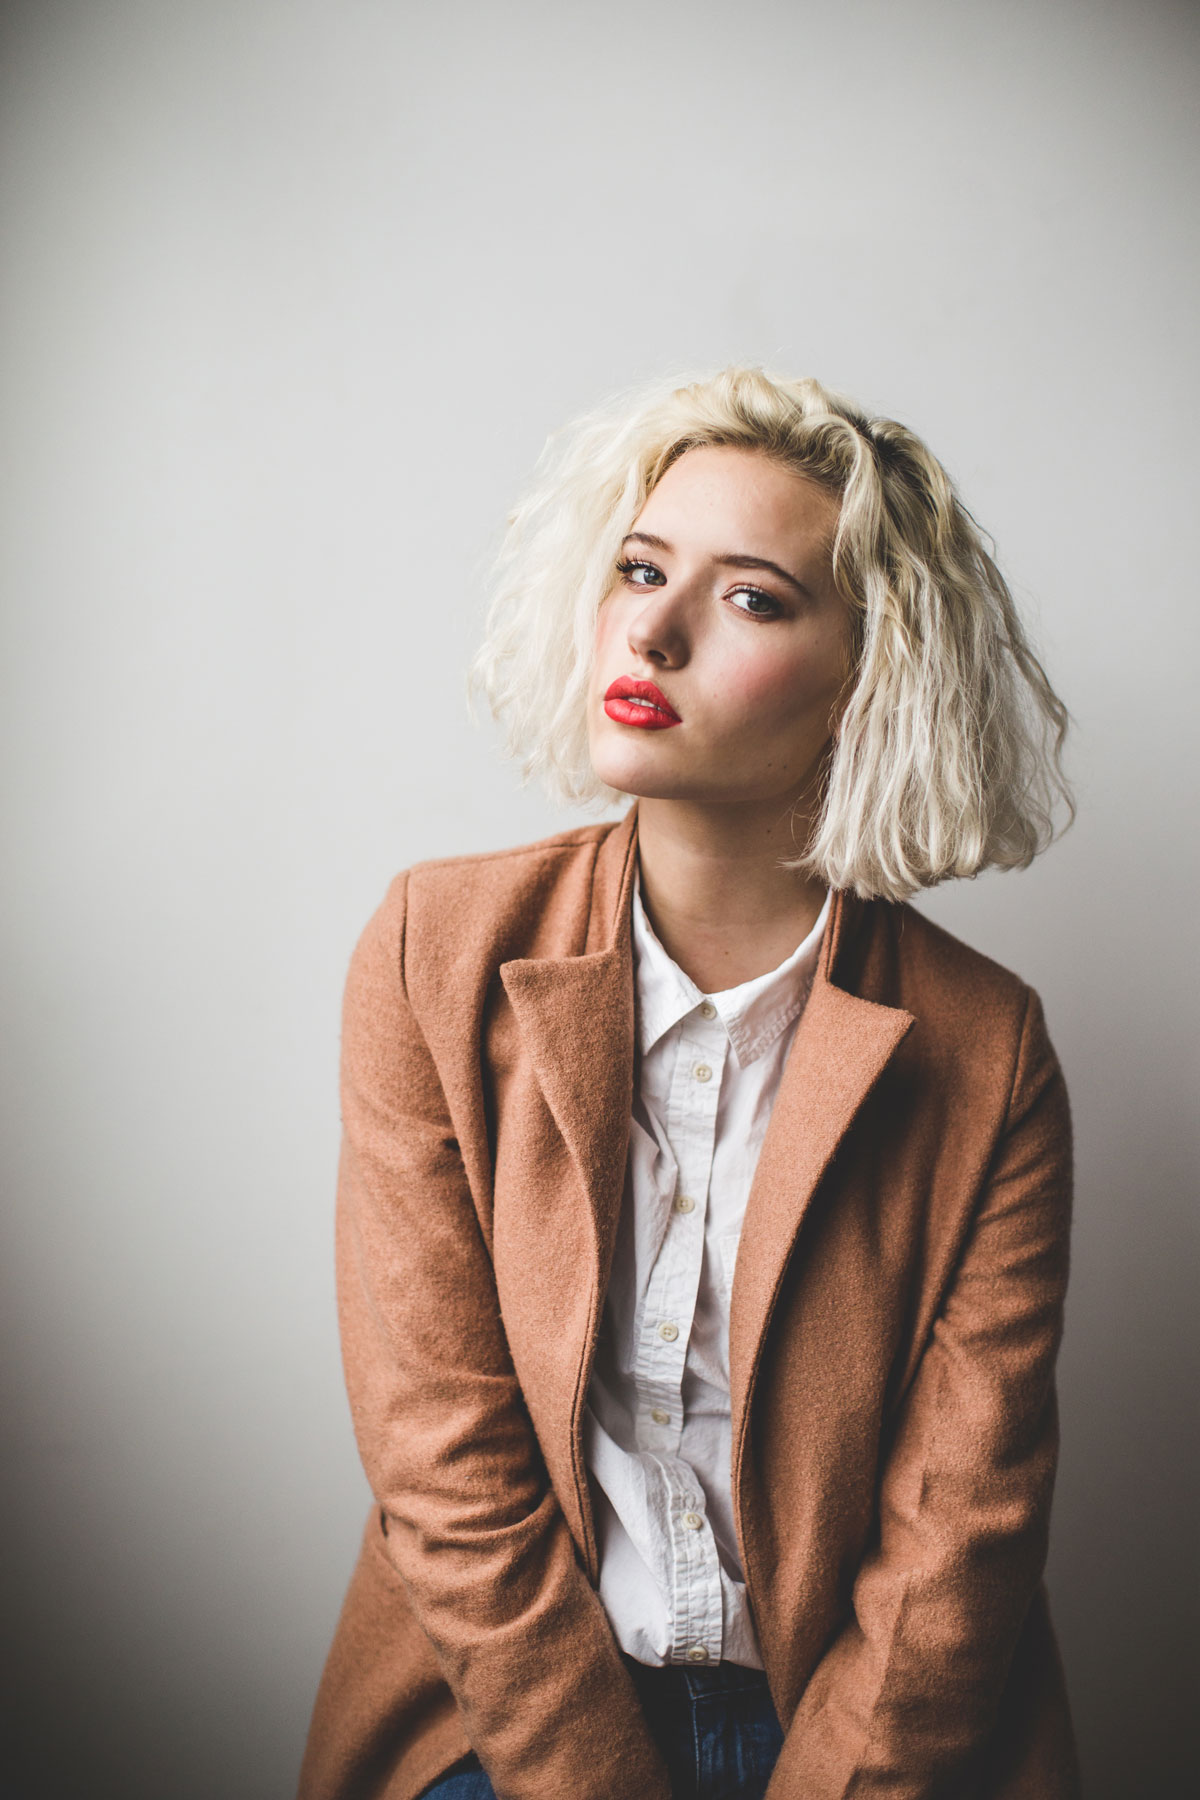
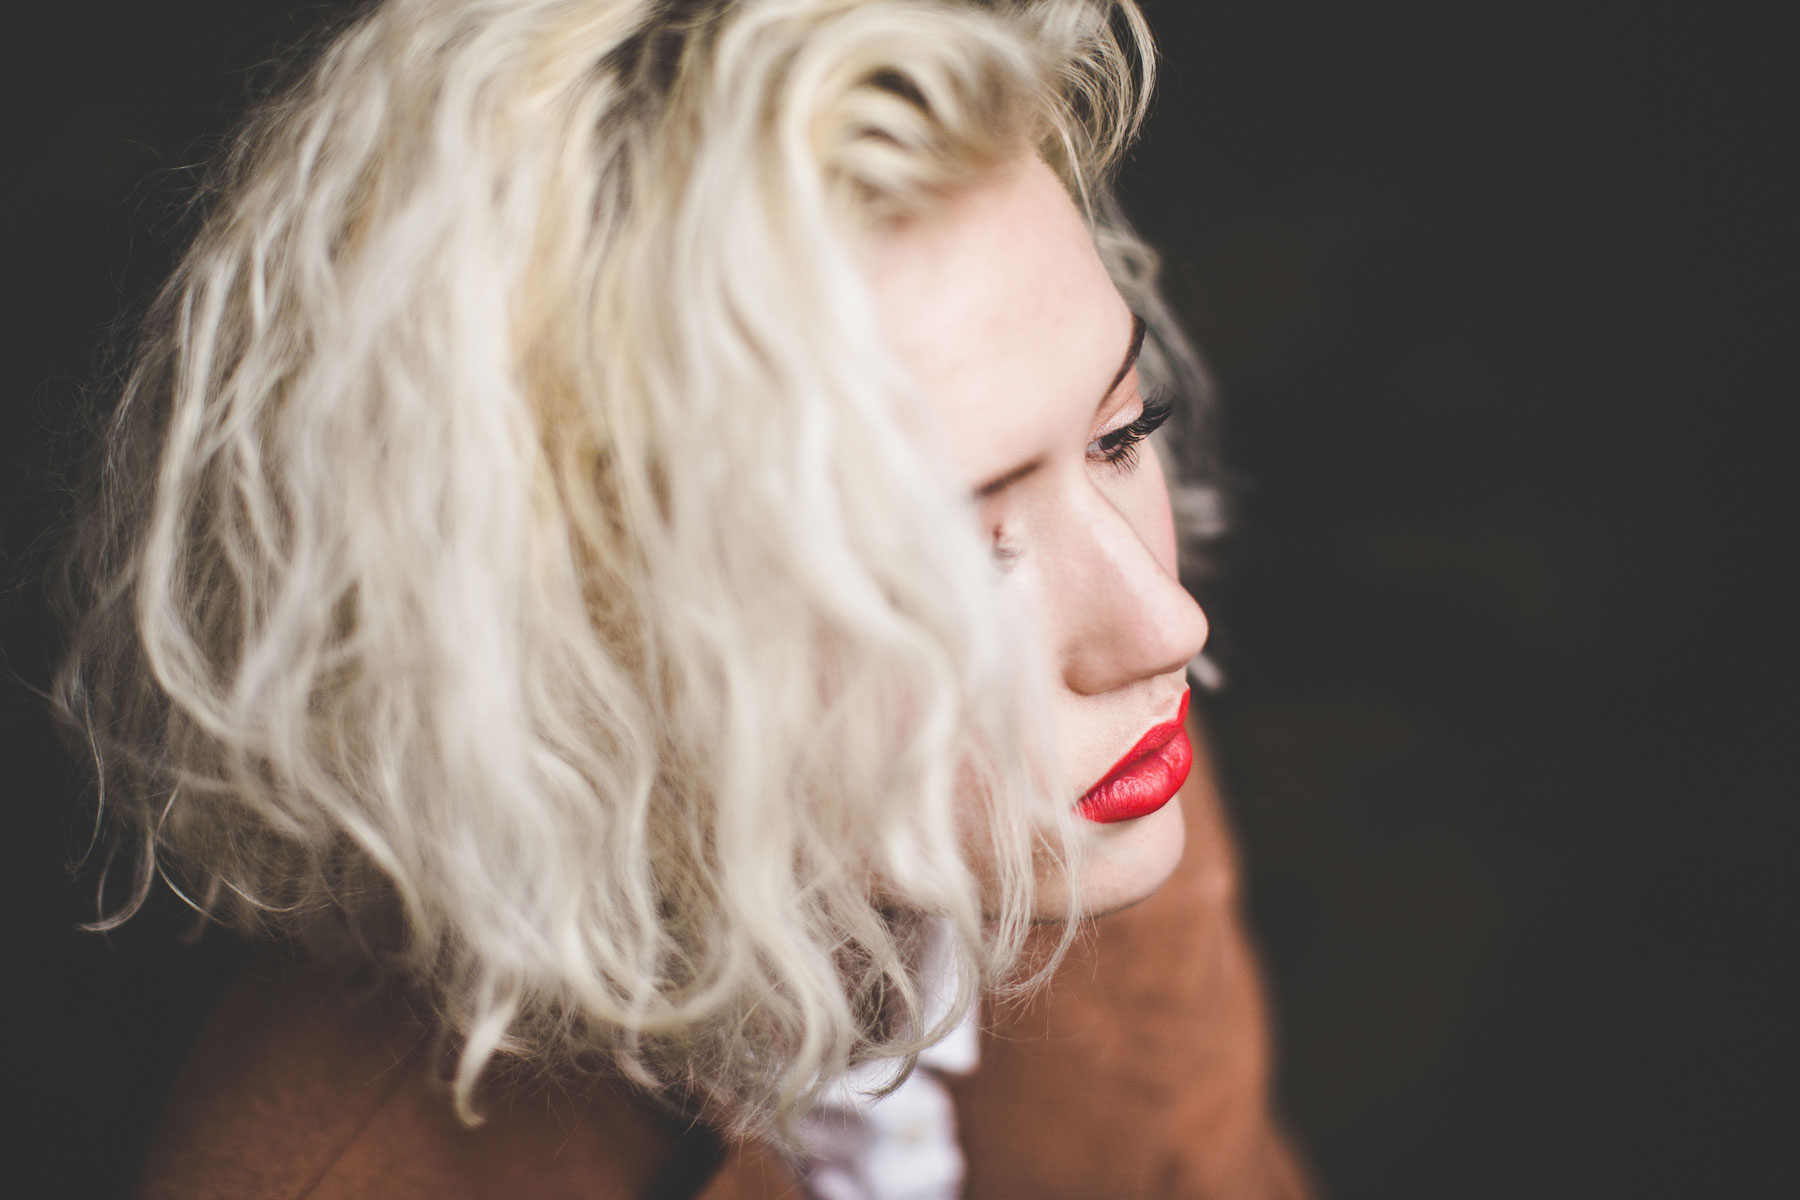
Step 3 and 4: Use the Hourglass Smudge brush to apply the darkest color Crave from the Urban Decay Naked Basics Palette.
Step 5: Use the Hourglass All Over Eyeshadow brush to apply the color Faint from the Urban Decay Naked Basics Palette.
Step 6: Use the Hourglass Smudge brush to apply the lightest color Venus from the Urban Decay Naked Basics Palette.
Then if desired, add lashes! I used some super duper full ones. They’re Flutterlashes in Miley. Flutterlashes are more of a luxury strip lash. For a more subtle but striking look, I LOVE the Isabella and Ashlin styles by Flutterlashes.
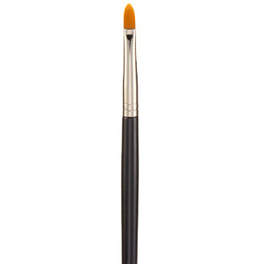
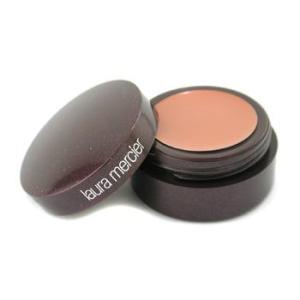
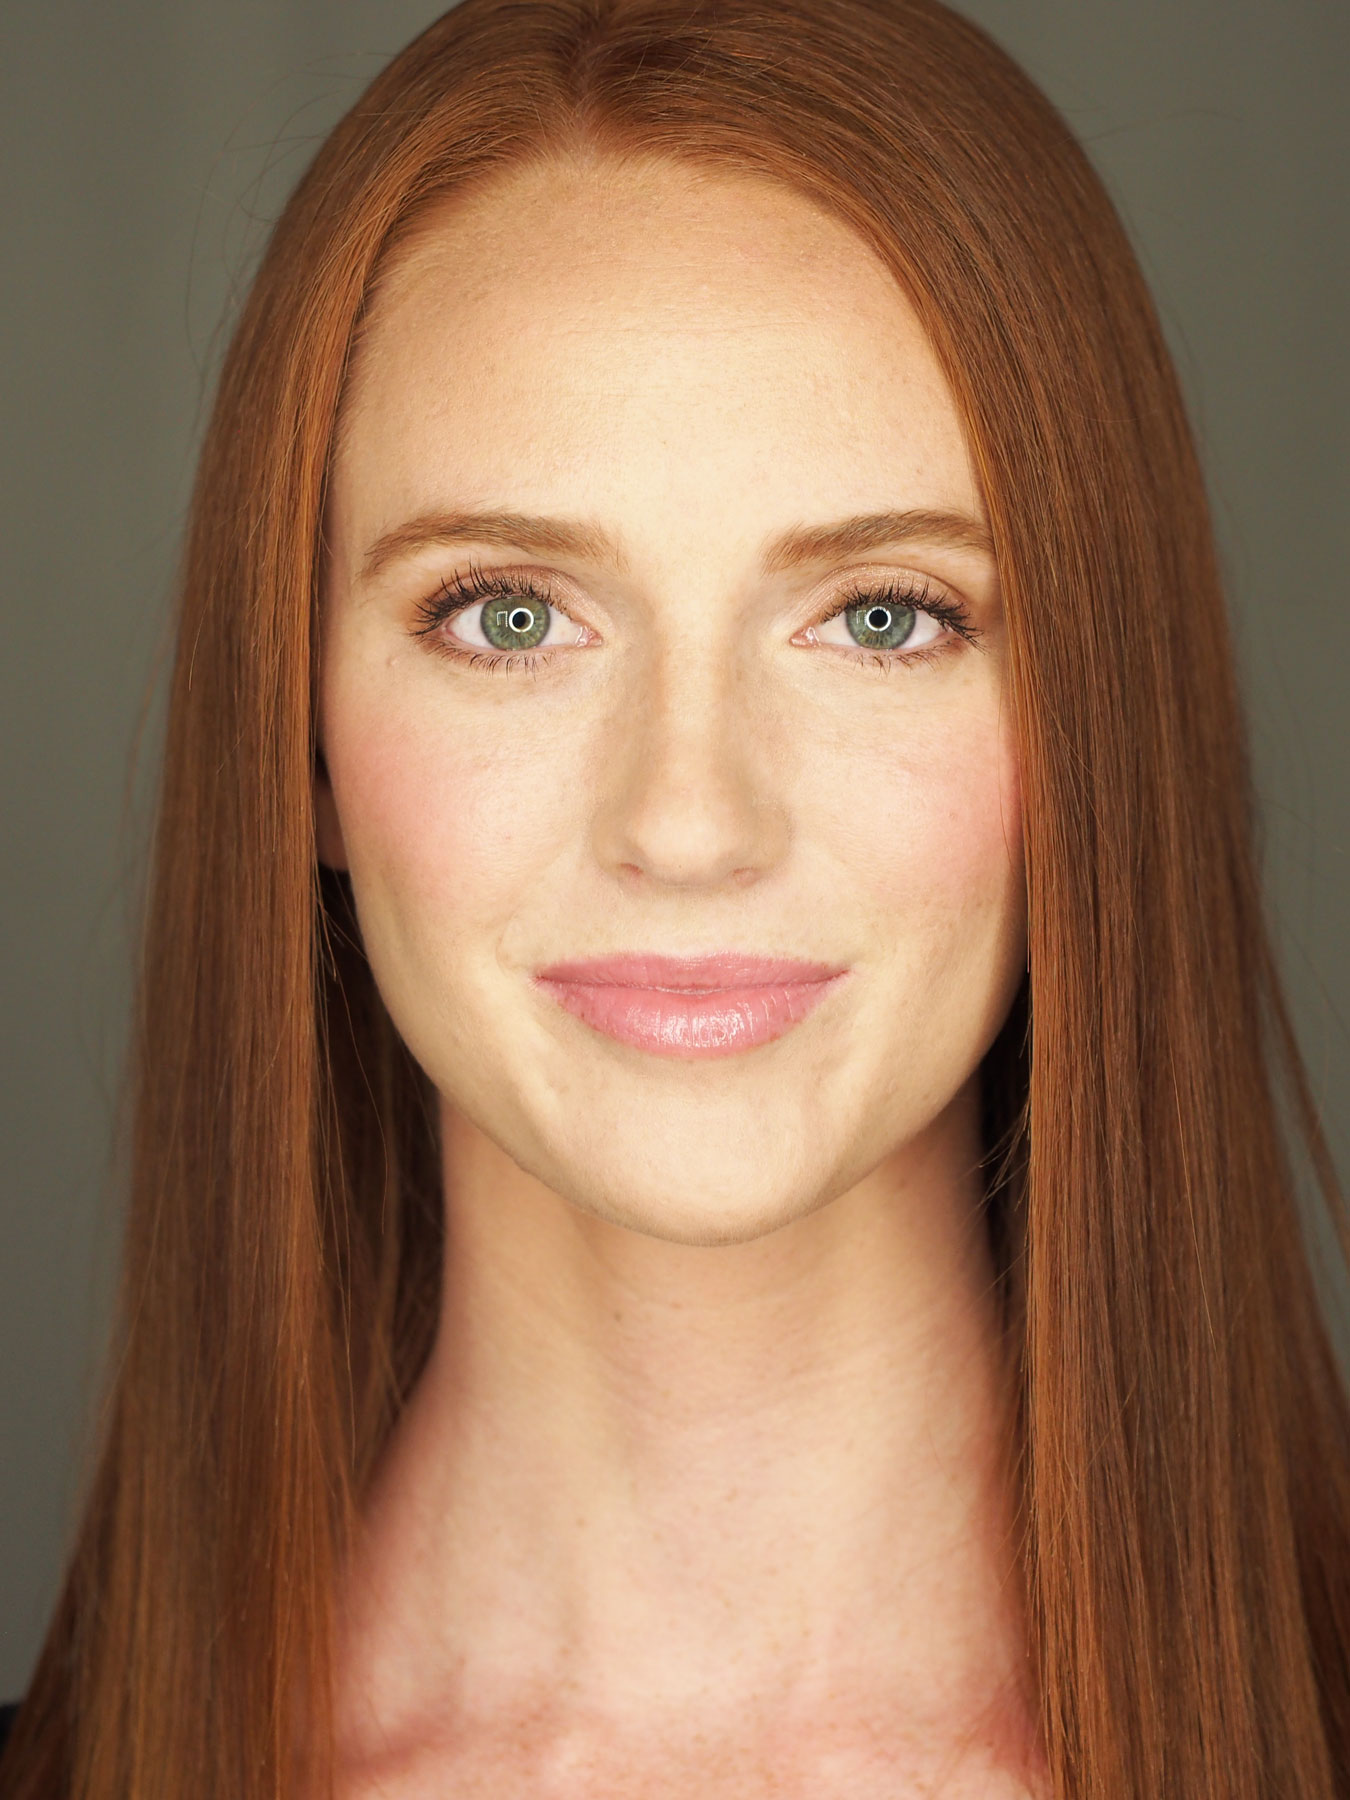
I am always hunting for the very best brushes so I like trying different things. Hourglass brushes are incredibly durable and the Hourglass Small concealer brush No.5 and the Hourglass Large concealer brush No.8 are some of my staples. I like the Hourglass eyeshadow brushes I used for this look and they seem durable, which is one of the reasons I love their concealer brushes. However, if you’ve been following my blog for a while and already have the MAC Mini Shader Brush 228 and the MAC Fluff Brush 213, those will work just fine.
Make sure to always clean up any excess eyeshadow tricklets that end up under your eyes. The point of a smokey eye is to look sexy not sickly! Ha 😉
Photos by Mary Claire Photography of Makenna Alyse.
xoxo

 The brushes I used:
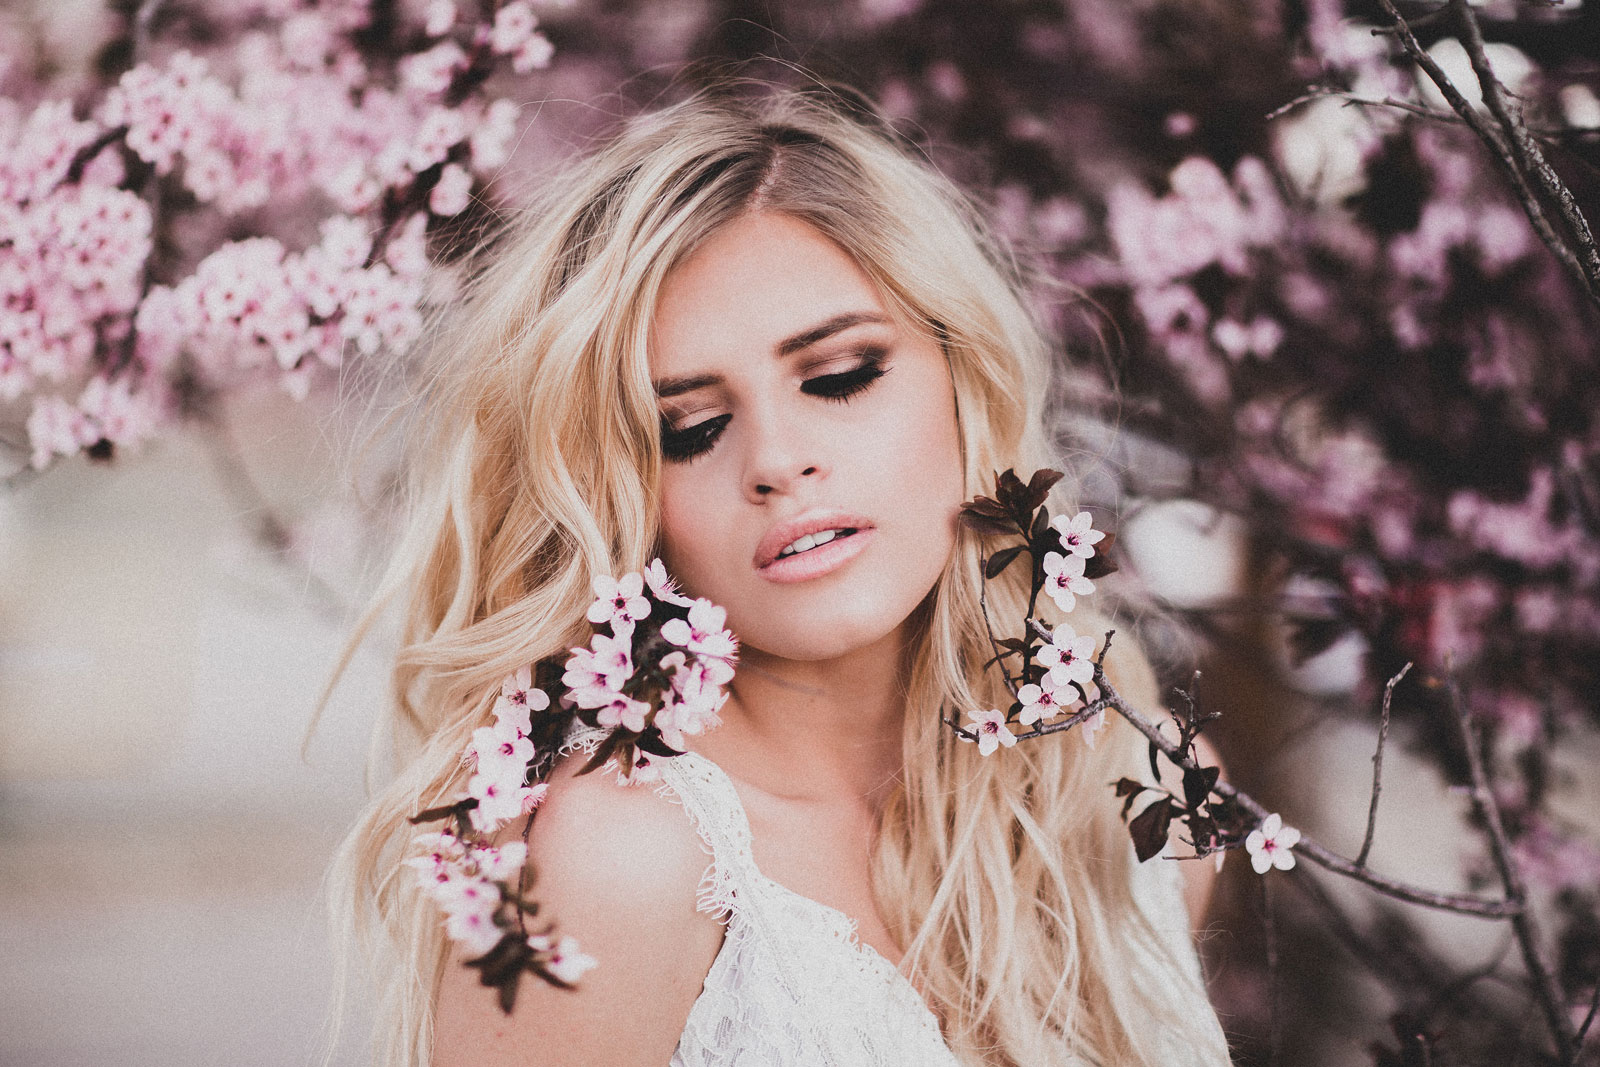
 So at 17 (I was young for my grade) I graduated high school and had completed a couple of semesters of college, so I moved to Los Angeles to go to makeup design school. I was SO excited to conquer the world and I SO did not know what I was doing. But I was excited!


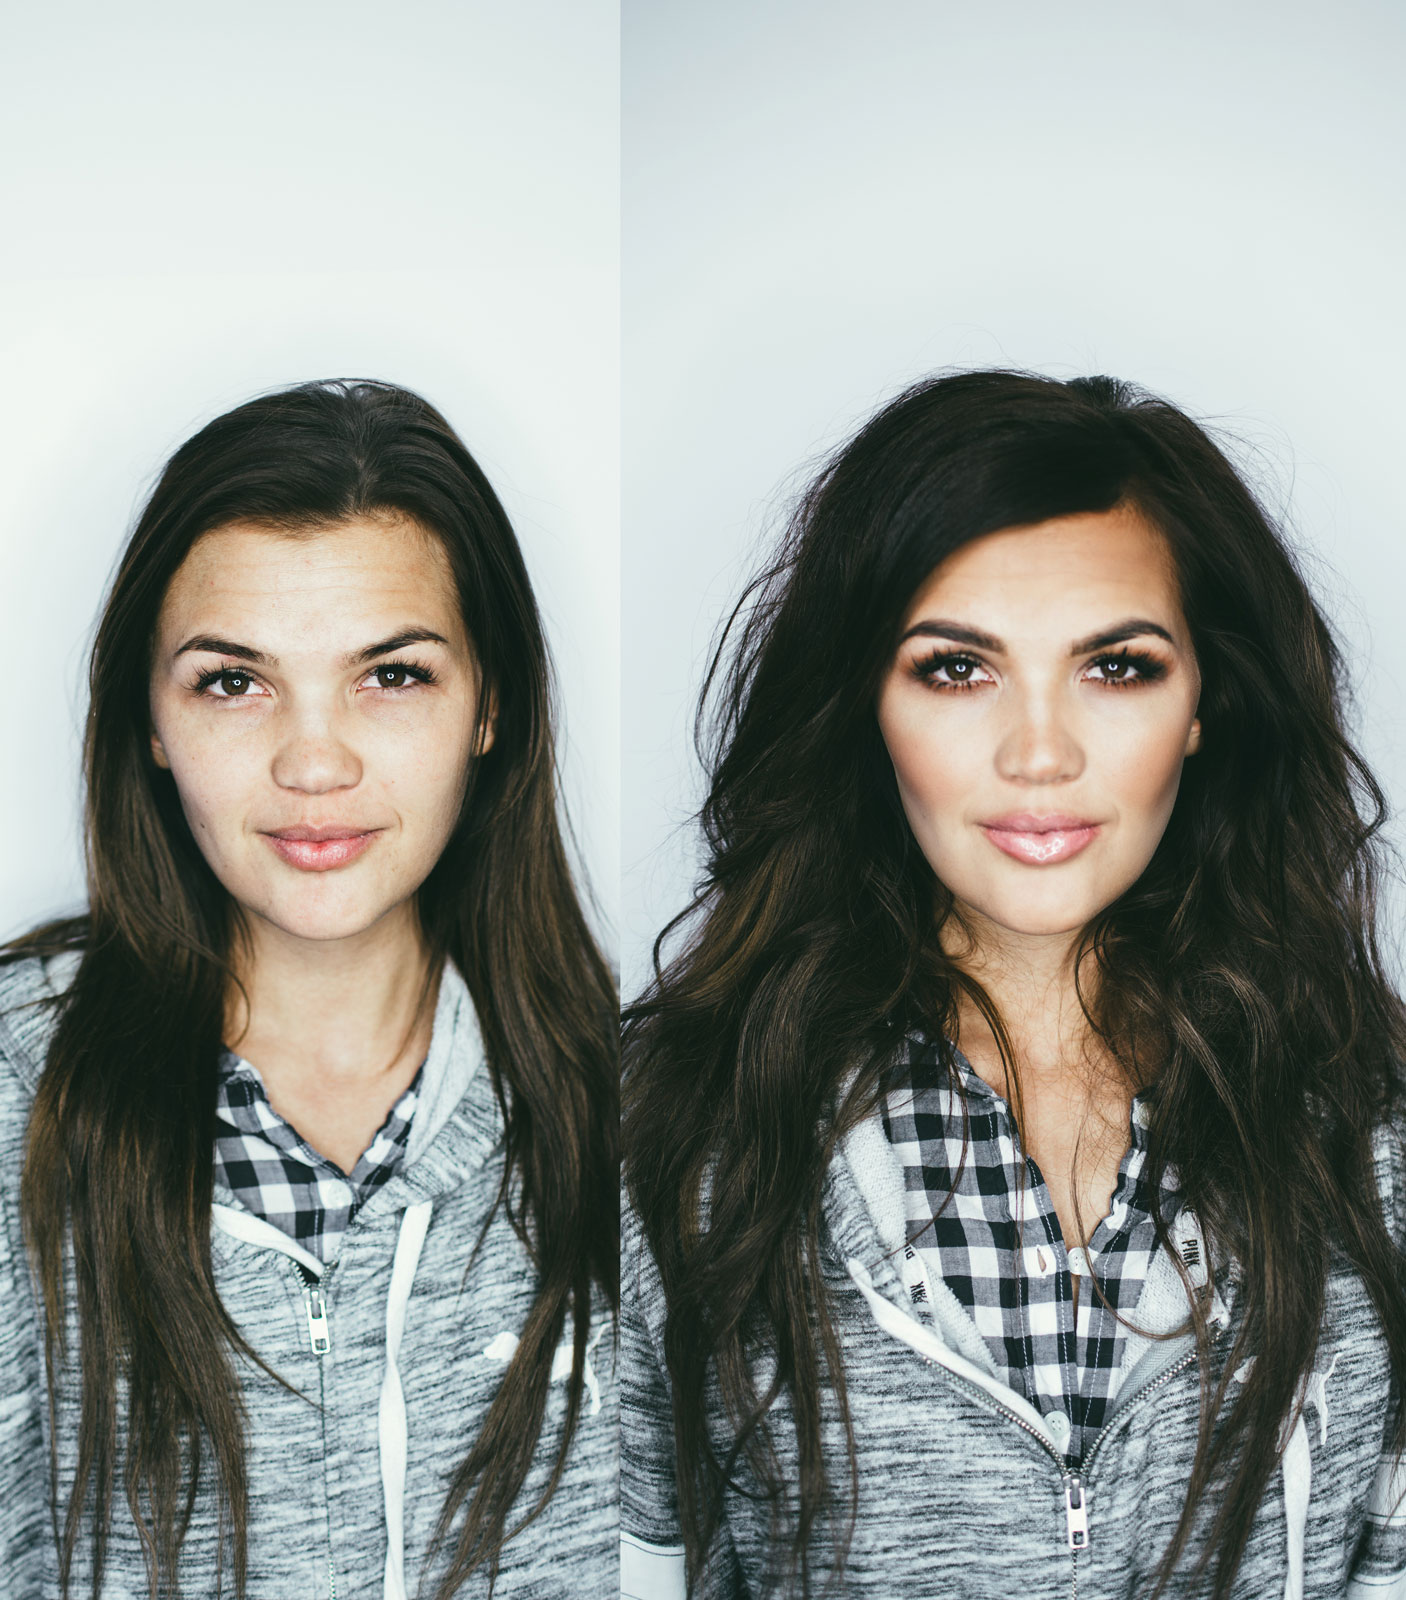


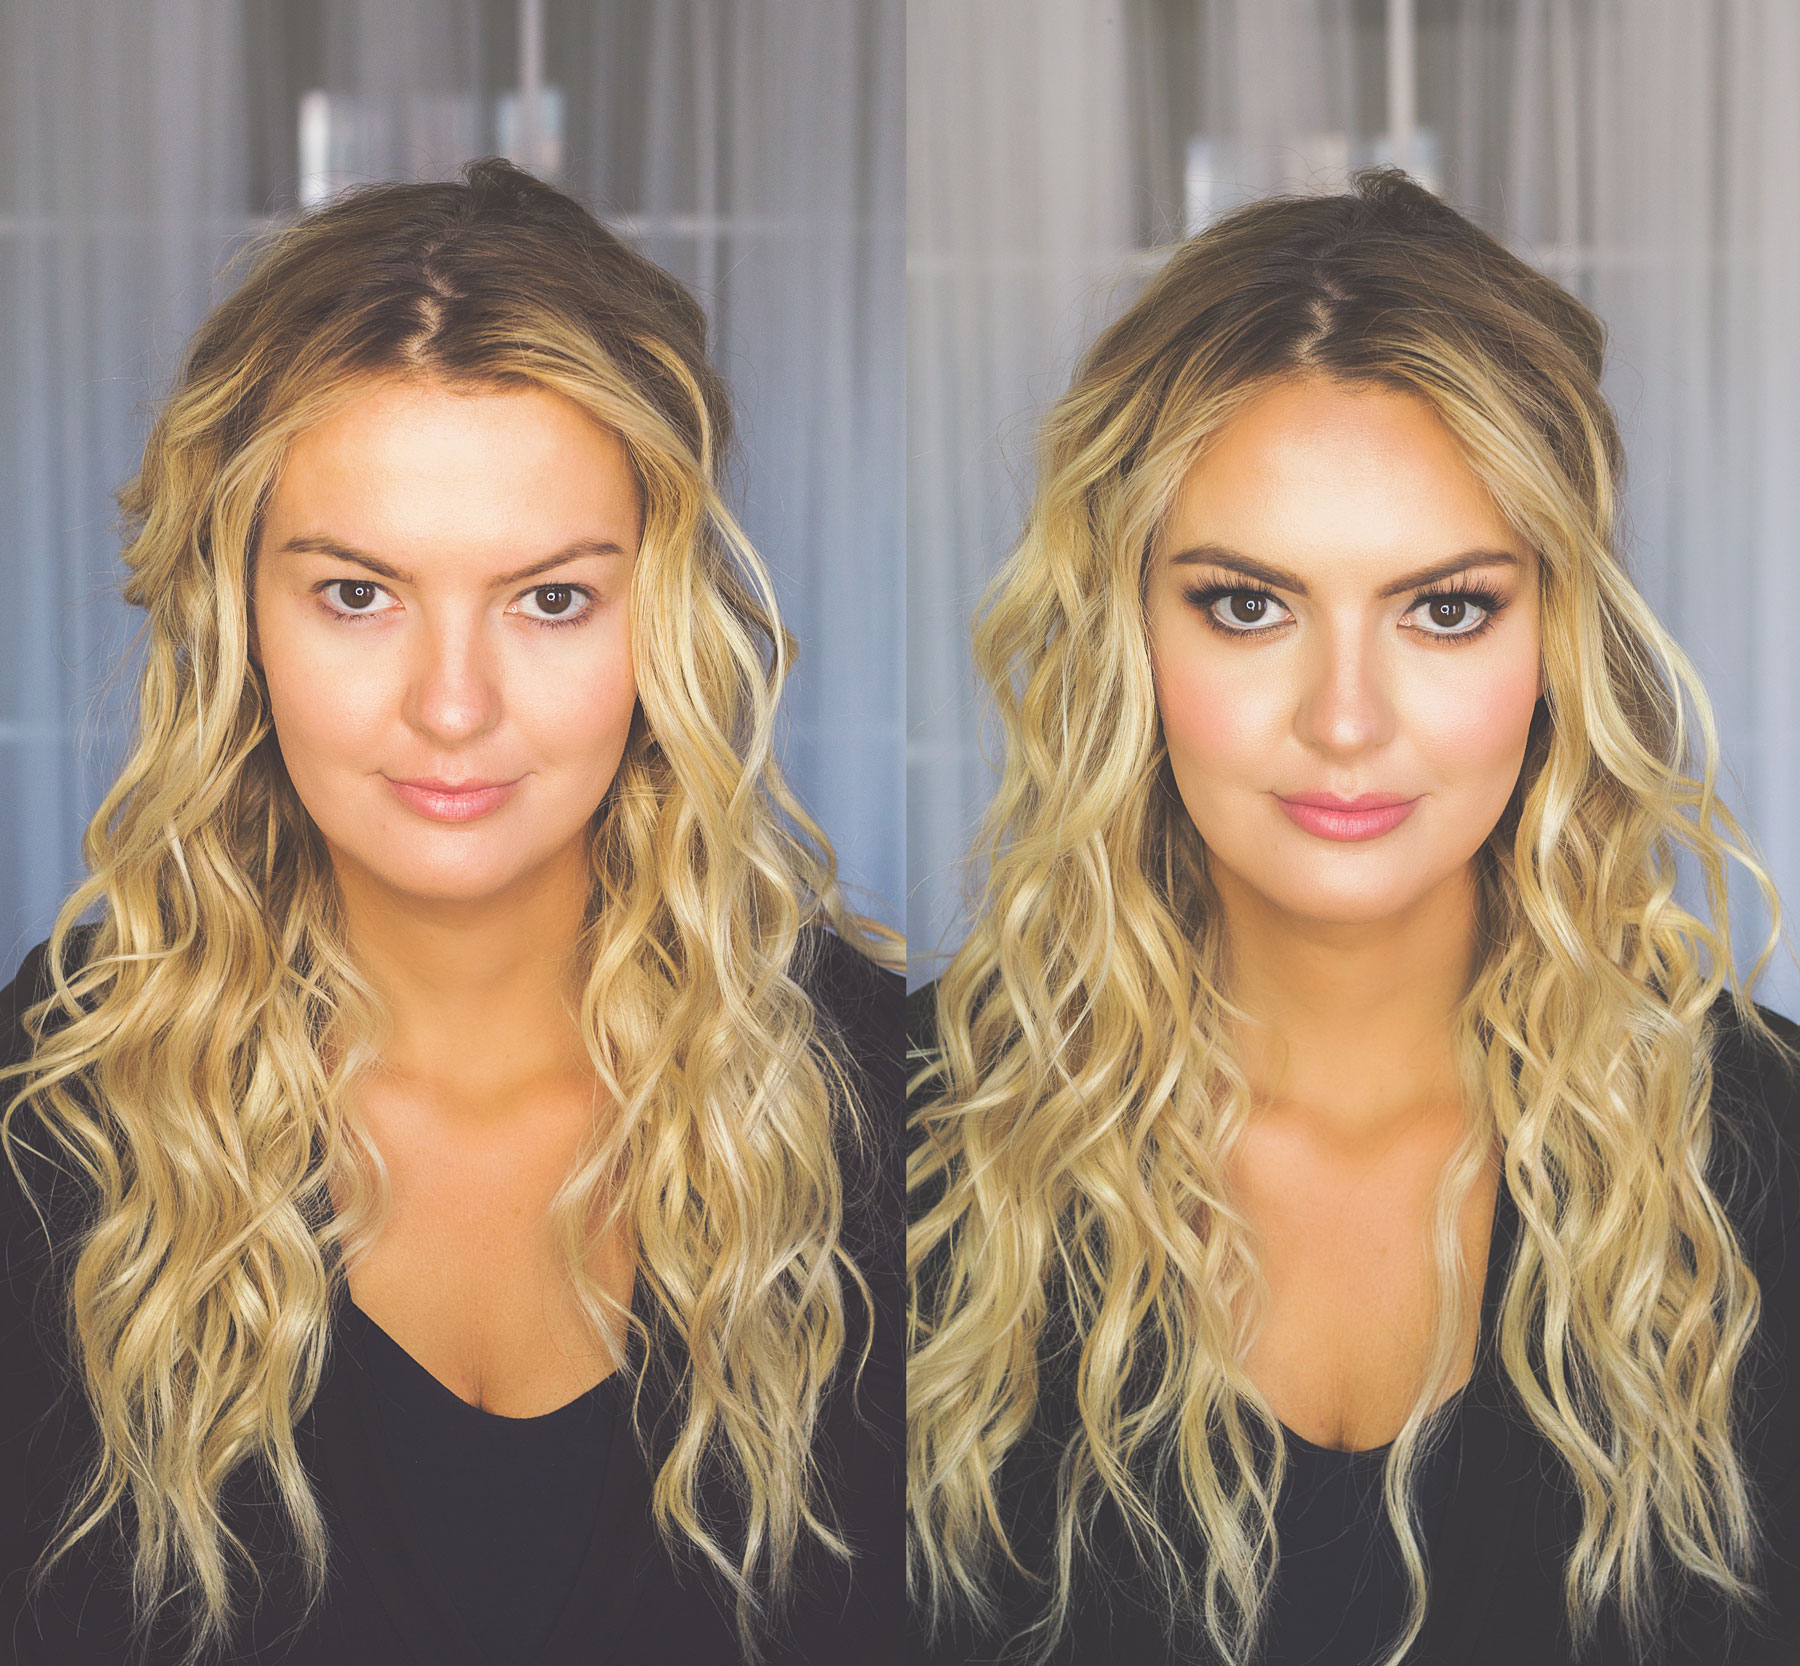
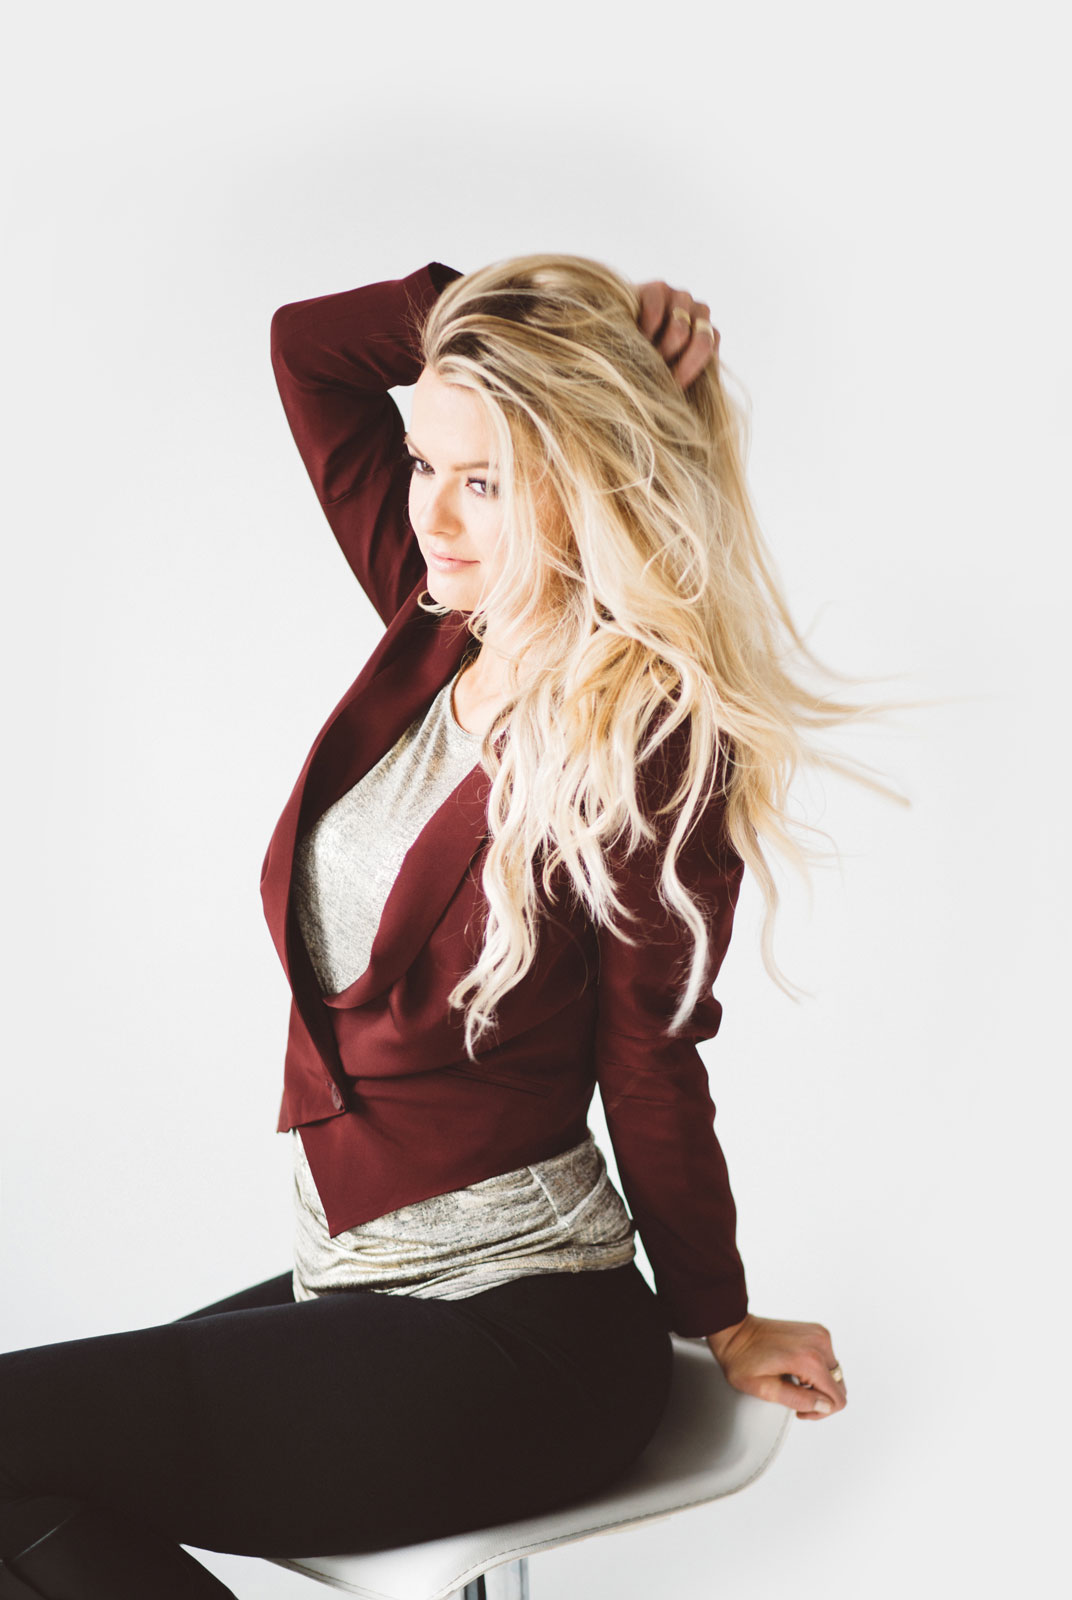
 She amped it up a bit here for the movie premier but I think she looks gorgeous!
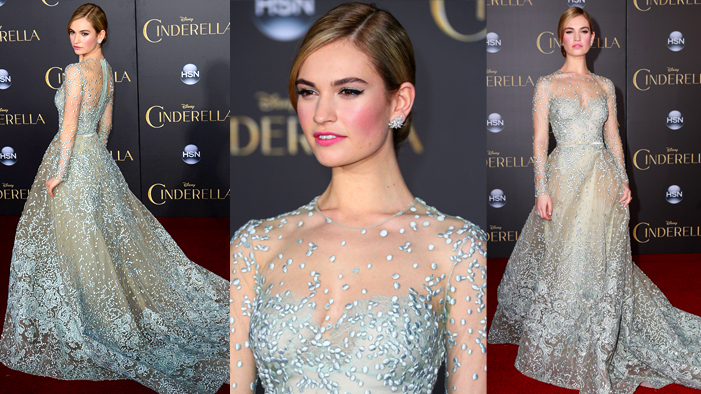
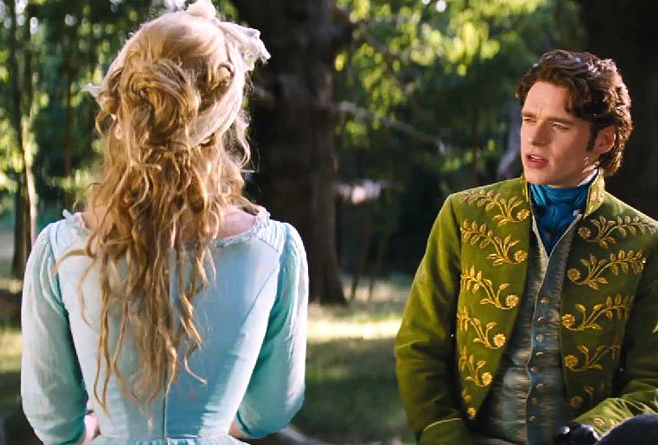
 For her hair I used
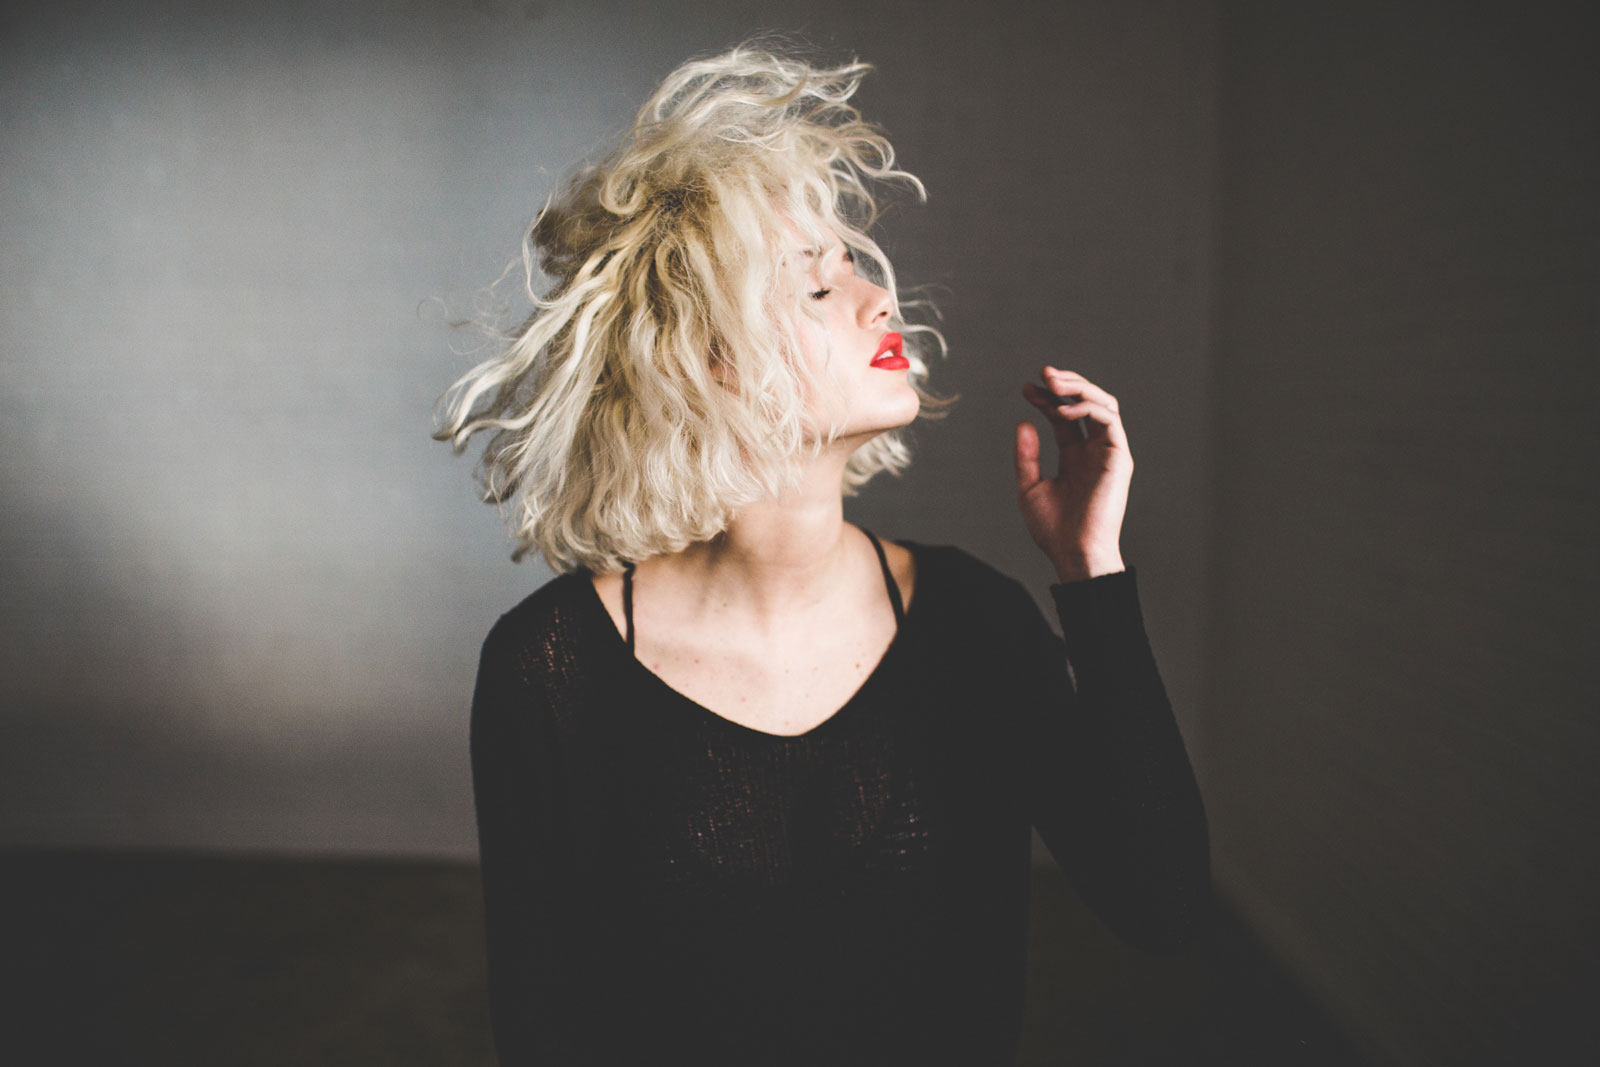