About Vivian

This author has not yet filled in any details.
So far Vivian has created 125 blog entries.

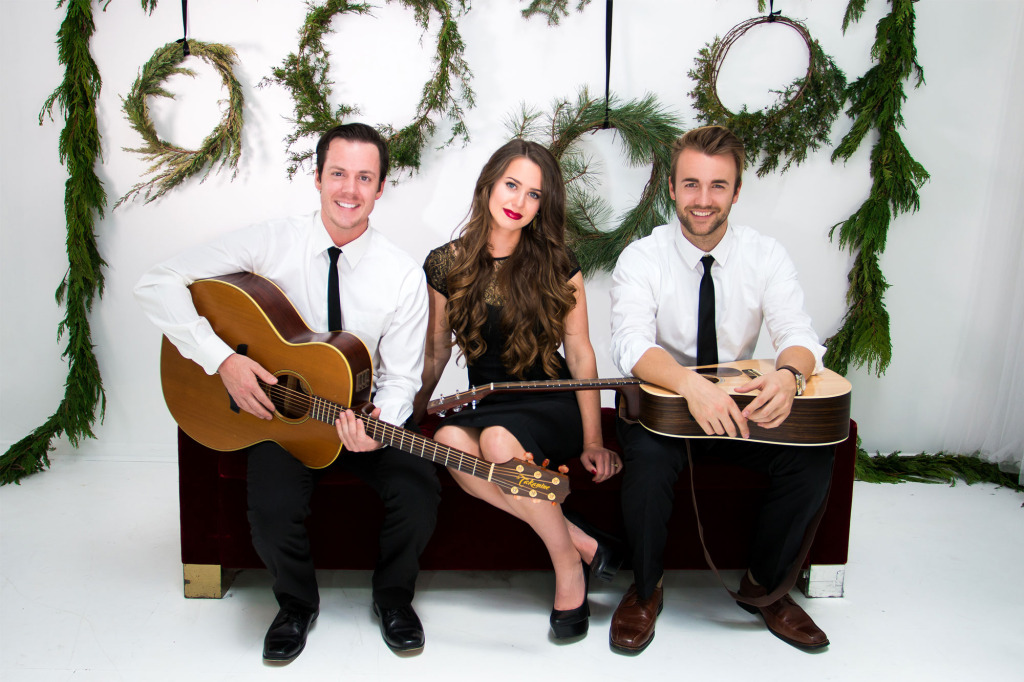
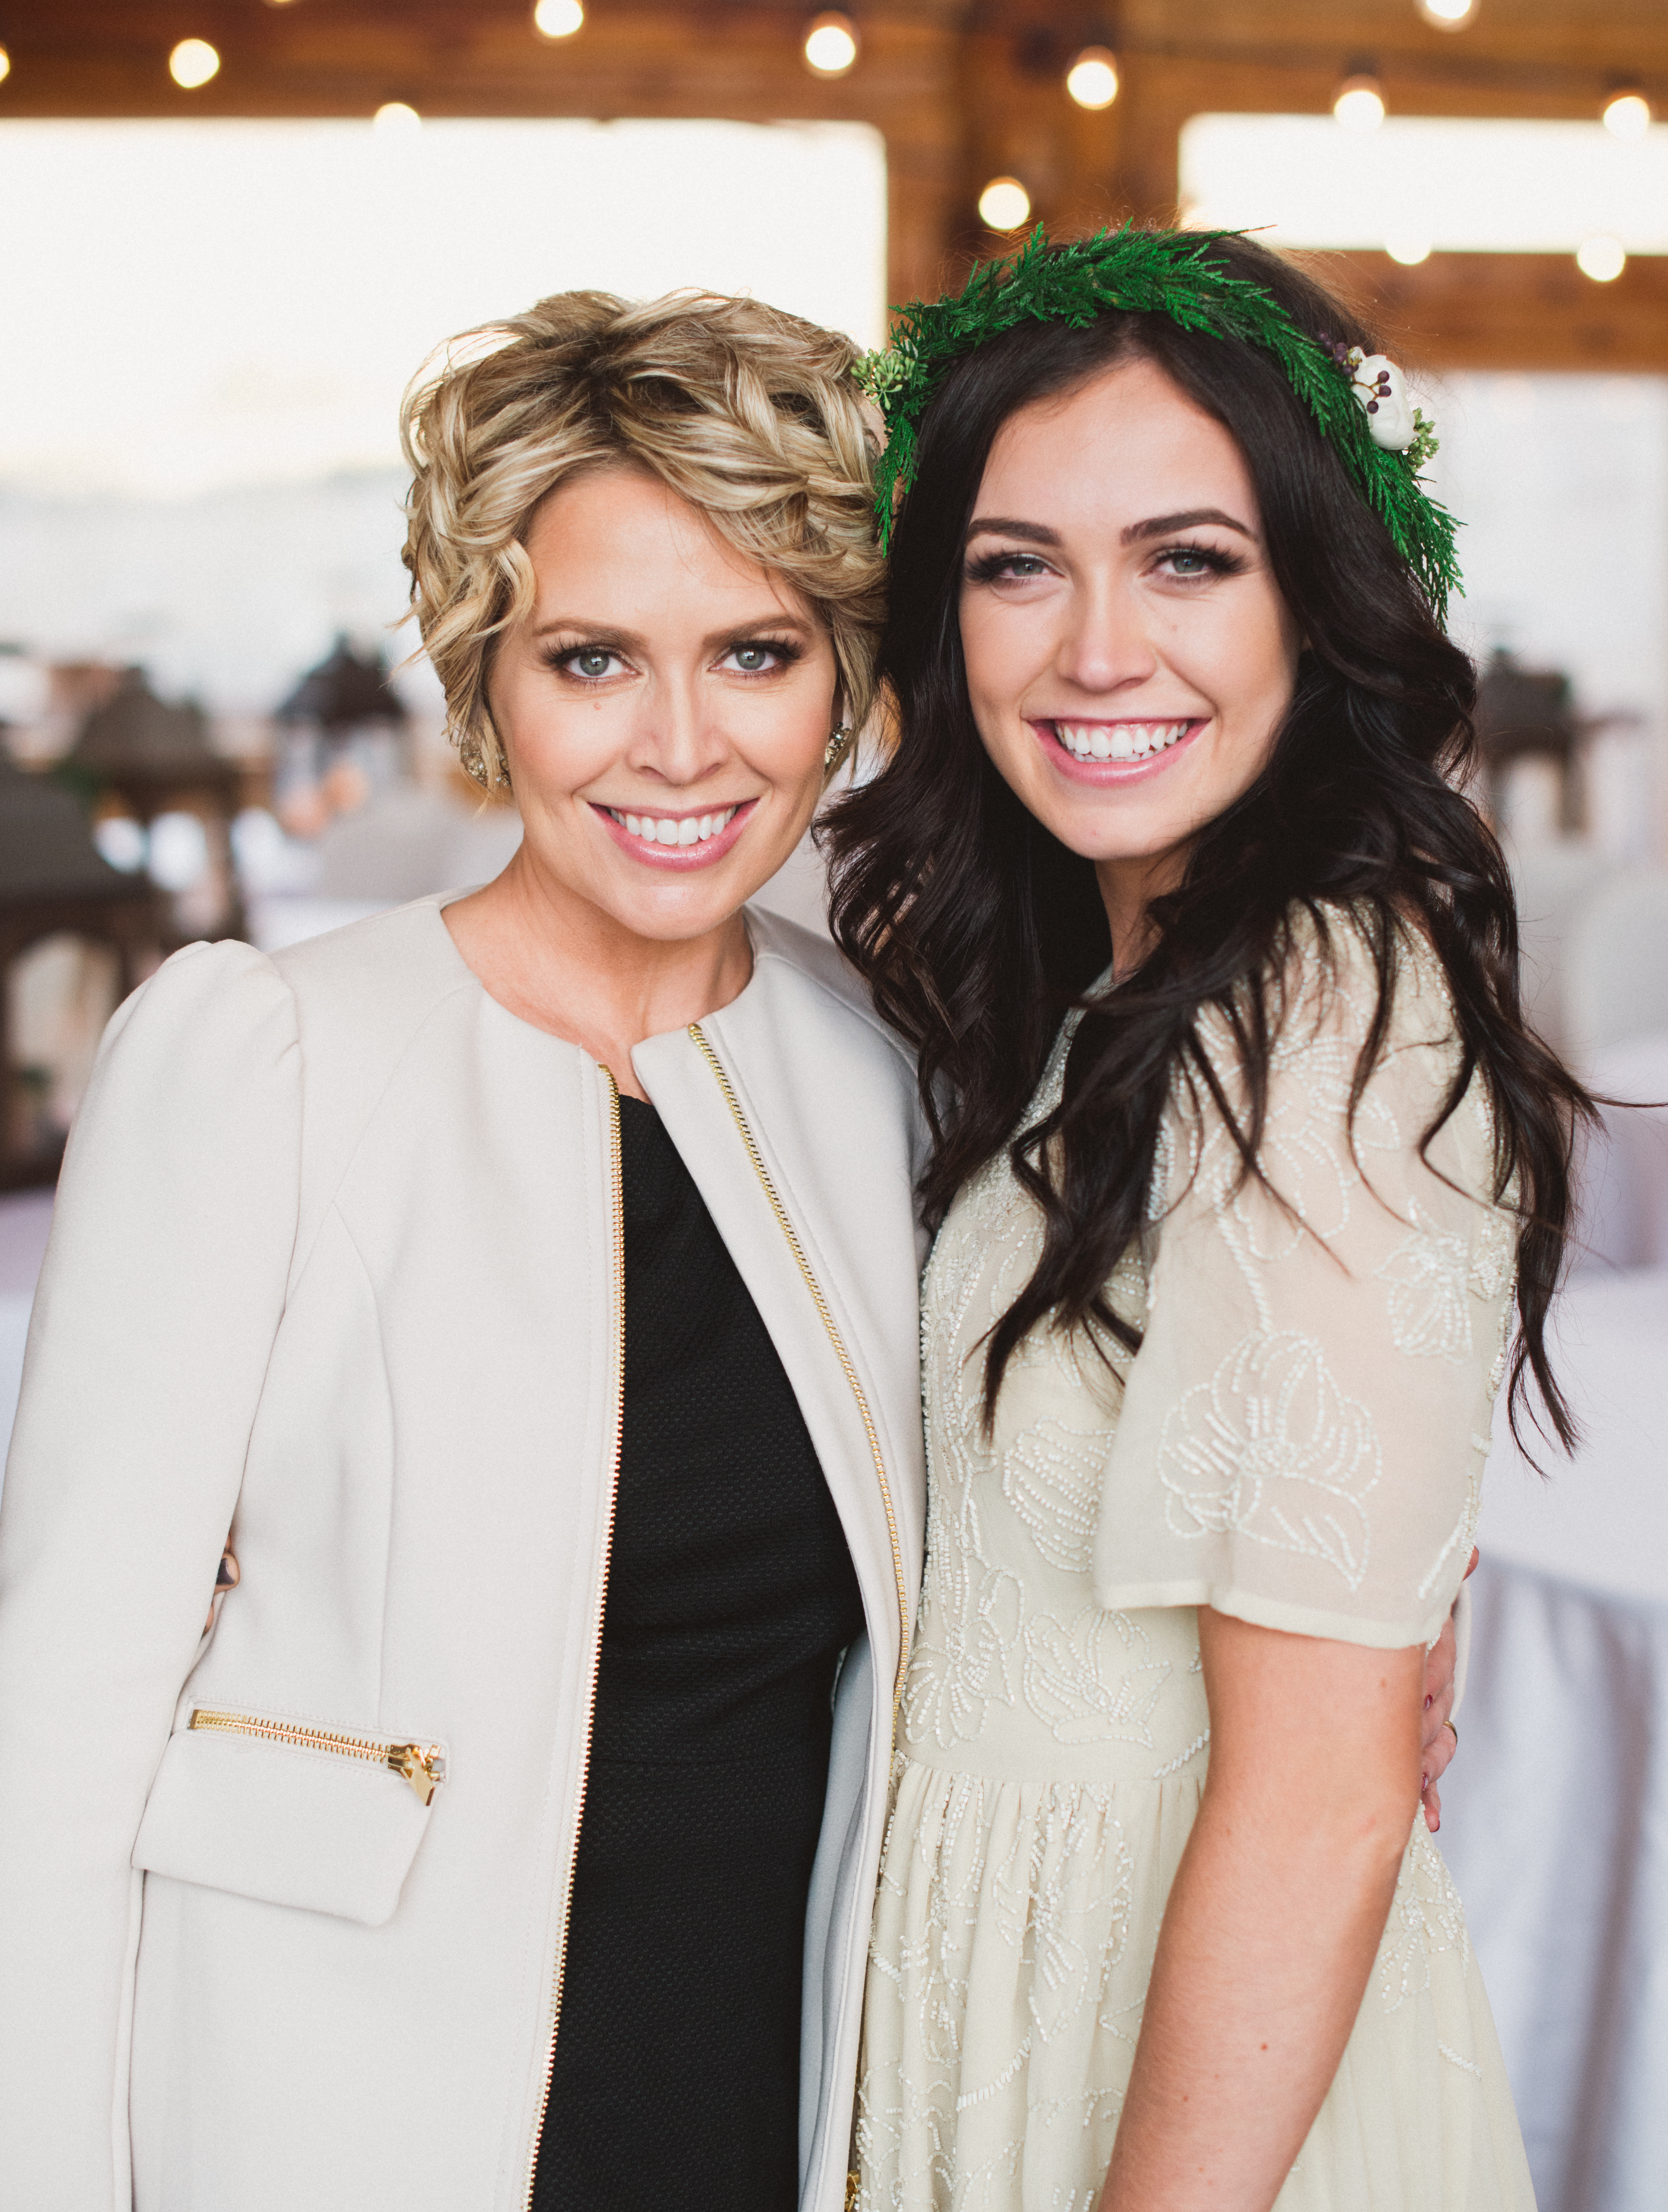
O Holy Night, Kenzie Nimmo

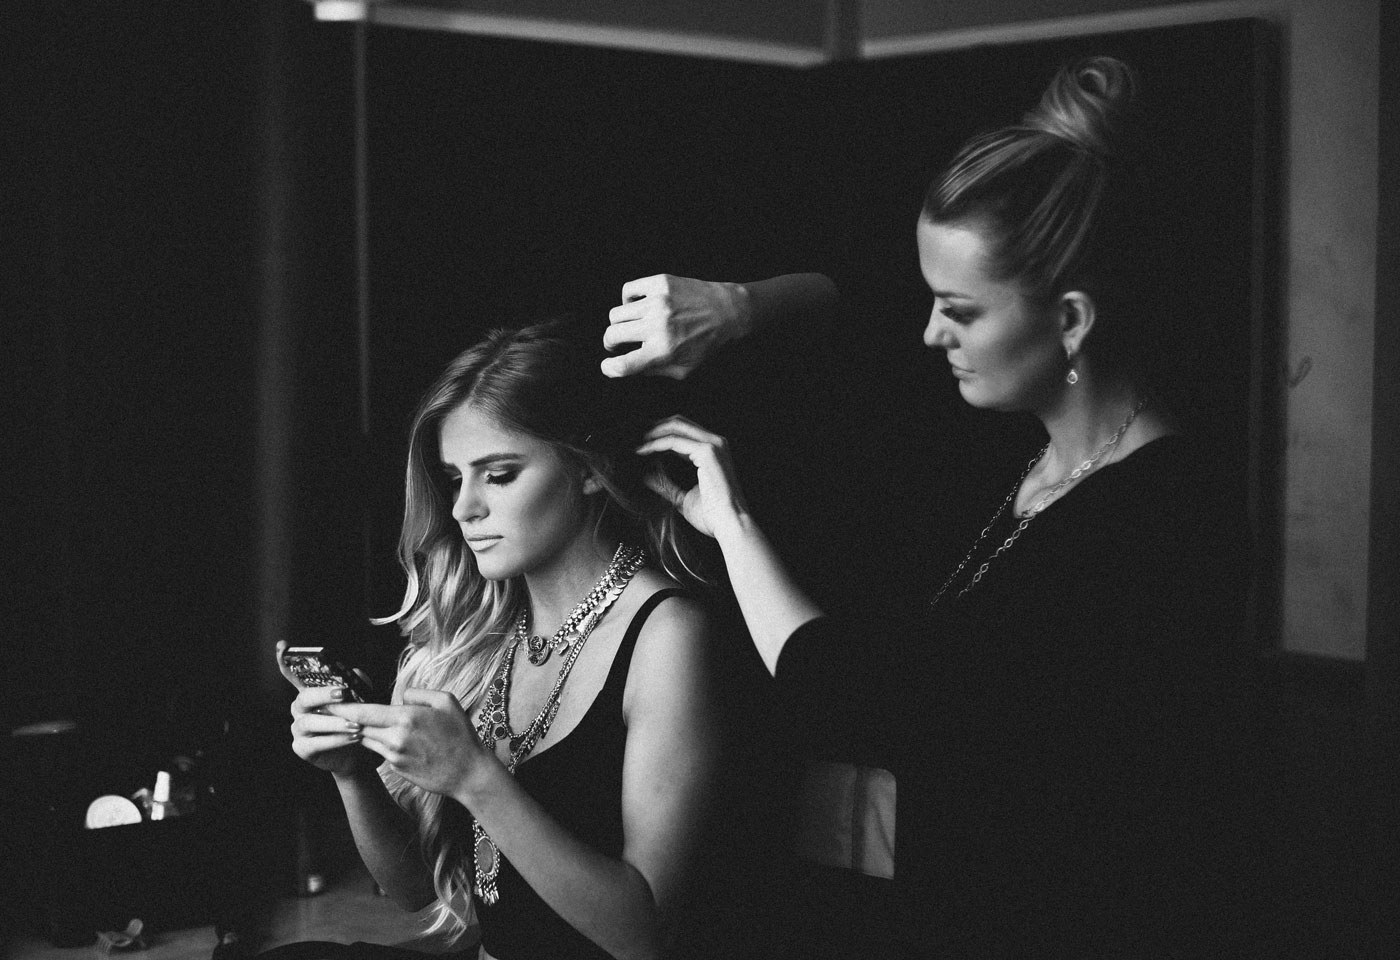
It was incredible working on set when this video was being made. Kenzie, Harris and John are the absolute nicest, most talented, down to earth people and it was so amazing to see the magic when they came together. They really did this whole video in one take, it’s incredible! Before they started filming Kenzie just asked that while they’re singing this, to be thinking about the actual message they are singing about, and the emotion totally comes through in the video. Oh and please watch til the end!

video by Wride Photography. 

As mentioned in the video, all the proceeds from the Itunes sales will be going to help a family in need this Christmas. So happy to be a part of it.kenzie_nimmo_hair_makeup

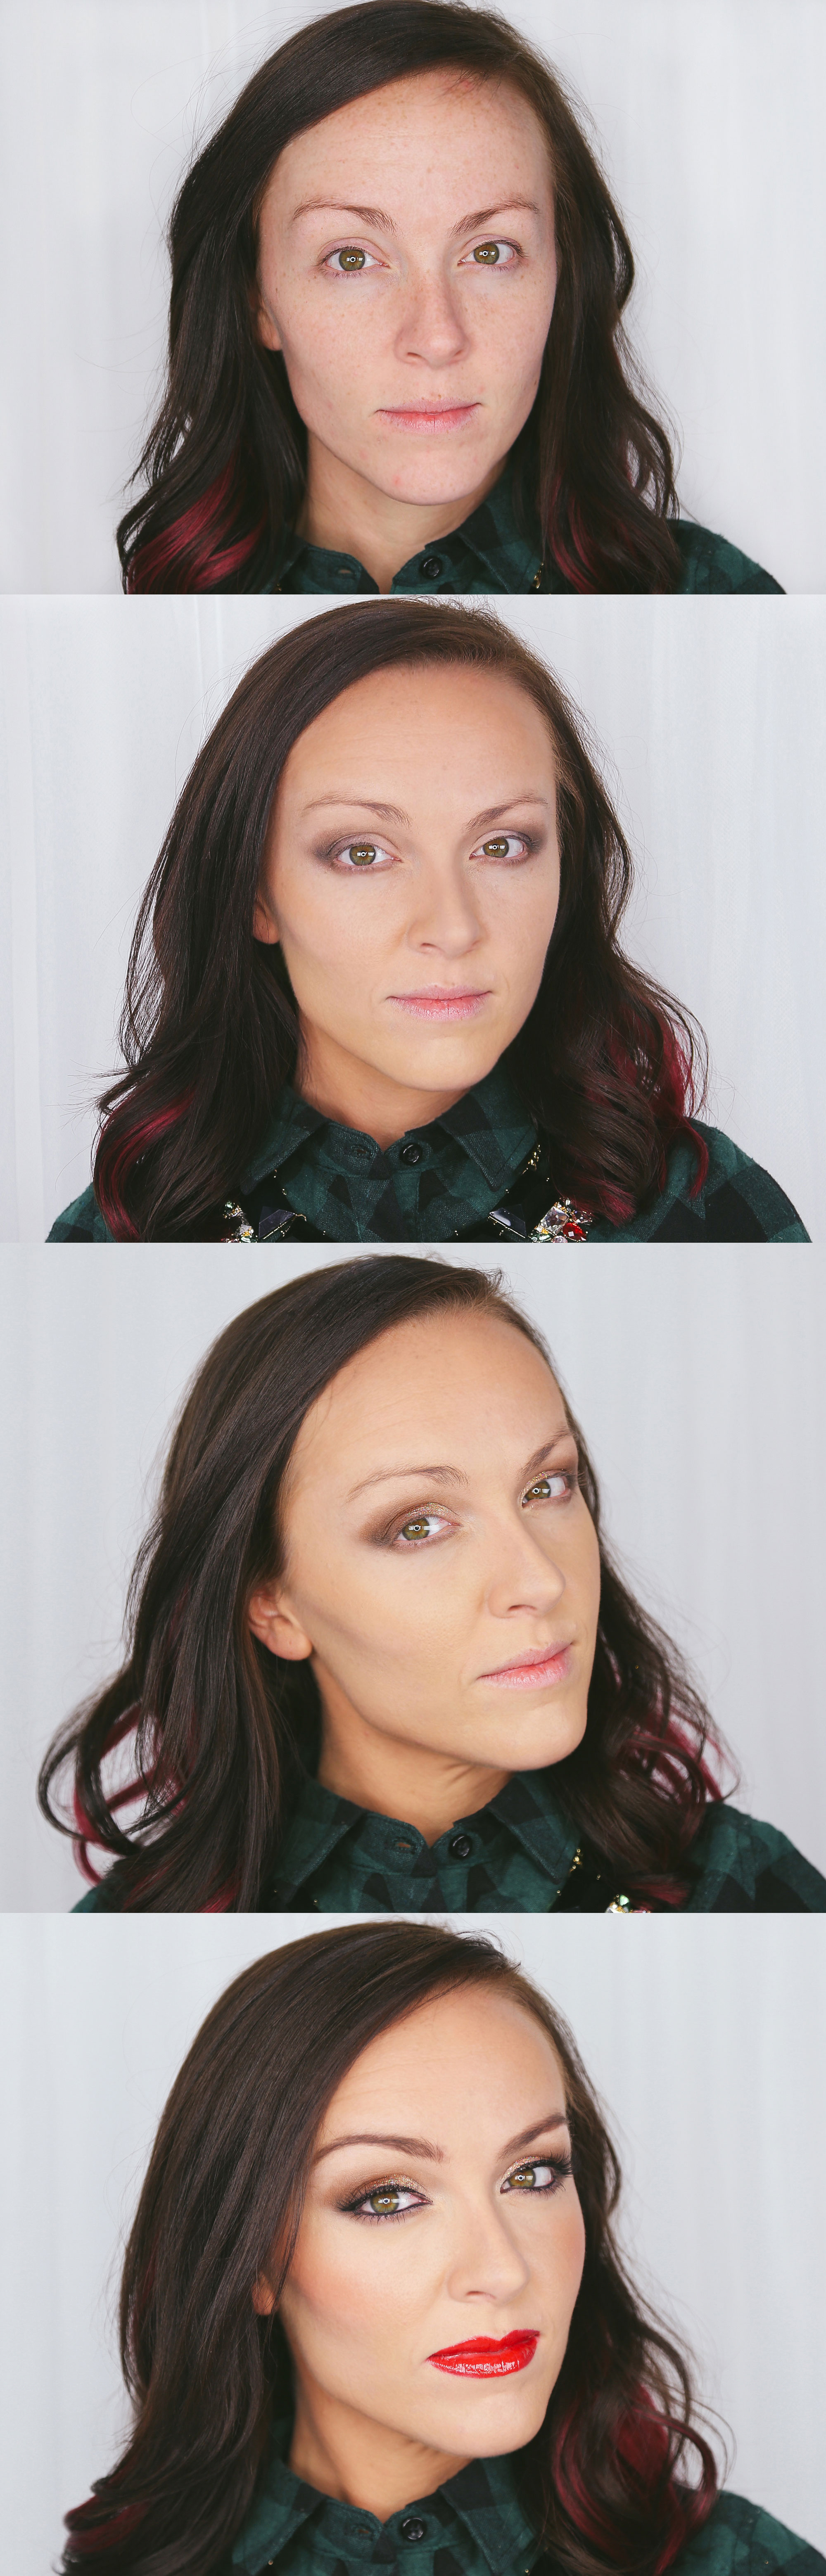
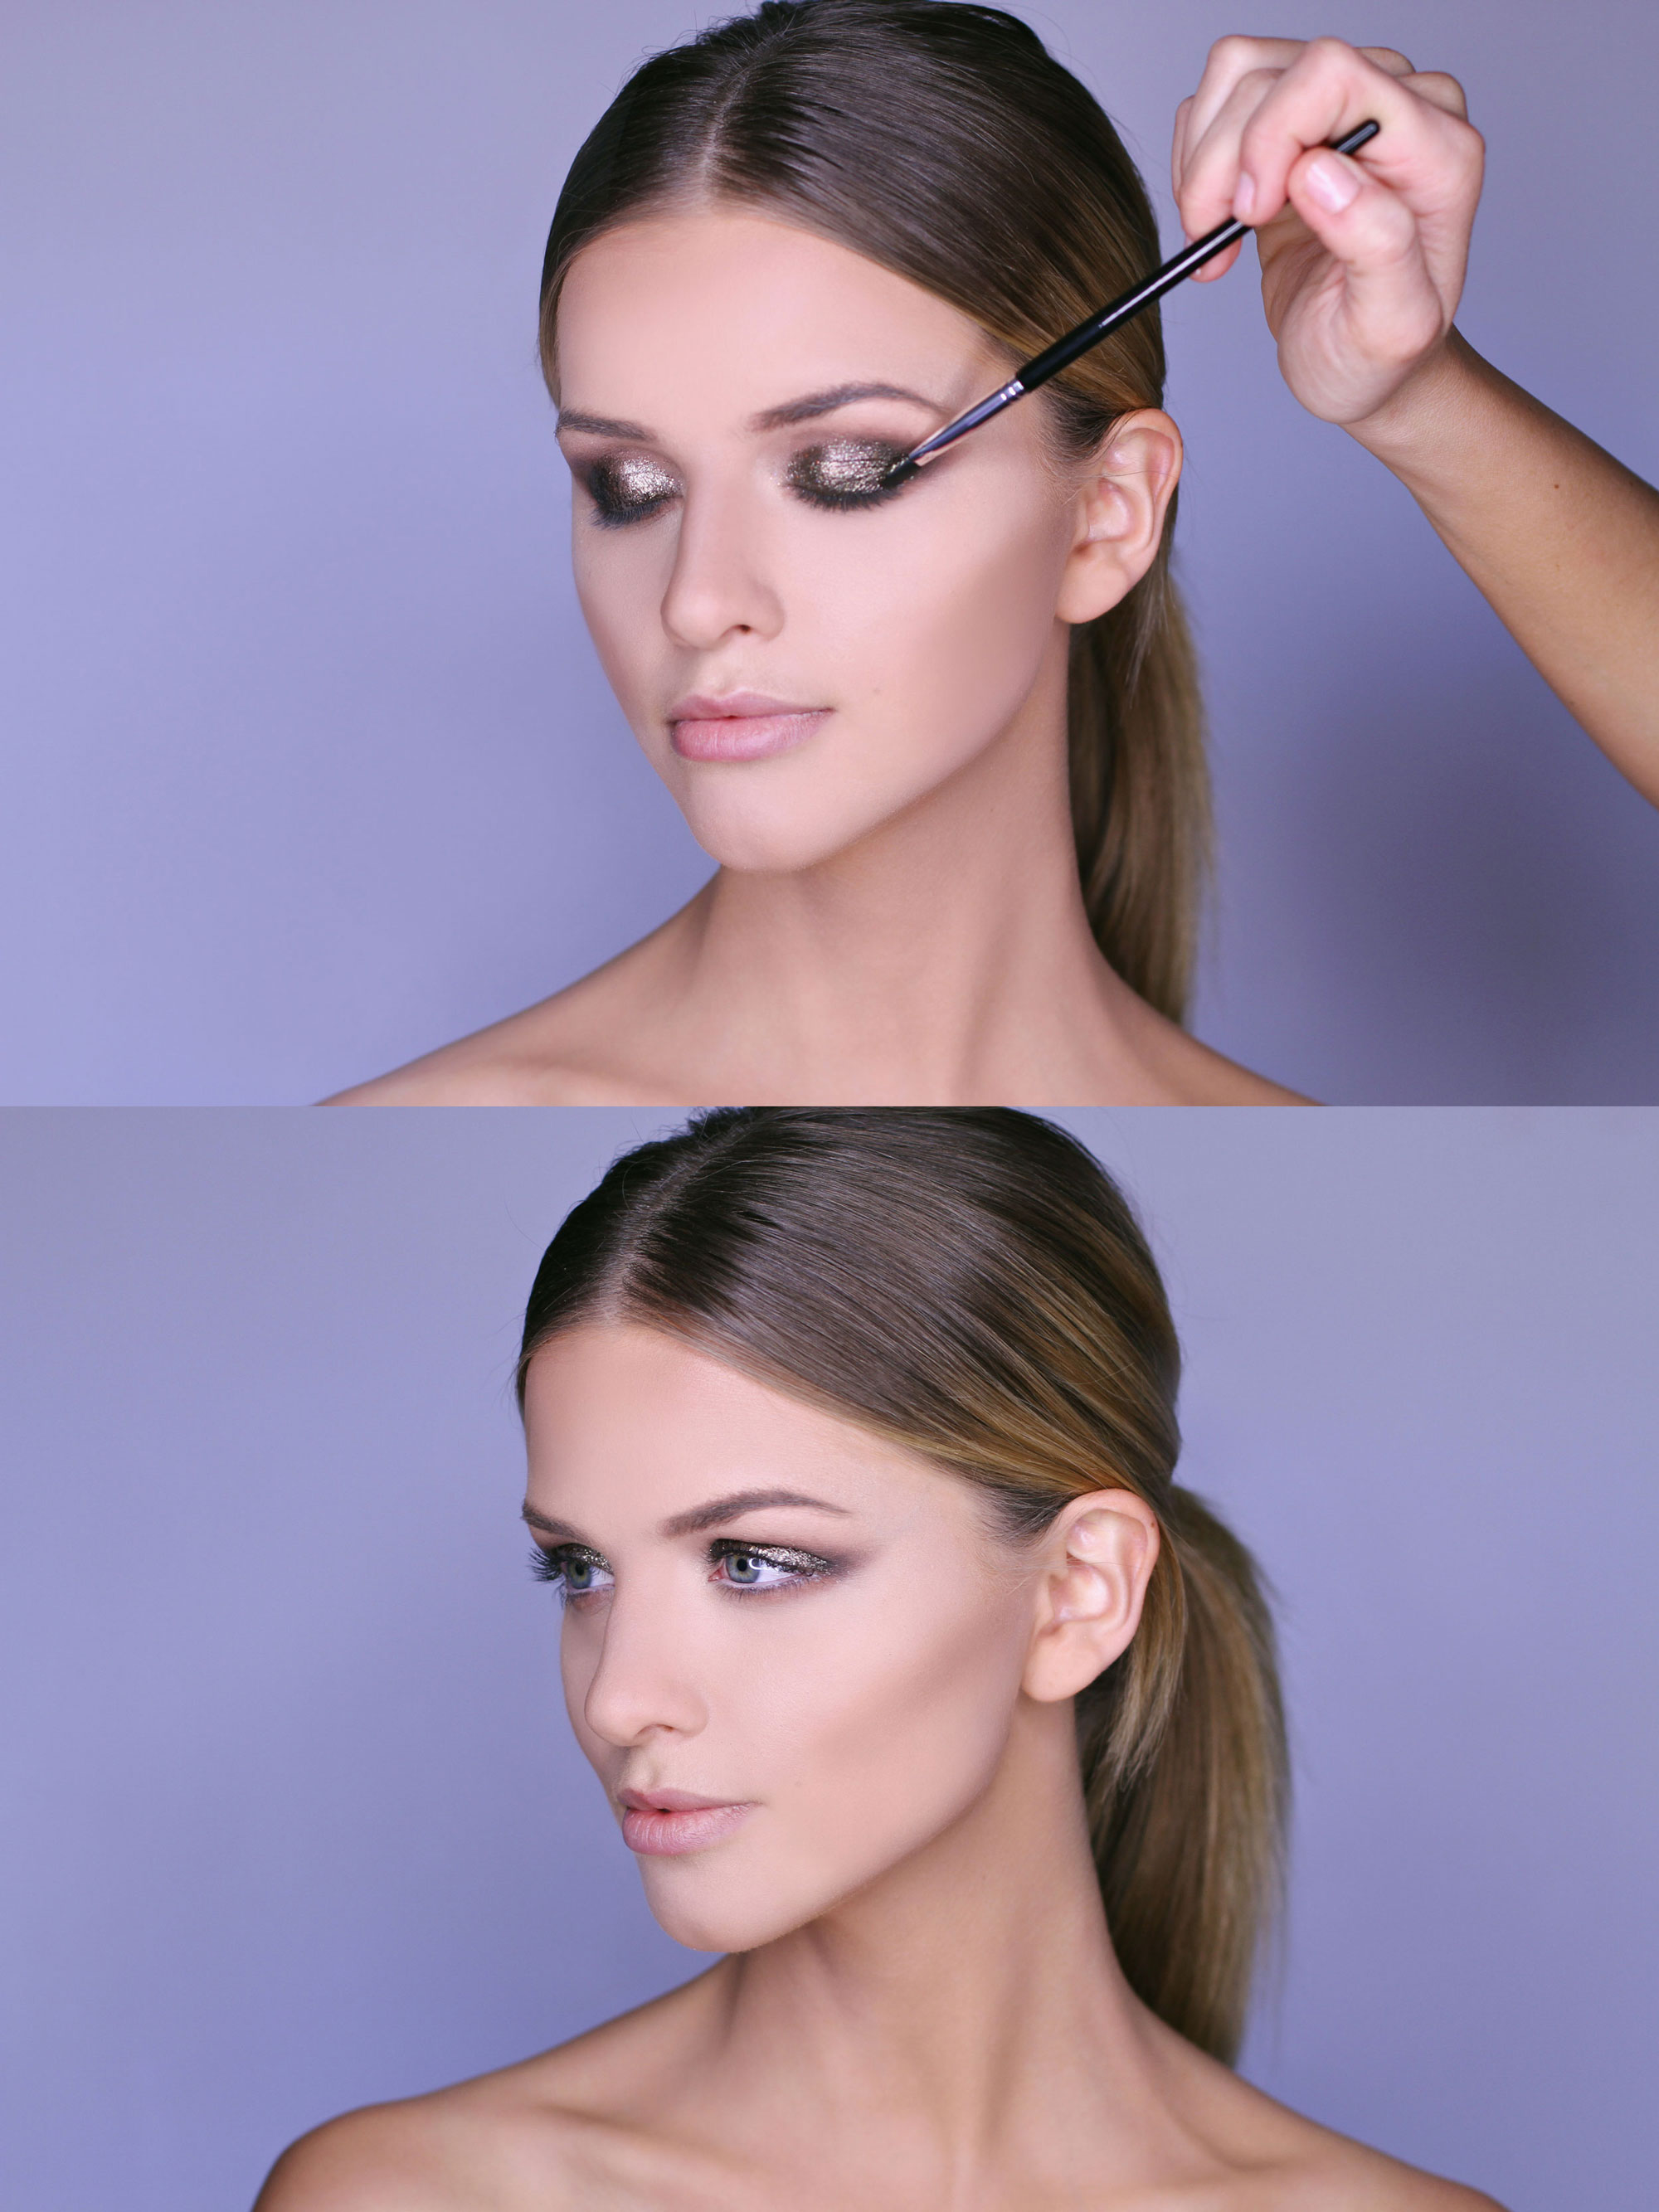
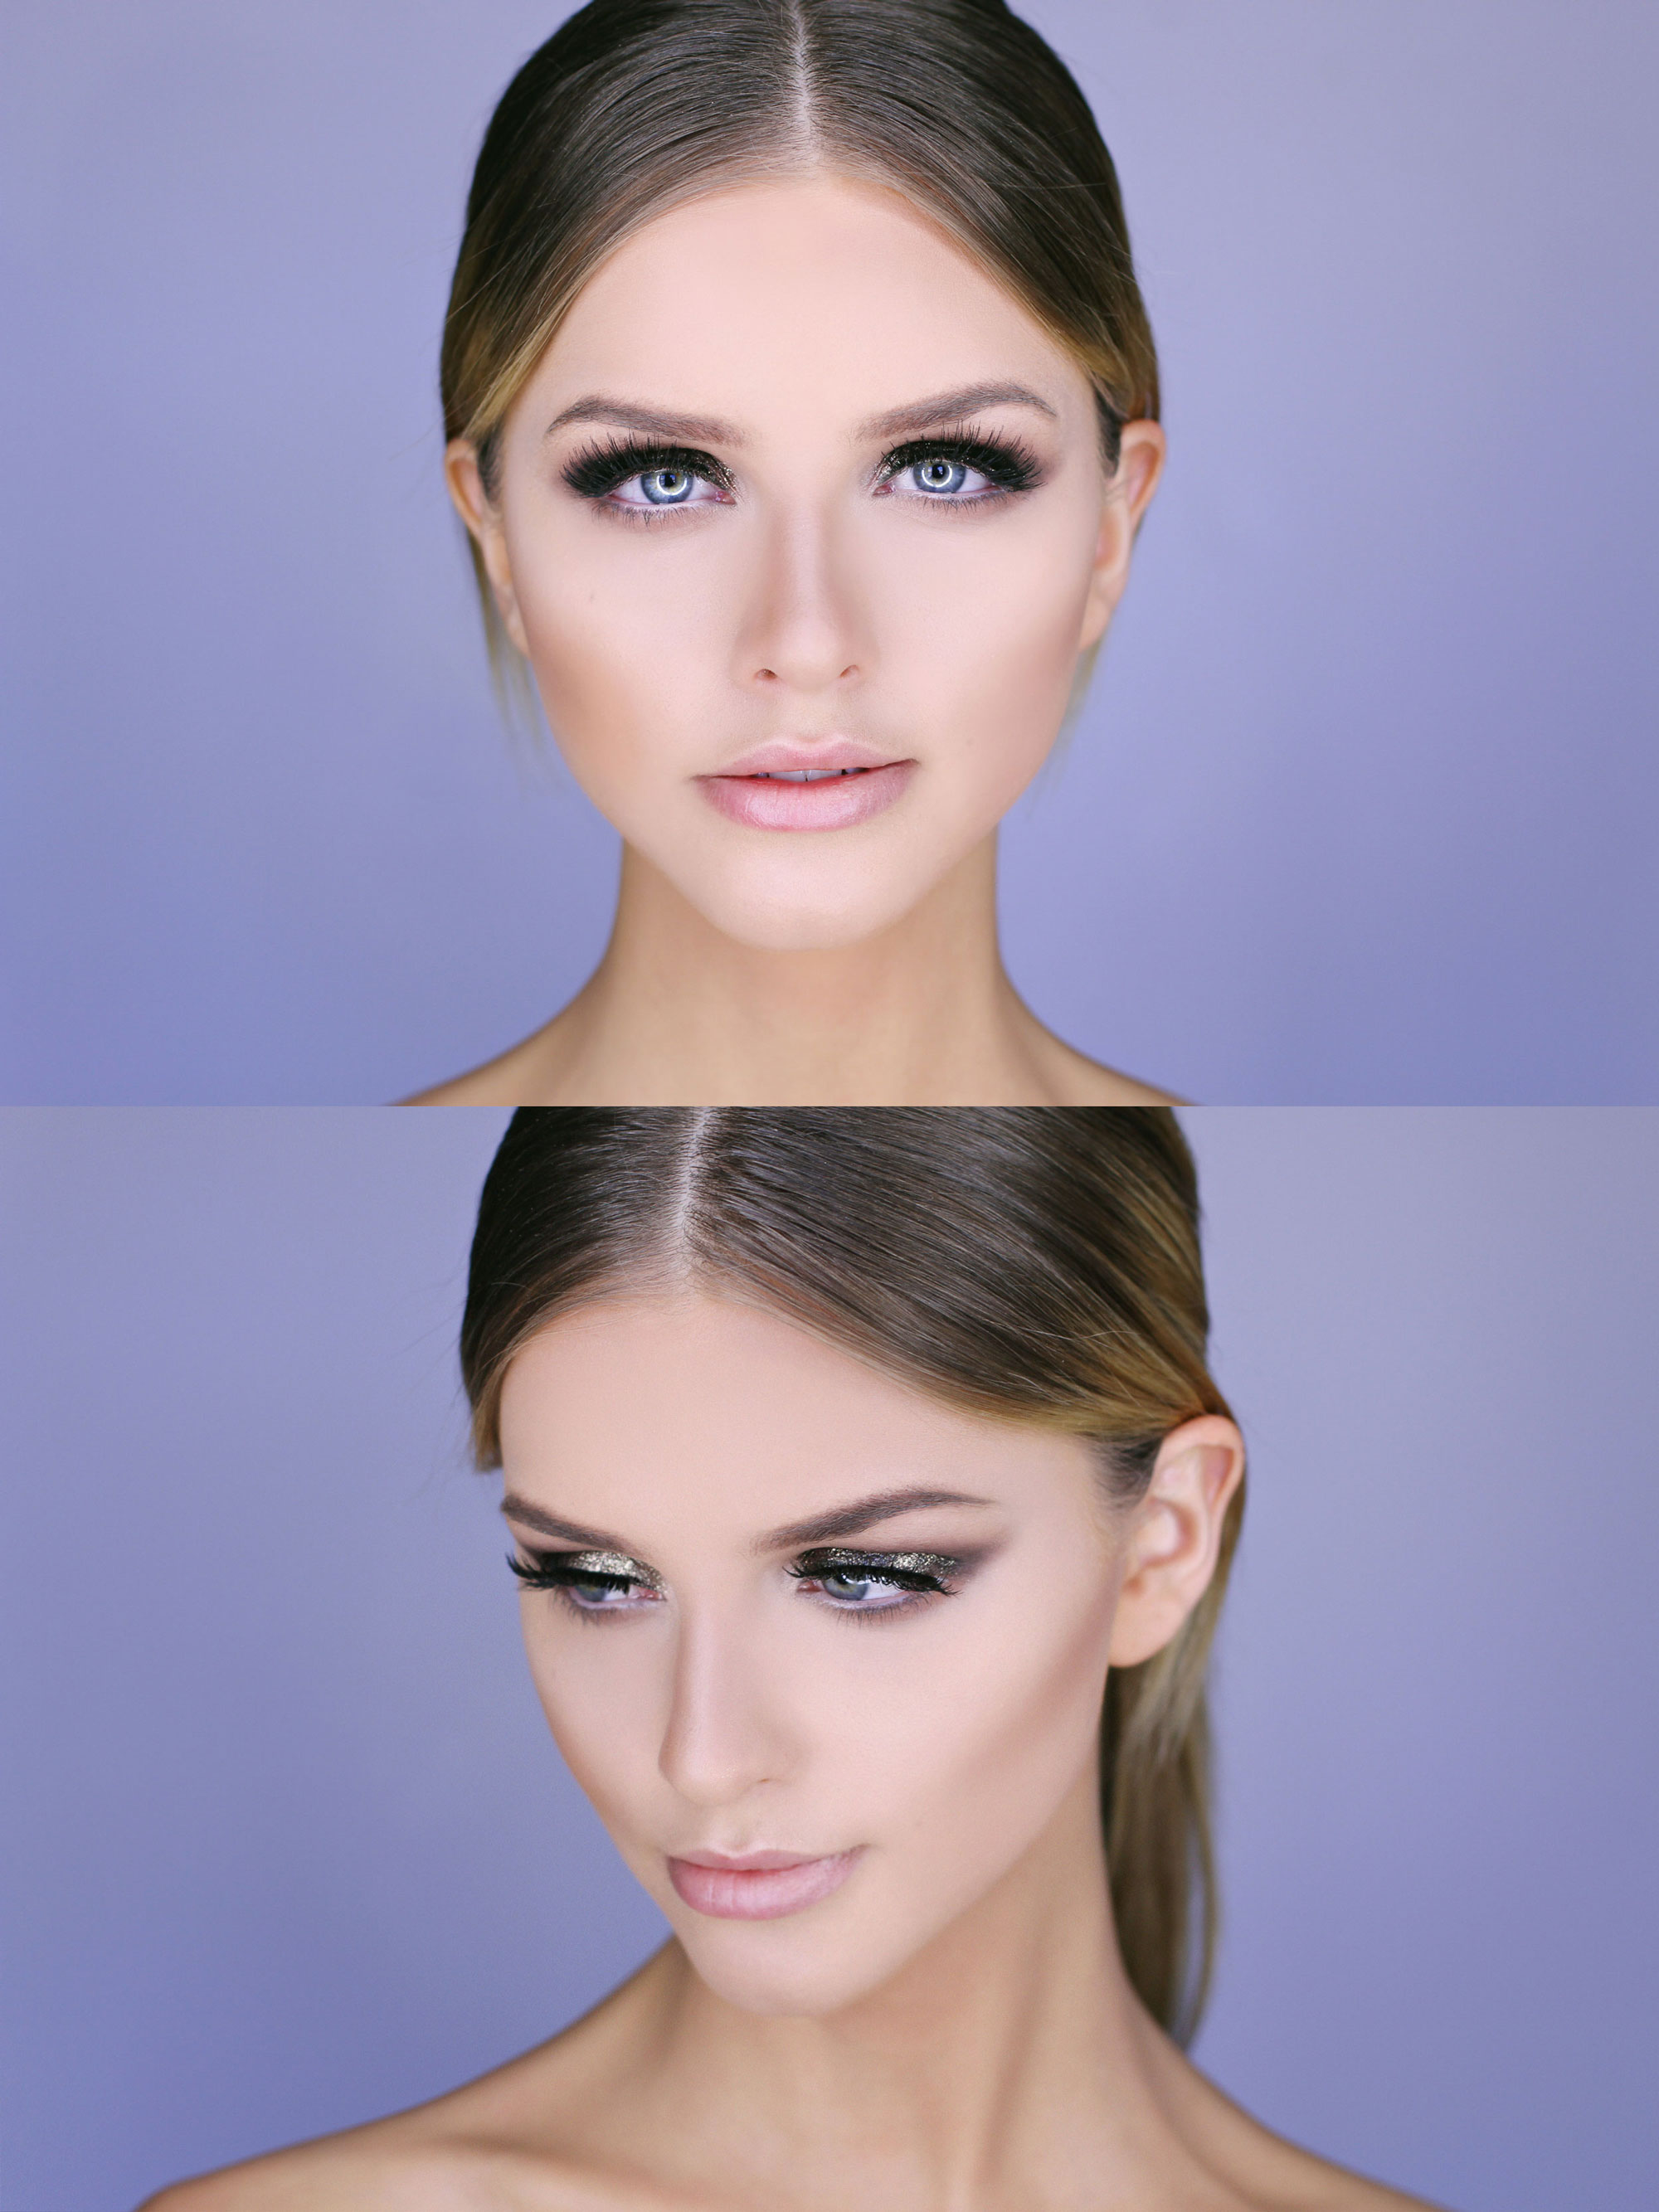
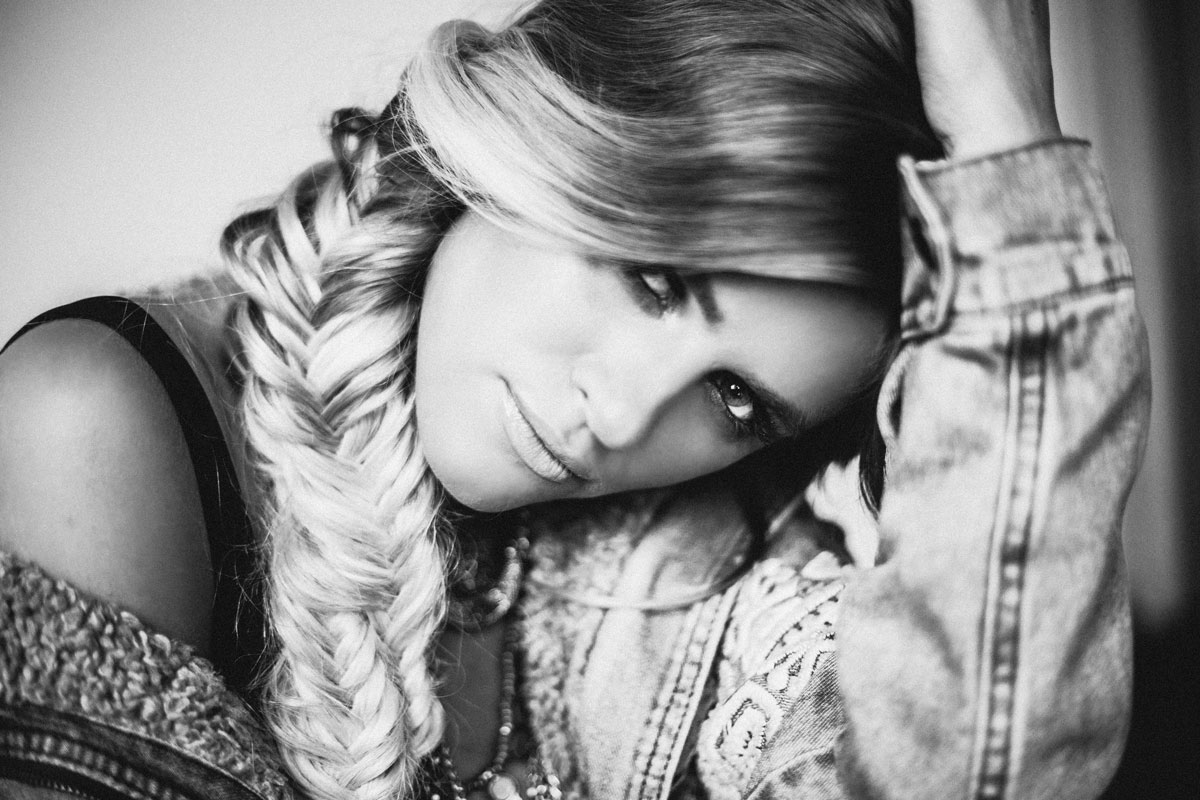
Also, a tutorial on how I did Kenzie’s hair is coming soon! But for those of you who would like to know what I used for her makeup, here it is:

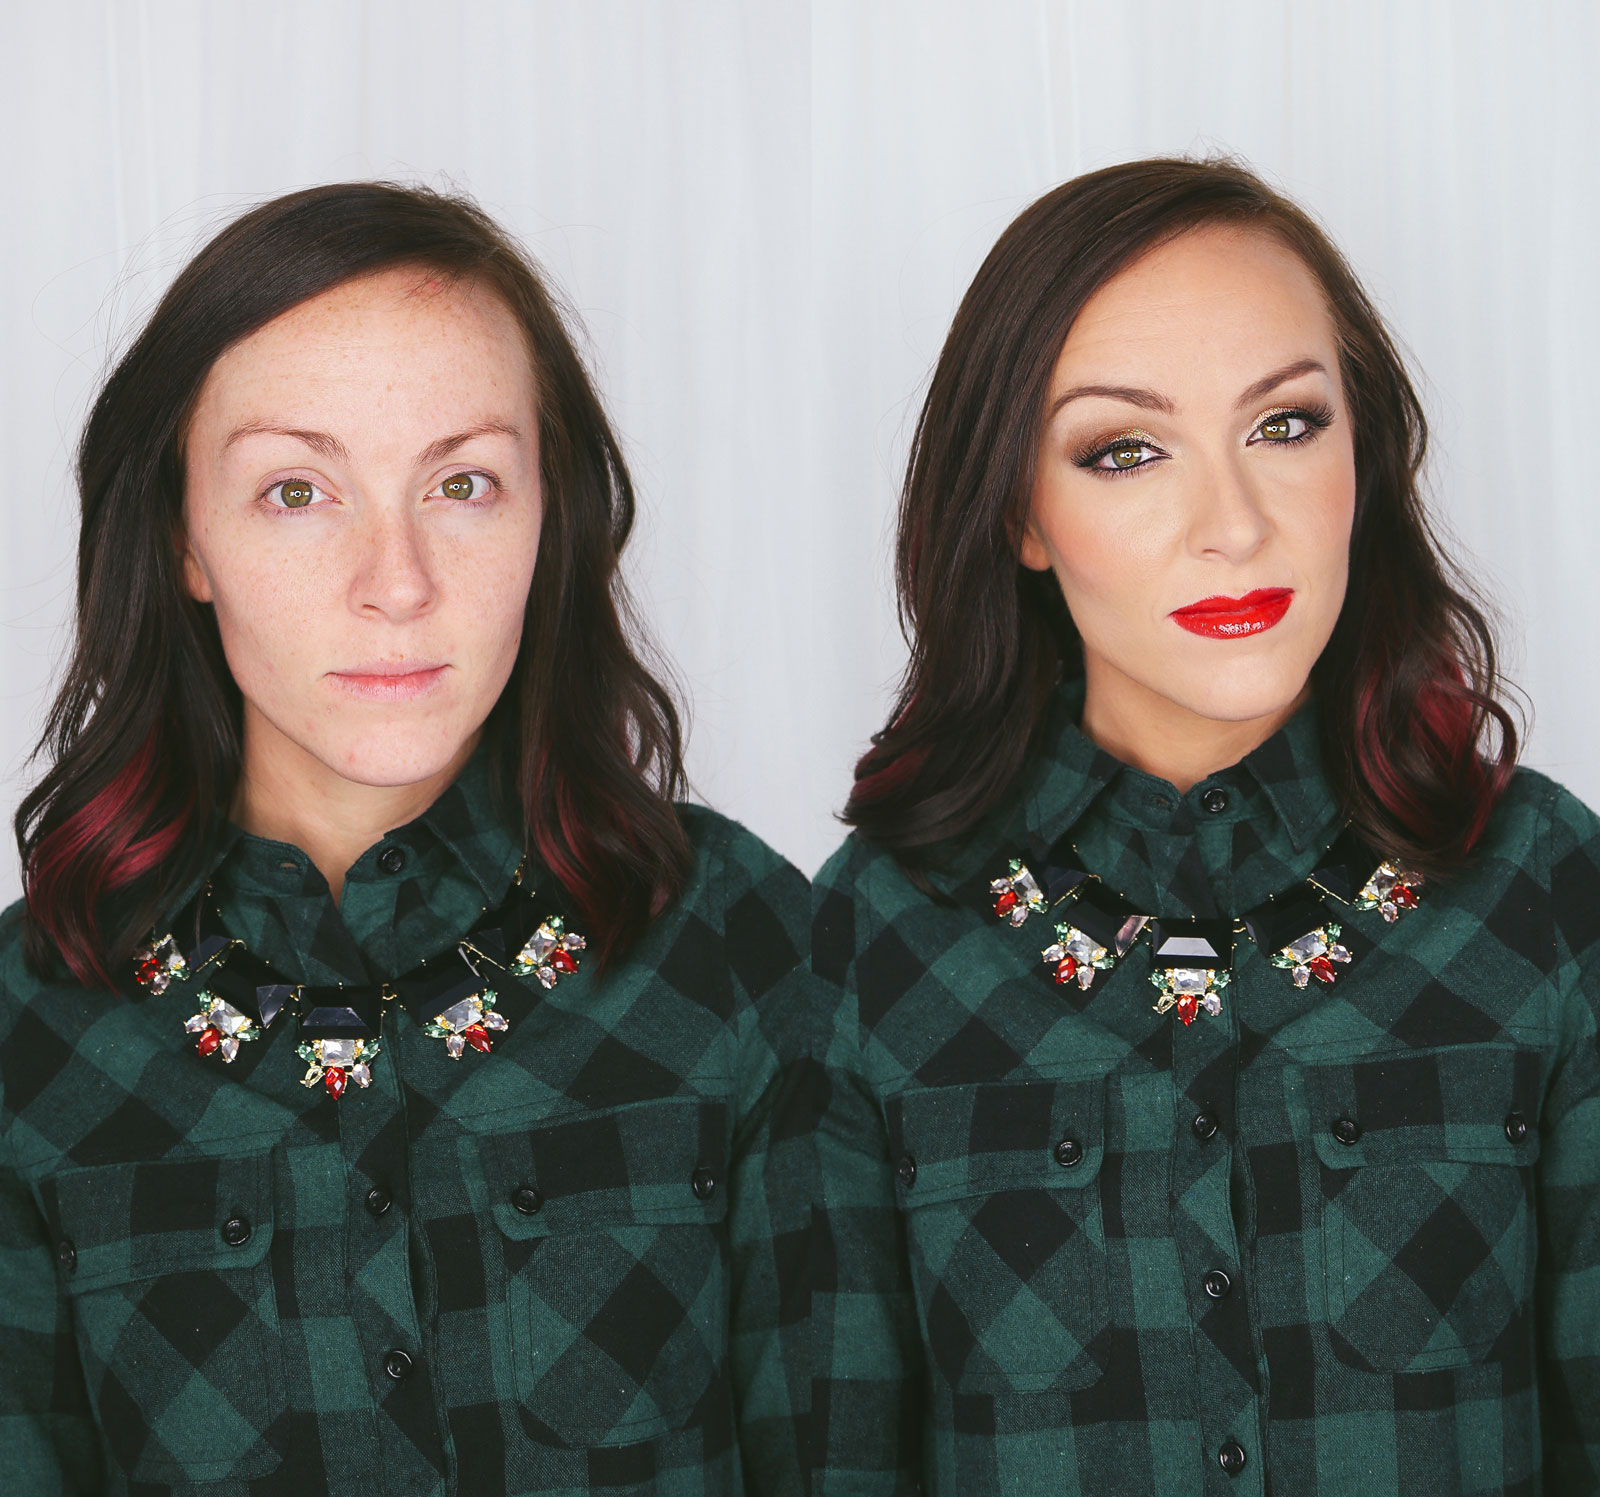
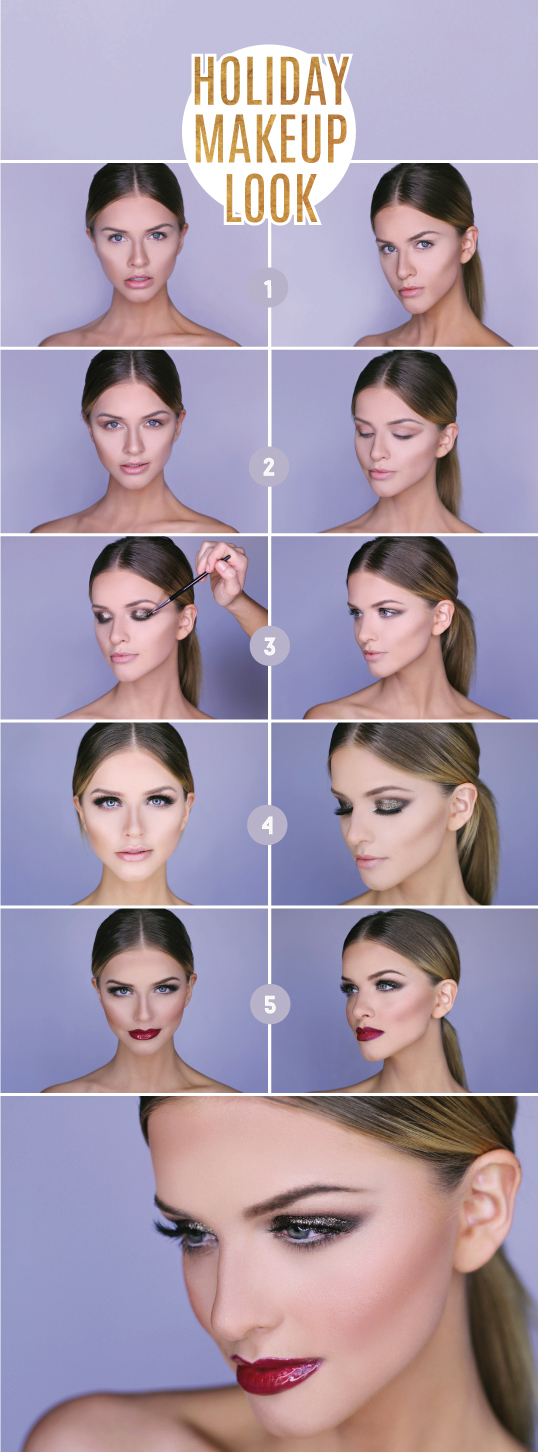
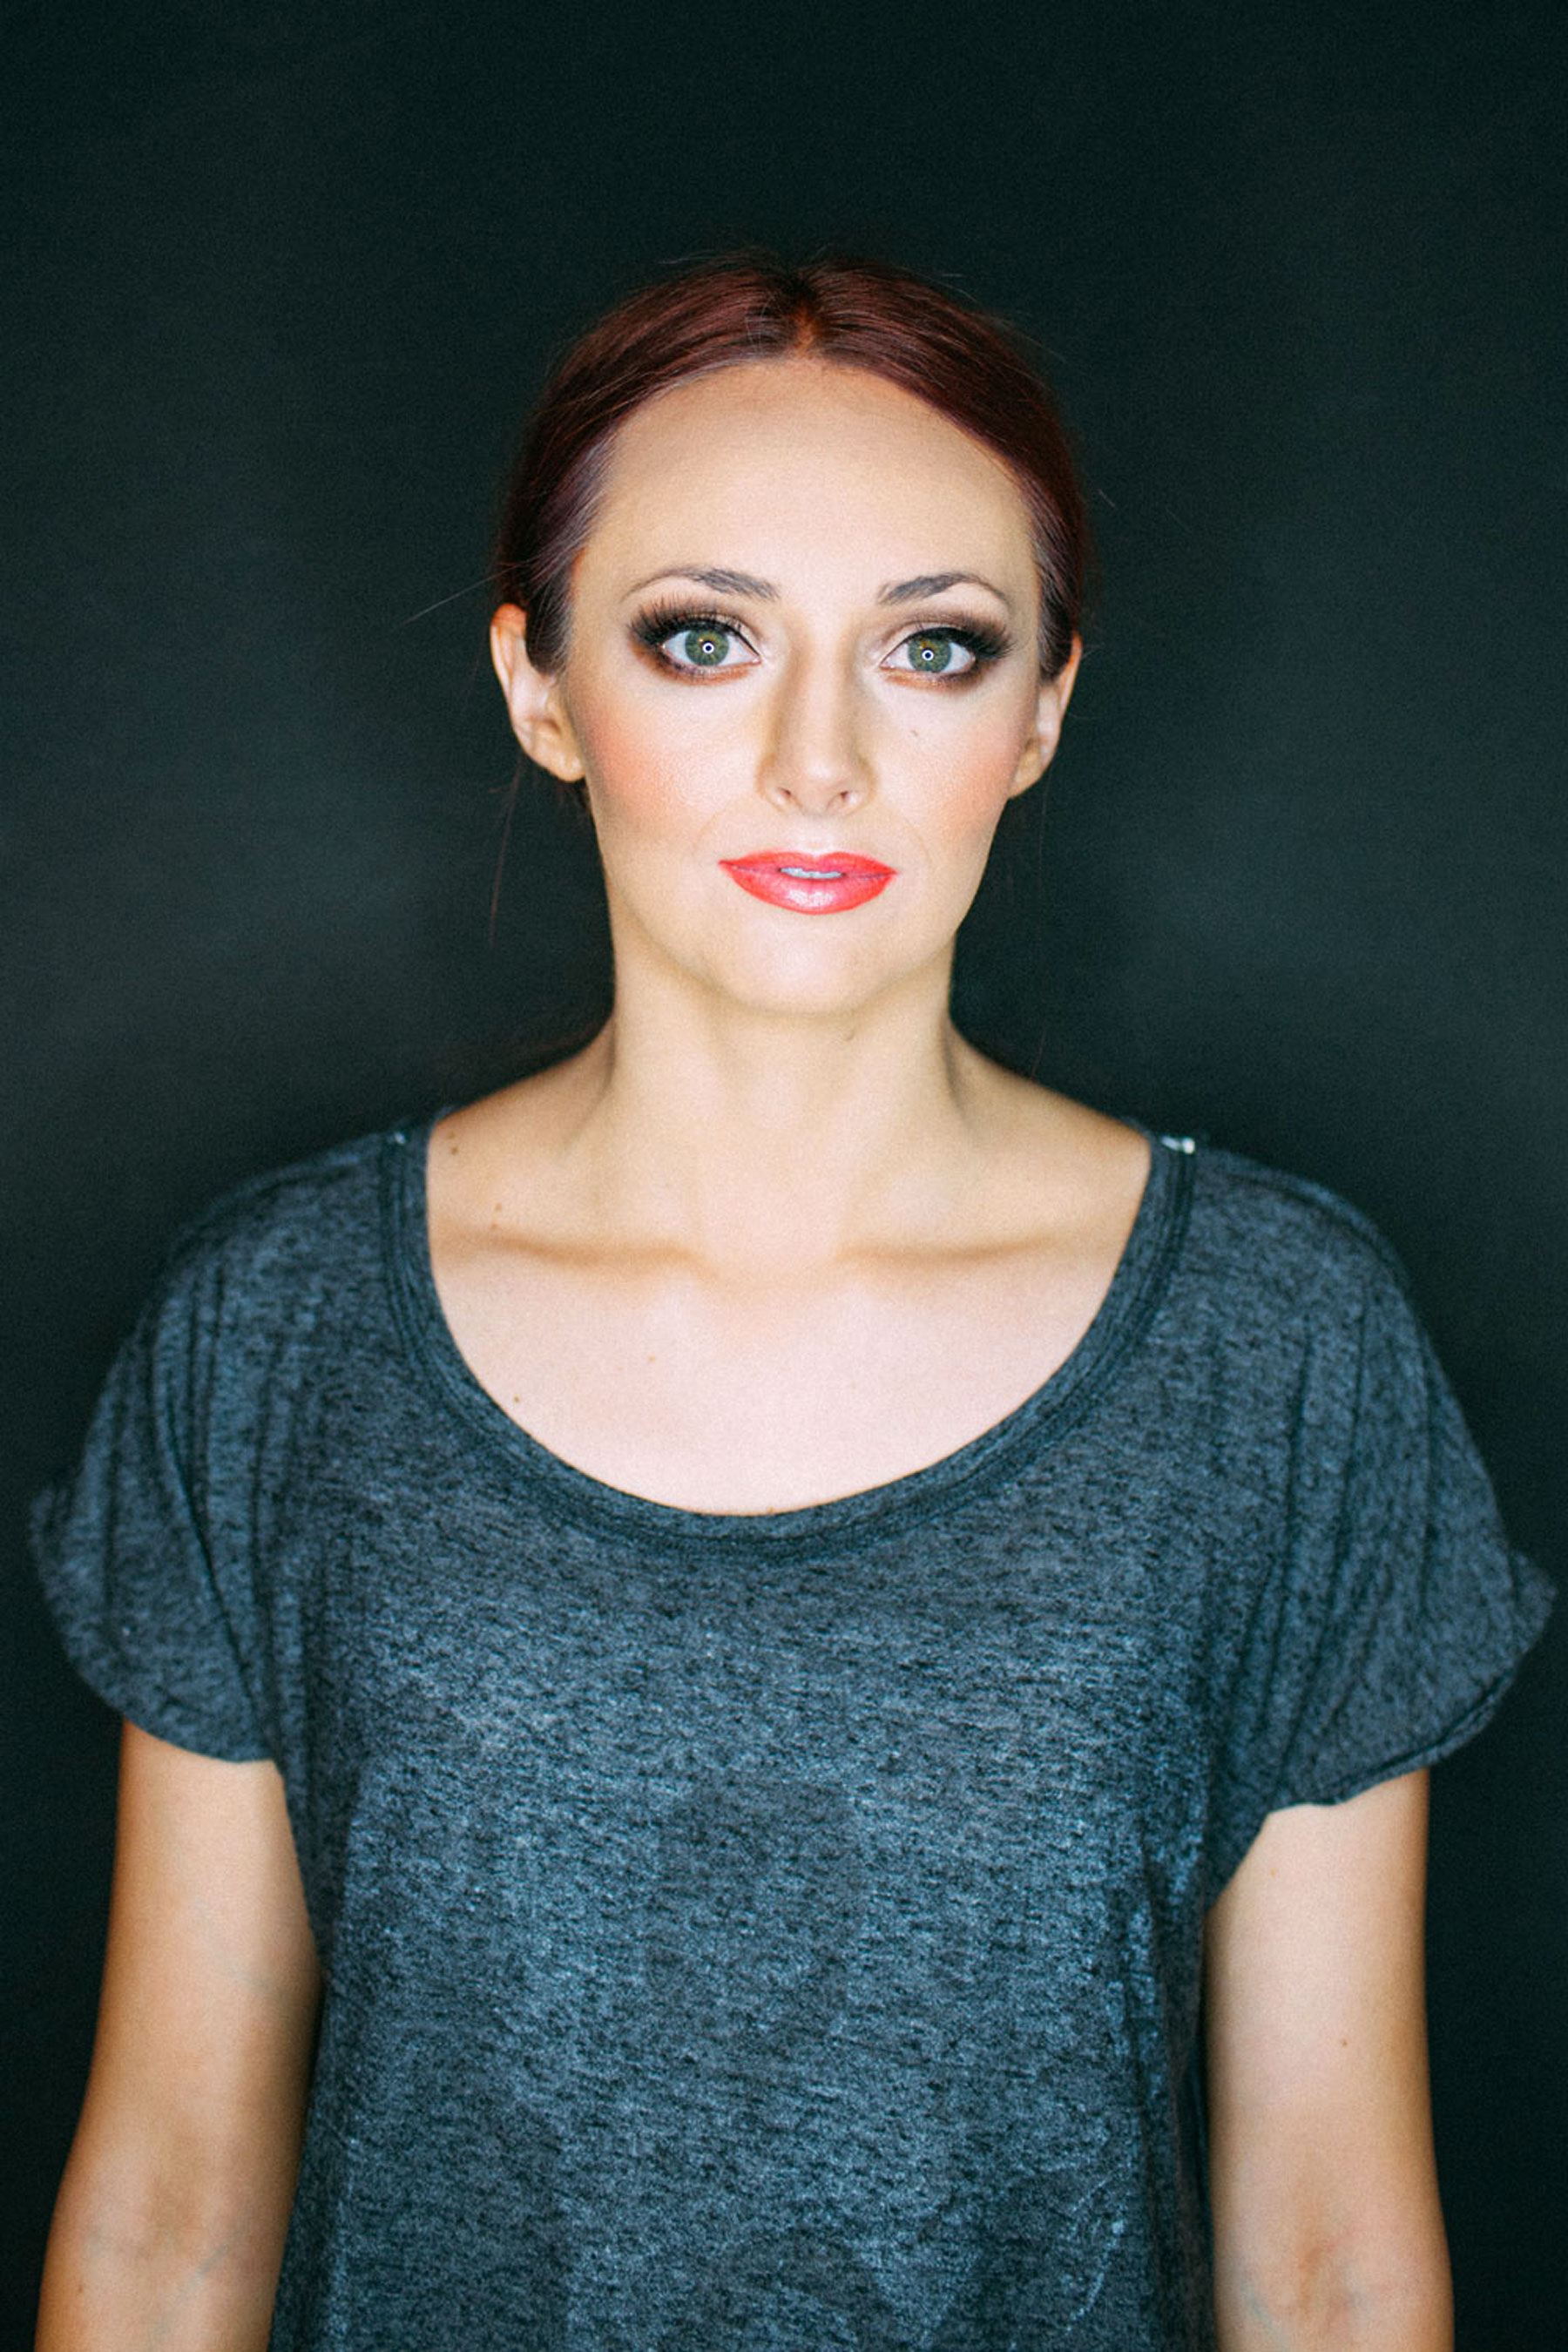
Complexion: Temptu s/b Foundation in #2 and #5, Laura Mercier Secret Concealer #2, Tarte Cheek Stain in Blushing Bride, High Beam to illuminate, theBalm Bronzer, MUFE powder on t-zone.

Eyes: Urban Decay Eyeshadow Primer, MAC Eyeshadows in Vanilla,Wedge and Carbon,  Stila Liquid Eyeliner, L’Oreal mascara, Flare Lashes Combo Ardell in short and medium and House of Lashes Adhesive.

Lips: Urban Decay lip liner in Venom, MAC Ruby Woo, Bobbi Brown Crystal

To check out Kenzie’s other video’s here is her channel. She’s adorable, you’ll fall in love with her. Also the lovely decor was done by sweet Amber Reverie.

OHolyNightI hope you guys are enjoying the holiday season!

2017-07-14T15:43:26+00:00 December 11th, 2014|Hair, Makeup|3 Comments

Simply Sadie Holiday Step by Step

Working with Sadie is always a joy. You may remember her from a previous post when I did a more natural look on her, so it was fun to vamp it up a bit for her holiday shoot!sadie_before_after Keala Jarvis was a sweetheart and took some progressive photos for me because I think it’s helpful to see the how the makeup looks at different points of the process. sadie_holiday So I started with basic complexion, did her eyeshadows and added a pop of gold, then finished the look with brows, blush, lips, and lashes. Here’s what used:

Complexion: Temptu s/b foundation in 005Laura Mercier Secret Concealer #3, Makeup Designory shadow foundation to contour, Tarte Cheek Stain in Tipsy, Bobbi Brown Bronzer in Elvis Duran (or Natural.)

Eyes: Urban Decay Eyeshadow Primer, Urban Decay Naked Basics Palette, add a touch of Urban Decay Bondage on the lid and then immediately add glitter over the top. Urban Decay All Nighter on lower inner rim, Lancome Artliner in Noir on top, Lancome Hypnose mascara, Ardell Wispies lashes. Her brows are Lancome’s powder pencil in Sable applied with a damp angled brush. 

Lips: Urban Decay lipliner in 69, Bite Beauty High Pigment Pencil in Pomegranate, and some gloss. 

Make sure to comment if you have any questions at all! I would love to help. vivianmakeupartist

2017-07-14T15:43:26+00:00 December 9th, 2014|Makeup, Uncategorized|3 Comments

Bridal Makeup

Hanging out with this lovely bride Baylee, her mom Melinda, and the photographer Angie Monson was one of my favorite things I did last month. So grateful for my clients!bridal_makeoverHere’s what I used for her makeup:

Complexion: Temptu foundation, Laura Mercier Secret Concealer #3, Makeup Designory cream shadow to contour, Tarte Cheek Stain in Blushing Bride,  theBalm Bronzer.

Eyes: Urban Decay Eyeshadow Primer, MAC Eyeshadows in Vanilla, Bronze, and Carbon, Urban Decay All Nighter on lower inner rim, Lancome Artliner in Noir on top, and House of Lashes in Iconic. For her brows I used a Lancome Brow Pencil in Sable.

Lips: Urban Decay lip liner in Naked, MAC Lipstick in Myth, Buxom Lipgloss in Katie. 

baylee_makeupmakeup_bayleeI had so much fun doing makeup on her gorgeous mom also for the wedding day. Loved these two! DSC_6818Thanks for the photos Angie!

2017-07-14T15:43:26+00:00 December 7th, 2014|Makeup|0 Comments

How to do your eyebrows

Check out my video on how to do your eyebrows below!

What I used:

Fast everyday brow: Anastasia Brow Wiz pencil in Taupe

Dressed-up technique: Angled Brow Brush, Stencils, Anastasia Dipbrow Pomade Waterproof Brow Color in Blonde, Anastasia Brow Pen in Light, Anastasia Brow Gel, Laura Mercier Secret Concealer #3, Hourglass Concealer Brush

Here are some of the other things in the video: I’m wearing Flare Lashes,  my eyeshadows are Chanel in Spices, and extra highlight on lid above the liquid liner is Nudestix in Angel, lower lashline is Lancome liner in Noir and Hypnose. My nail polish is OPI Bubble Bath.

Thanks for watching my video 😀 I realized after the video was already finished there were a few more things I wanted to share, so sorry I didn’t just say them during the video!

Out of habit I start at the arch of the brow instead of the center. The reason I do that is because if you’re using a brow powder, eyeshadow, or pomade it’s easy to over-apply product where you first start. If you start in the center then you’re left trying to get it blended back towards the arch and you can easily end up with a big blurry caterpillar looking thing for a brow. So, I just start at the arch.

To pick your correct stencil, just hold up the stencils to your brows and choose the one that’s closest to the shape of your brows. The one I used in the video is called the High Arch.

I hope this helps!

2017-07-14T15:43:27+00:00 November 29th, 2014|Makeup, Videos|2 Comments

Holiday Makeup Deluxe

Take your holiday look up a notch by adding a bold lip. Follow the steps in my last post and then just add a few more details to get this extra glam holiday makeup look. holiday_makeupholidaymakeupHer lip color is MAC Russian Red and Lancome Mauvelle liner. I added some mini flares to her lower lashes and her top lashes are Flutter Lashes.  Keep your lips matte finish for a durable, velvety look—or gloss them up! Whichever you prefer! I added my favorite go-to Bobbi Brown gloss. This stuff is amazing for photos. holiday_makeup_lookvivianmakeupartistHere’s a little recap! holiday_makeup_look_vivianmakeupartist

2017-07-14T15:43:28+00:00 November 21st, 2014|Makeup, Uncategorized|1 Comment

Holiday Makeup Look

I don’t actually watch runway fashion shows terribly often, but when I do I sometimes think “Well, ya, of COURSE they can wear that, they can wear anything and it would probably look good on them. But I don’t look like them and I don’t have a million dollars to spend to play dress up.” The photos below may seem like I am giving you the makeup version of the runway show experience since Marina is so beautiful, but hear me out! You can probably achieve a similar look using mostly products you already own. The only thing I had to purchase for this was the one shade of super duper sparkly eyeshadow.

step_1Apply foundation primer (lately I’ve been liking Tarte’s.) Then foundation and bronzer.  Apply a lip hydrator (I’m obsessed with Bite’s lip mask! I use it on my cuticles too.) Apply eyeshadow primer and fill in your browsstep_2Then use a light brown eyeshadow on the crease and under the lower lash line. Wing it out and connect them together! I used Wedge by MAC.  The brush I used to apply and to blend for this was the Tom Ford Blend brush.  Since I’m a professional makeup artist and I’m doing makeup around the clock, I tend to invest more in brushes and things that will save me time, and this brush does. But for this any fluffy shadow brush with do.  I also like the MAC Fluff Brush. step_3Ok now for the fun part, sparkly eyeshadow!!!! I used Vintage Black Gold and there’s a quick video showing how to use it here. I applied it with this brush thing shown in the photo above, but I haven’t used it again since so I’d probably just apply it with your finger or a multitasking synthetic bristled brush like this one here.  I lined the lower inner rim with Lancome’s Blanc eyeliner but really any white khol eyeliner would probably work.step_4Apply mascara, Hypnose is a favorite of mine. Add your favorite light lip color, here I used Buxom White Russian.  *Optional, add top eyeliner and some lashes. For this look I used Ardell’s #205.

Photos by Jordyn Willey


2017-07-14T15:43:28+00:00 November 19th, 2014|Makeup, Uncategorized|2 Comments

Photo Makeup

People will often say to me “Well, I know for photos I need to just wear a lot more makeup.” Which is true—-kind of. You don’t want to just pile on a lot more of exactly what you do everyday, you want to wear makeup that gives the right dimensions. You know all that highlighting and contouring buzz that’s going around? That’s what I’m talking about. In real life, people are seeing you in 3D. A photo is 2D, so adding in flattering dimension can make all the difference.

Fitness extraordinaire Samantha Leete hired me to get her ready for her wedding and we had a blast together! We’ve worked together several times since and in the photo below I am showing on the left just an everyday makeup look. It’s one color of foundation all over the face, and on the right is photo ready makeup.  samantha_leeteSo the main thing I implemented for Samantha’s makeup in the right photo, is highlighting and contouring.

Complexion: Temptu s/b foundation (non-airbrush foundation recommendation Teint Miracle,) Laura Mercier Concealer #3,  Bobbi Brown Bronzer in Elvis Duran (I use Natural all the time too,) Tarte Cheek Stain in Tipsy , Illuminator is High Beam by Benefit, and for everyday contour I recommend Maskcara Cosmetics  and for the advanced makeup-ess or professional MUA I recommend MUD.

Eyes: Urban Decay eyeshadow base, MAC eyeshadow in Bronze, Carbon, and Rice Paper, Chanel liquid eyeliner on top in NoirTarte Inner Rim liner, Lancome Hypnose mascara, Anastasia Dipbrow Pomade in Blonde 

Lips: Urban Decay lip liner in Naked 2,  Chanel gloss in Seashell

And her hair……….it’s just naturally shiny and beautiful.

Photo by Jessa Kae 

2017-07-14T15:43:28+00:00 November 18th, 2014|Makeup, Uncategorized|1 Comment

Beachy Waves

Beachy waves are still one of the most frequently requested hairstyles from my clients. It’s just such a great look for so many things!  Zoe totally rocked these textured beach waves.  beachy_waves_verticlebeach_waves_verticleHere are my two favorite styling products to achieve this look→ Oribe and Beyond the Zone. I used a one inch Sultra curling rod and I also threw in some Bellami clip-in extensions . I also really like Laced Hair Extensions  and LocknLong extensions are great for anyone who doesn’t want to have to clip something in every morning!behind_the_scenesOh, and I did the beach waves really fast first, then styled it in a fishtail braid.fishtailThen Zoe took it out half way through her shoot, tossled it a little bit, and then let it be free!

Glorious photos taken by Tyson French. (Free People’s featured this shoot on their blog and main instagram, which is kind of awesome. Great work Ty and Zoe!)


2017-07-14T15:43:29+00:00 November 3rd, 2014|Hair|0 Comments

Poison Ivy Makeup

When Jackie asked me if I could do her makeup for this I was ecstatic. Poison Ivy Makeup!? Yes please! This kind of stuff is so much fun.poison_ivy_makeup_hairI thought progressive photos might make it easier to see how to do it. poison_ivy_makeup_1Let’s talk about her eye color…. way pretty, right!? So, I’ll list what I used but you may be able to get a similar look using products you already have.poison_ivy_makeup_2Apply your foundation and contour color. ↑ I used the foundation from the makeup design school I went to here along with a little bit of airbrush foundation here. Don’t feel like you have to rush out to get an airbrush (even though they can be great,) normal foundation will work just as well, I just didn’t have the exact colors I needed so I went with airbrush.

poison_ivy_makeup_3Add concealer, bronzer (Natural,) blush (Peach Mosaic,) lip liner (UD in Bang,)  and gloss (Chanel in Constellation.) Here’s a side view ↓poison_ivy_makeup_4.Make sure bronzer, blush, and contours all blend together nicely. My favorite blending tool is the beauty blender. poison_ivy_makeup_5Then add eyeshadow (Naked Basics and MAC Bronze.) ↑poison_ivy_makeup_6Then add some false lashes. You can’t go wrong with Ardell Wispies.leavesNow for the ivy part of this all…..get some leaves like these here and spray them with some glitter and allow them to dry. adhesiveApply lash glue to the back of the leaves and allow it to dry for about 45 seconds before applying to the skin. poison_ivy_makeup_7
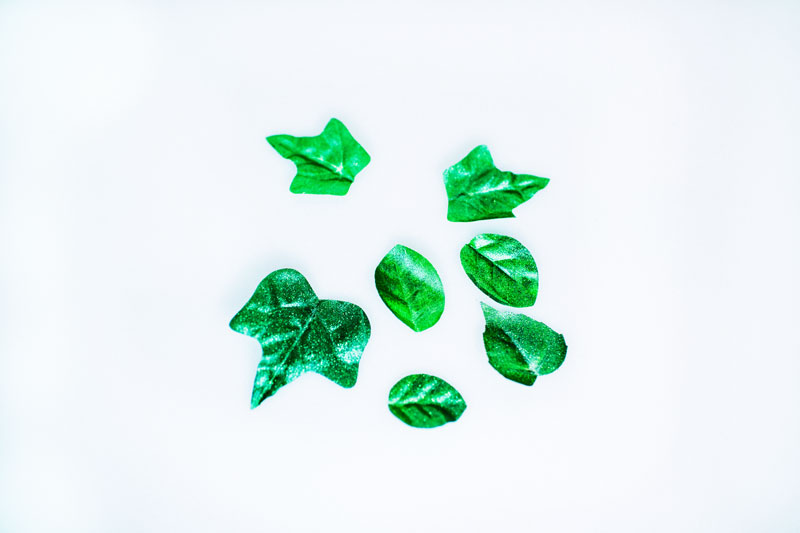
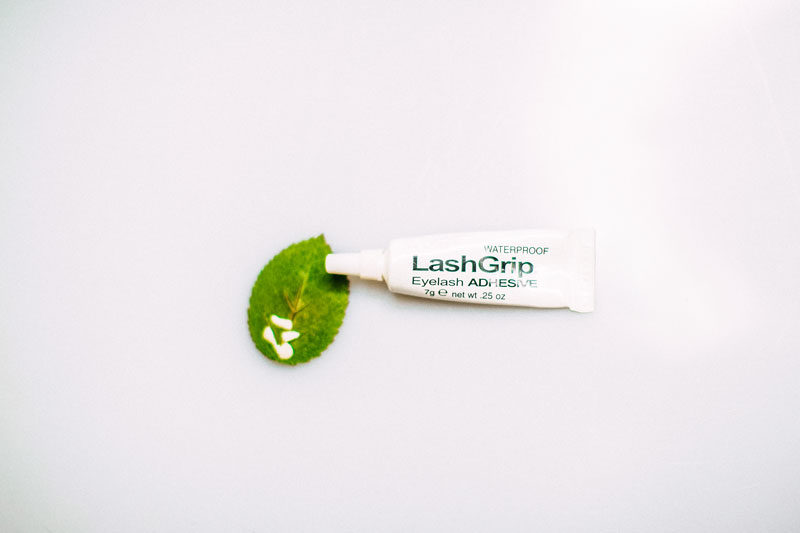
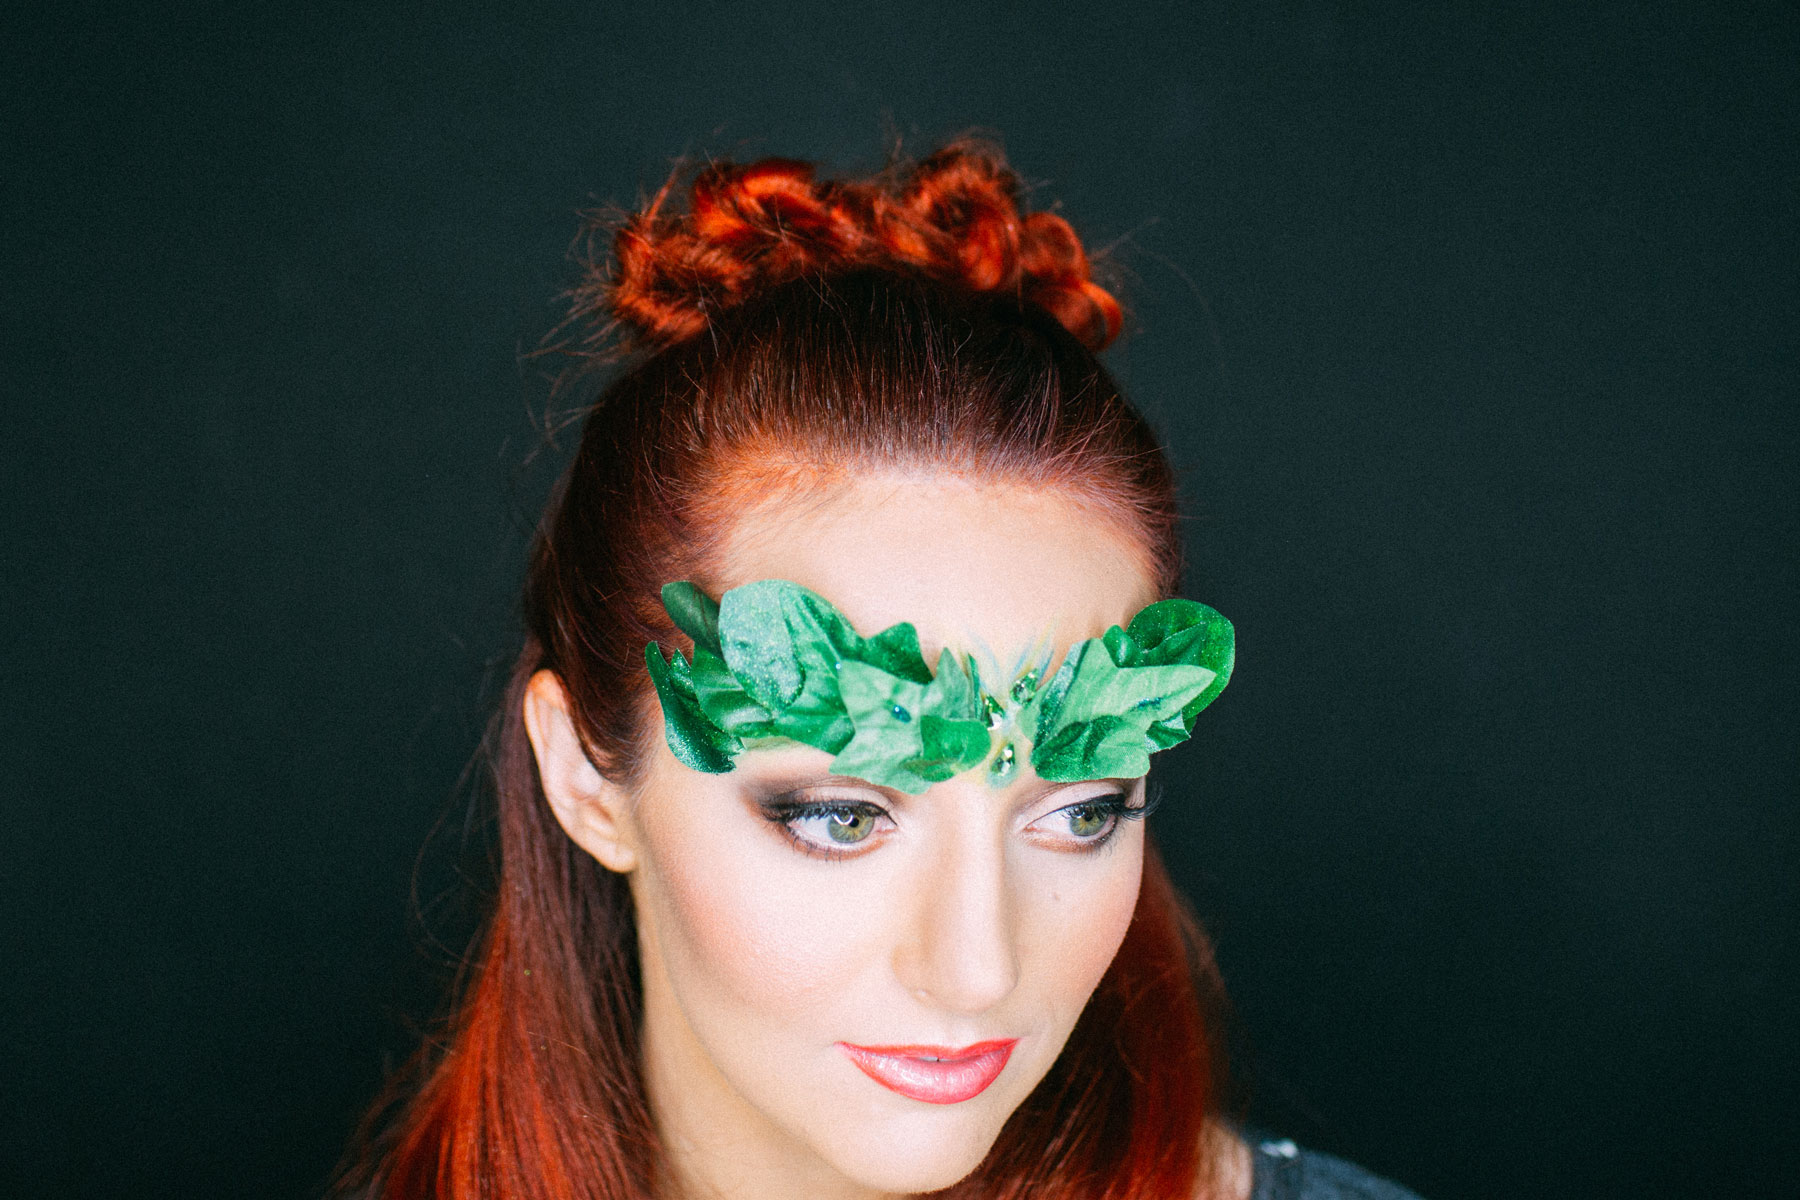
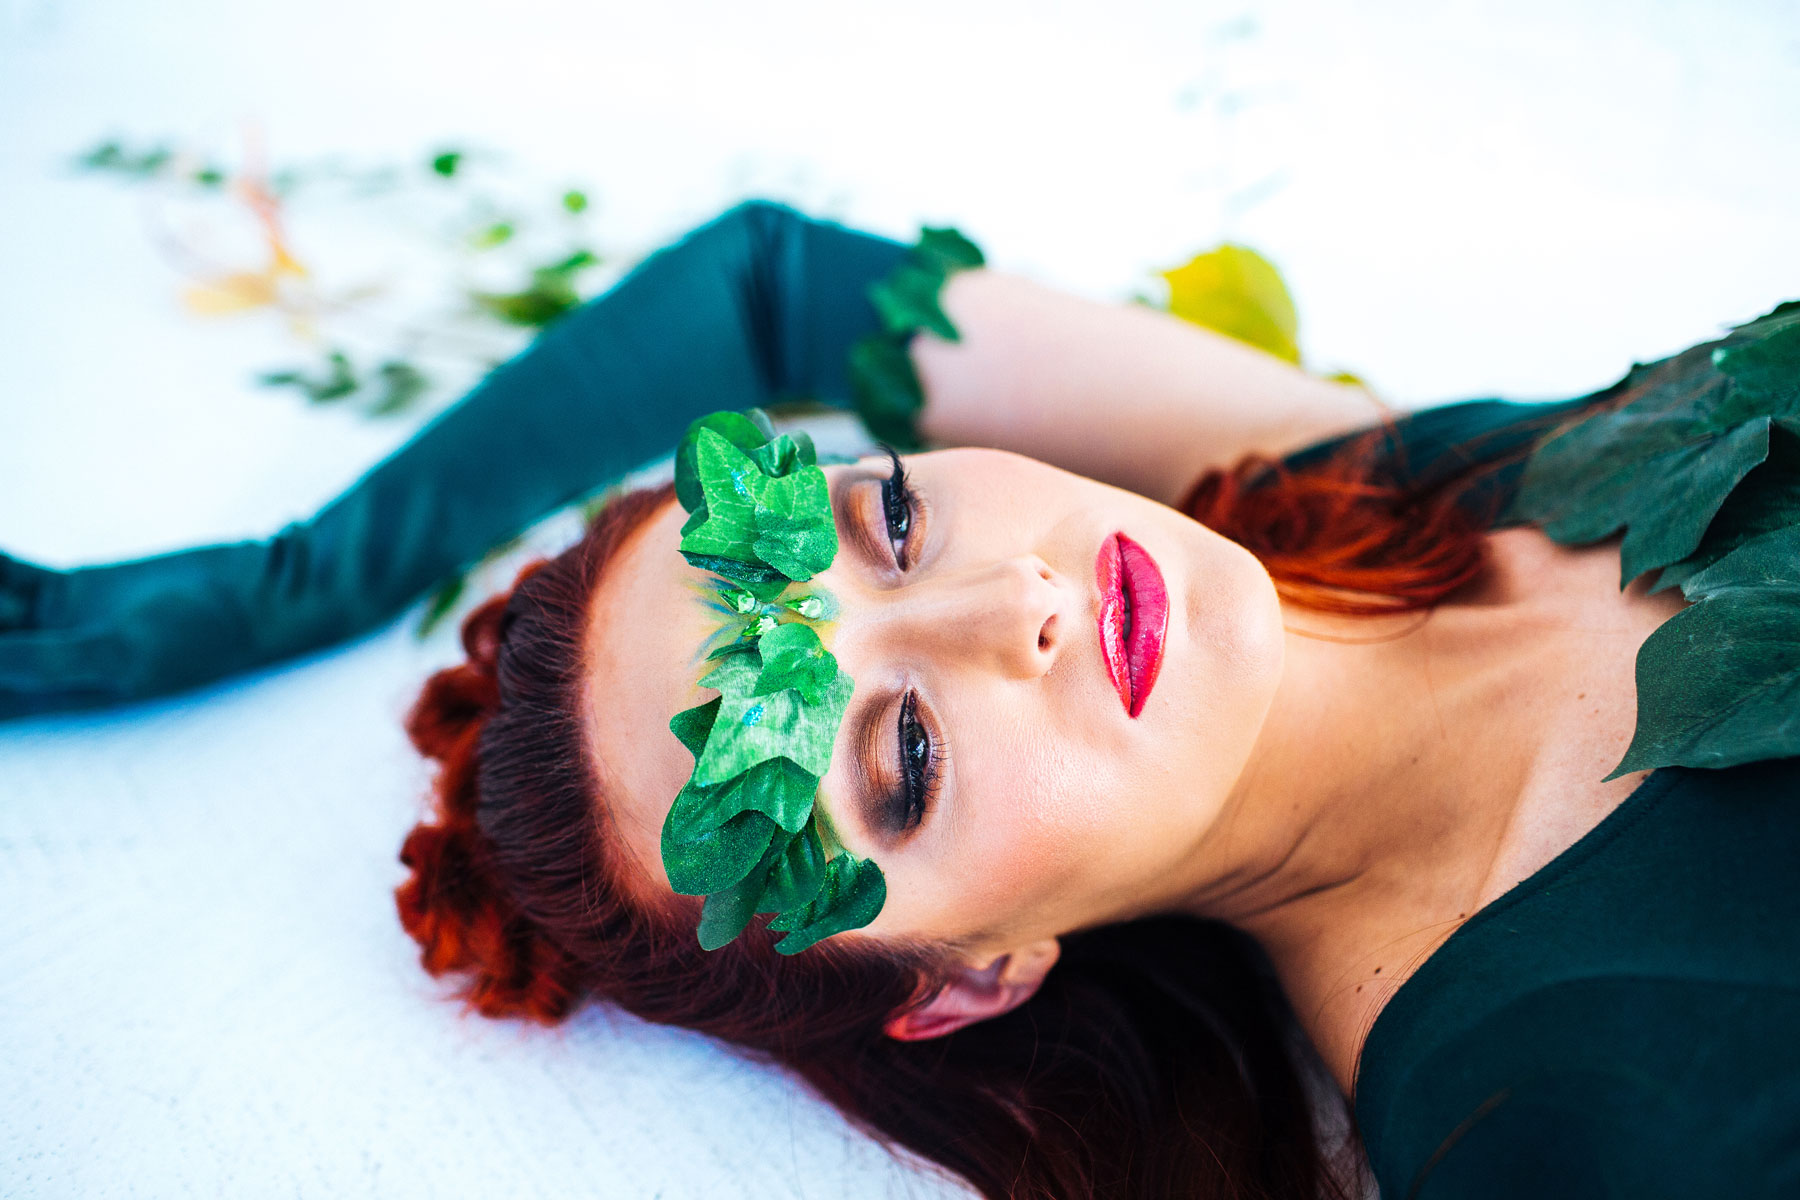
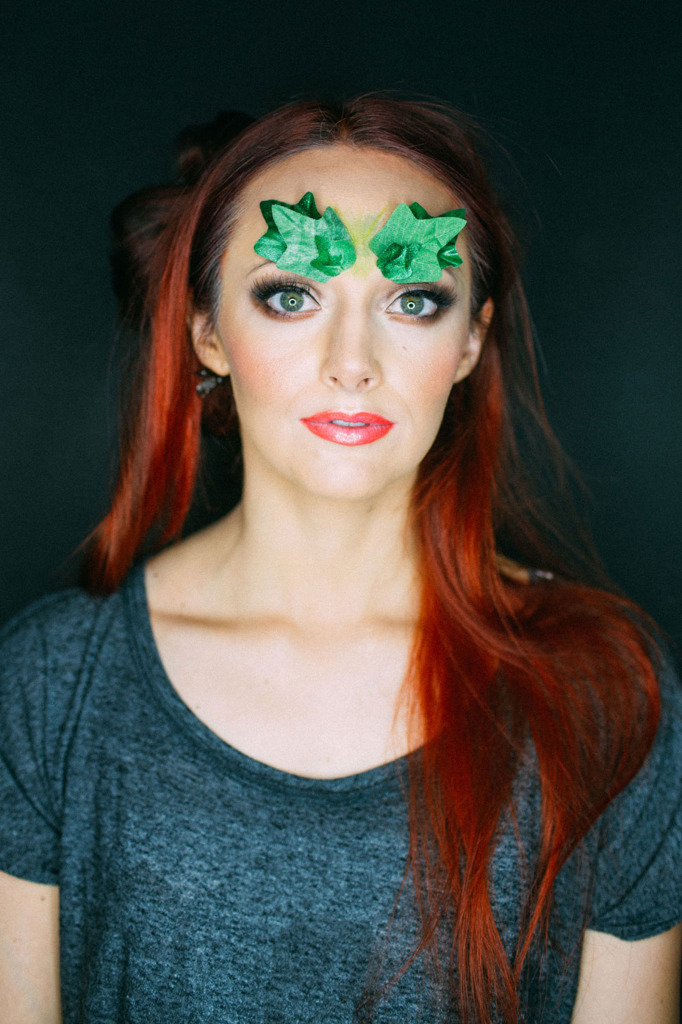
Layer the leaves on the skin adhering each one with lash glue and allowing it to fully dry. Apply green eyeshadow between the leaves to create extra detail. I used the green colors from the UD Electric Palette.poison_ivy_makeup_10Add some rhinestones ↑ (similar here) to the center using lash glue. And you’re done!poison_ivy_makeupNow go do something fun!

This pretty face is Little J Style

Stellar images by Emmy Lowe Photo

Hair color and style by Aubrey Nelson

Vines by Rachel Osguthorpe


2017-07-14T15:43:30+00:00 October 29th, 2014|Makeup, Uncategorized|0 Comments

Roxy Model Makeup Look

I love this look, it reminds of a Roxy model’s makeup. I was getting Zoe glammed up for a photoshoot with Ty French and just had to pause when I wasn’t totally done with her makeup to take a pic cause I loved this natural look so much. zoe_before_afterHere’s what I used:

Complexion:  Temptu s/b foundation (non-airbrush foundation recommendation Teint Miracle,) Laura Mercier Concealer #3, TheBalm bronzer,  MAC blush in Fleur Power

Eyes:Urban Decay eyeshadow base, MAC eyeshadows in Rice Paper, Amber Lights and EmbarkTarte Inner Rim liner, L’Oreal Voluminous mascara, Benefit Gimme Brow in Light/Medium 

Lips: Bite Agave Lip Mask

Isn’t she so cute?! OH! And I linked to Target for the L’Oreal mascara, it has free shipping on all products and it was the cheapest!

2017-07-14T15:43:30+00:00 October 25th, 2014|Makeup|0 Comments