

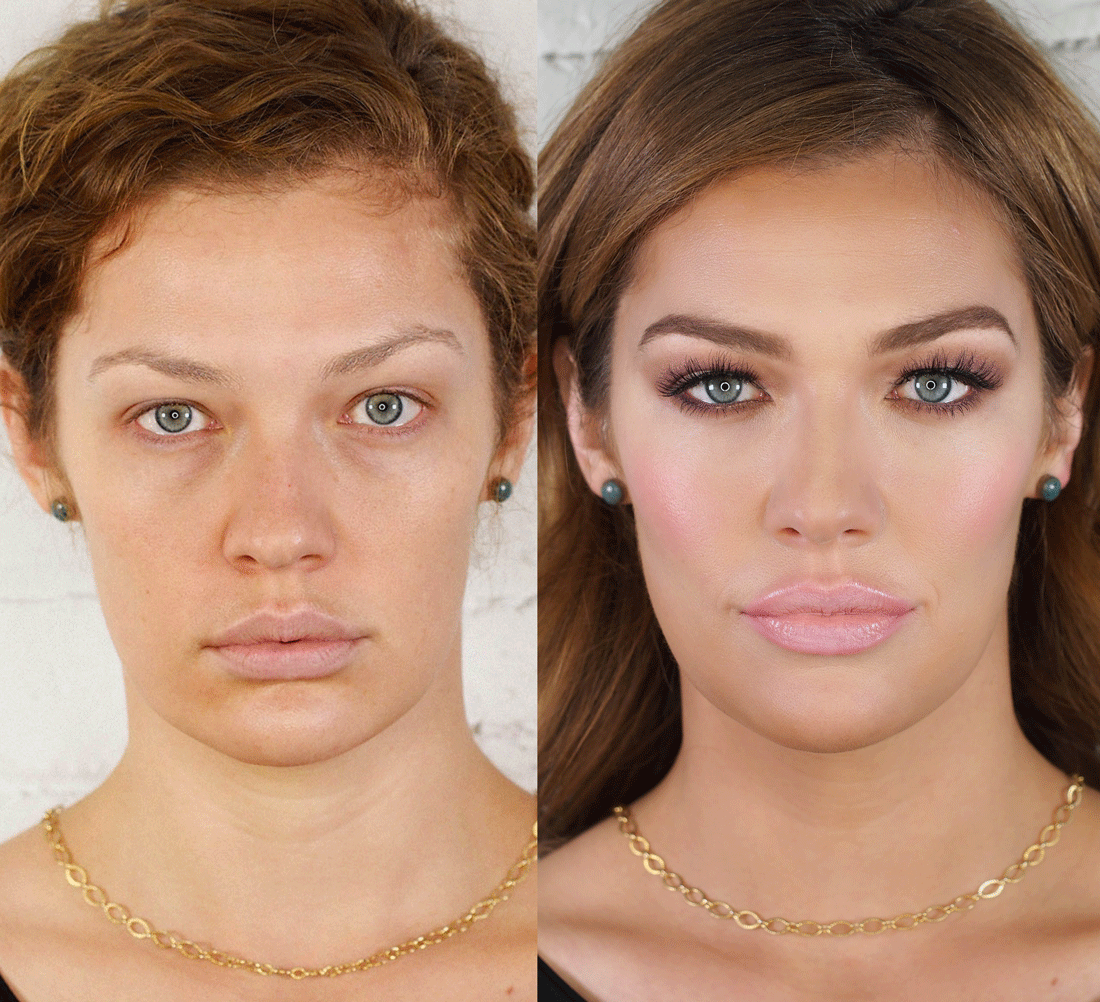
It’s Me!
It’s me! My very own before and after on myself 🙂 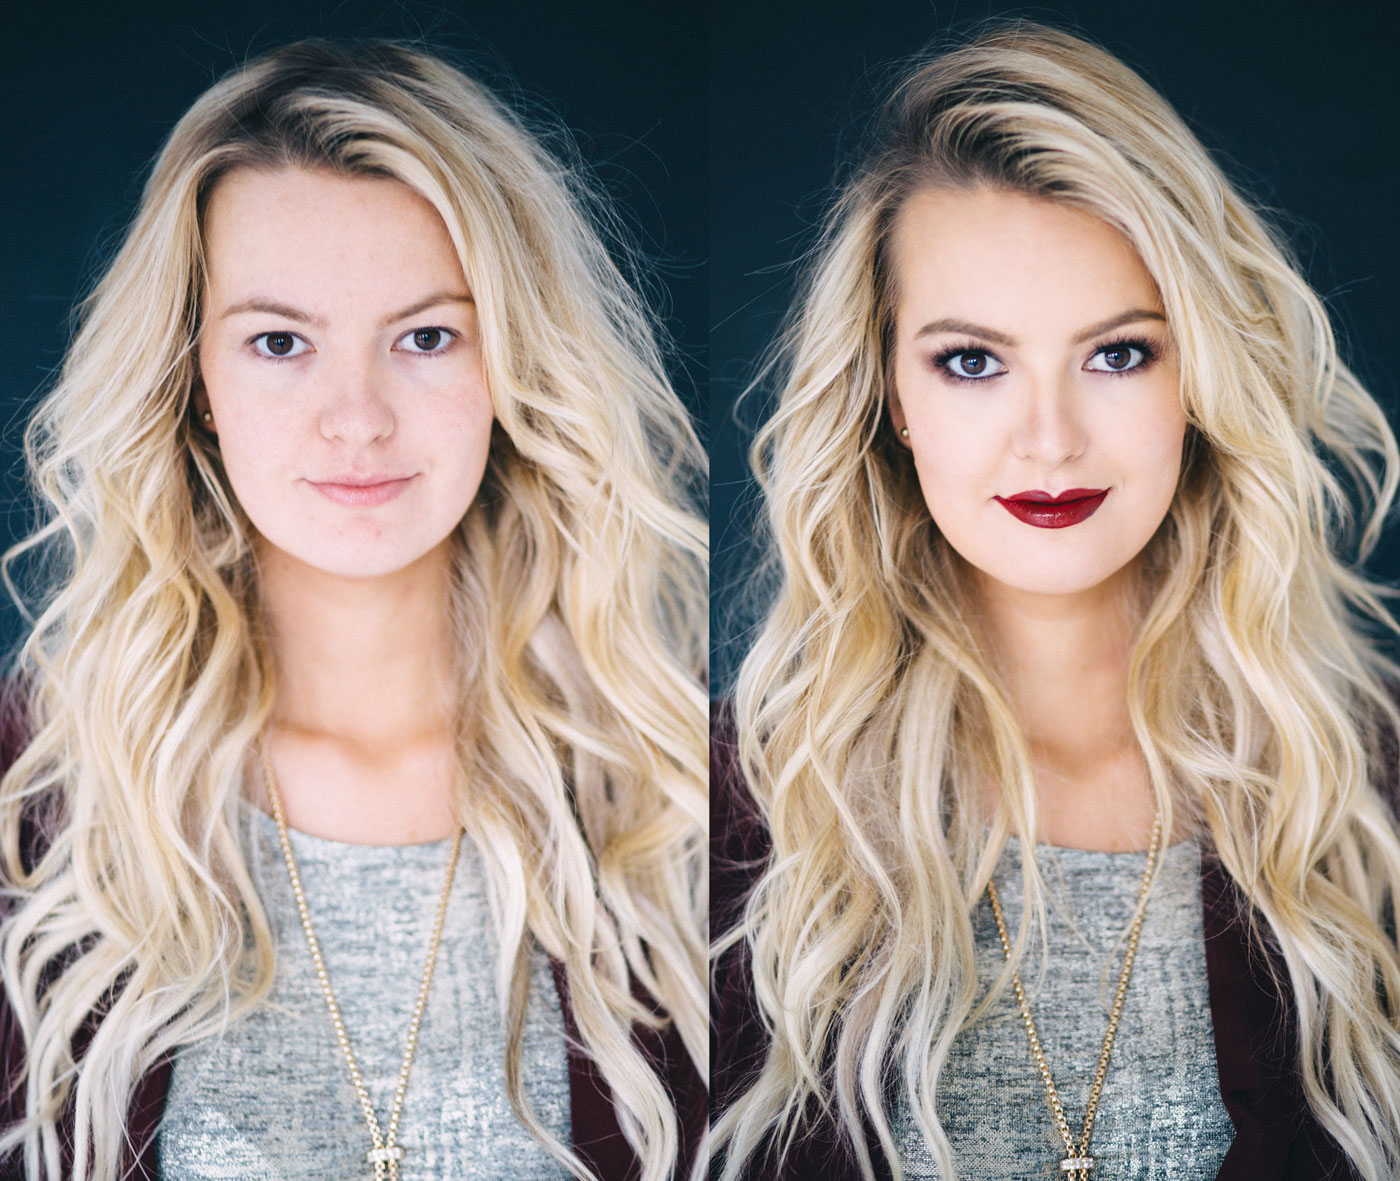 I thought I would have a difficult time posting this, but to my own surprise I am actually excited about it! It’s a lot of pressure to feel like you always have to be perfectly put together, don’t you think? Of course I think it’s so fun to get ready and get dolled up! But my reality, especially over the last year, is that I definitely don’t get ready everyday. Sometimes, there’s just lots of other things I need to get done.
I’m working on conquering my insecurities. Because, insecurities are just….annoying! Aaaaaand sometimes cause me do things that are inconvenient and kind of weird. For example making my husband Jeff, go into a restaurant and order my food (having to call me mid-order because he can’t remember all the ways I like my order,) then bring it to me so I can eat in the car. Because I didn’t get ready and I am certain that I’ll run into people I know. I’ve always known that it’s a little ridiculous, but writing it out, just confirmed it. 😎
I remember once when I was a young teen, complaining to my mom about not liking the shape of my legs. And she said something that I had never thought about before. She turned to me and said “At least you have legs. And not only do you have them, but they work. There are so many people that would give anything just to have the chance to walk.”
She was right. I try to remember that our bodies are meant to be able to do things, and they don’t just exist to look a certain way.
Speaking of bodies, I am constantly having issues with my neck and back. Ya, I’m already falling apart I know! Haha, and I picked an interesting profession to work in, since I’m always hunched over while I’m working. When I have a tension headache I’ll lay down on my back with a pillow under my knee’s and rest on this thing here, and I just found it for half the price I paid for it! Even if I only lay there for a few minutes, it at least helps a little bit with my neck pain, so I thought I’d share.
So here are the details on my getting ready process:
I get spray tans 1-2 times per month and I go to Bella Airbrush Tanning in Salt Lake. I get the half body tan (much cheaper if you get a package) and I ask the owner Amanda to do from my knee’s down and then my chest up. Kind of funny but I wear a lot of long maxi skirts and short sleeves tops, so the parts she tans is about all anyone sees! If I obey all the rules (there’s super useful info on the Bella site,) my tans last about a week, sometimes up to a week and a half. I always exfoliate with the Baiden Mitten before my tanning appointment.
I curled my hair using the Sultra 1 inch curling iron. This curling iron curls my hair faster than any curling iron I’ve tried. And I sprayed my hair with Oribe Beach Spray, and I found it on Amazon! Guys, why do I love Amazon so much!?
And here are the details on my makeup:
Complexion: Laura Mercier Smooth Finish foundation (this is like a medium coverage foundation, good for oily skin.) theBalm Bronzer on my forehead and neck, nose contour by Maskcara in Shadow, under eye concealer is Laura Mercier Secret Concealer, I used #3. Blush is Tarte Cheek Stain in Flush (you can’t really tell in this photo, but it’s like a sheer berry color.)
Eyes: Urban Decay Eyeshadow Primer, and I just used one eyeshadow actually and it was MAC Antiqued. Lancome Le Stylo eyeliner in Noir.Hypnose Mascara, Flare lashes combo pack. And my new fav brow pencil (because it’s super fast) Dolce&Gabbana brow pencil in Soft Brown. A more budget friendly option, and one I use often is Brow Wiz.
Lips: Giorgio Armani Lip Maestro Lip Stain in Gio
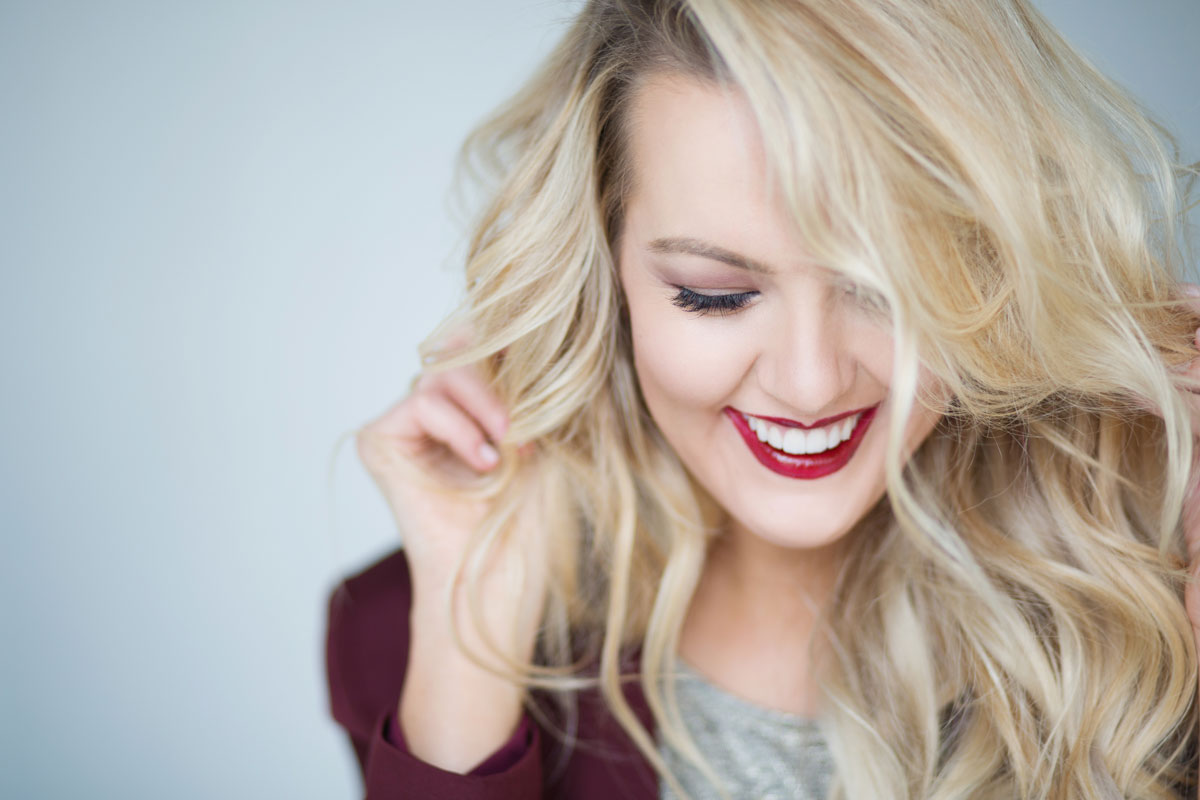
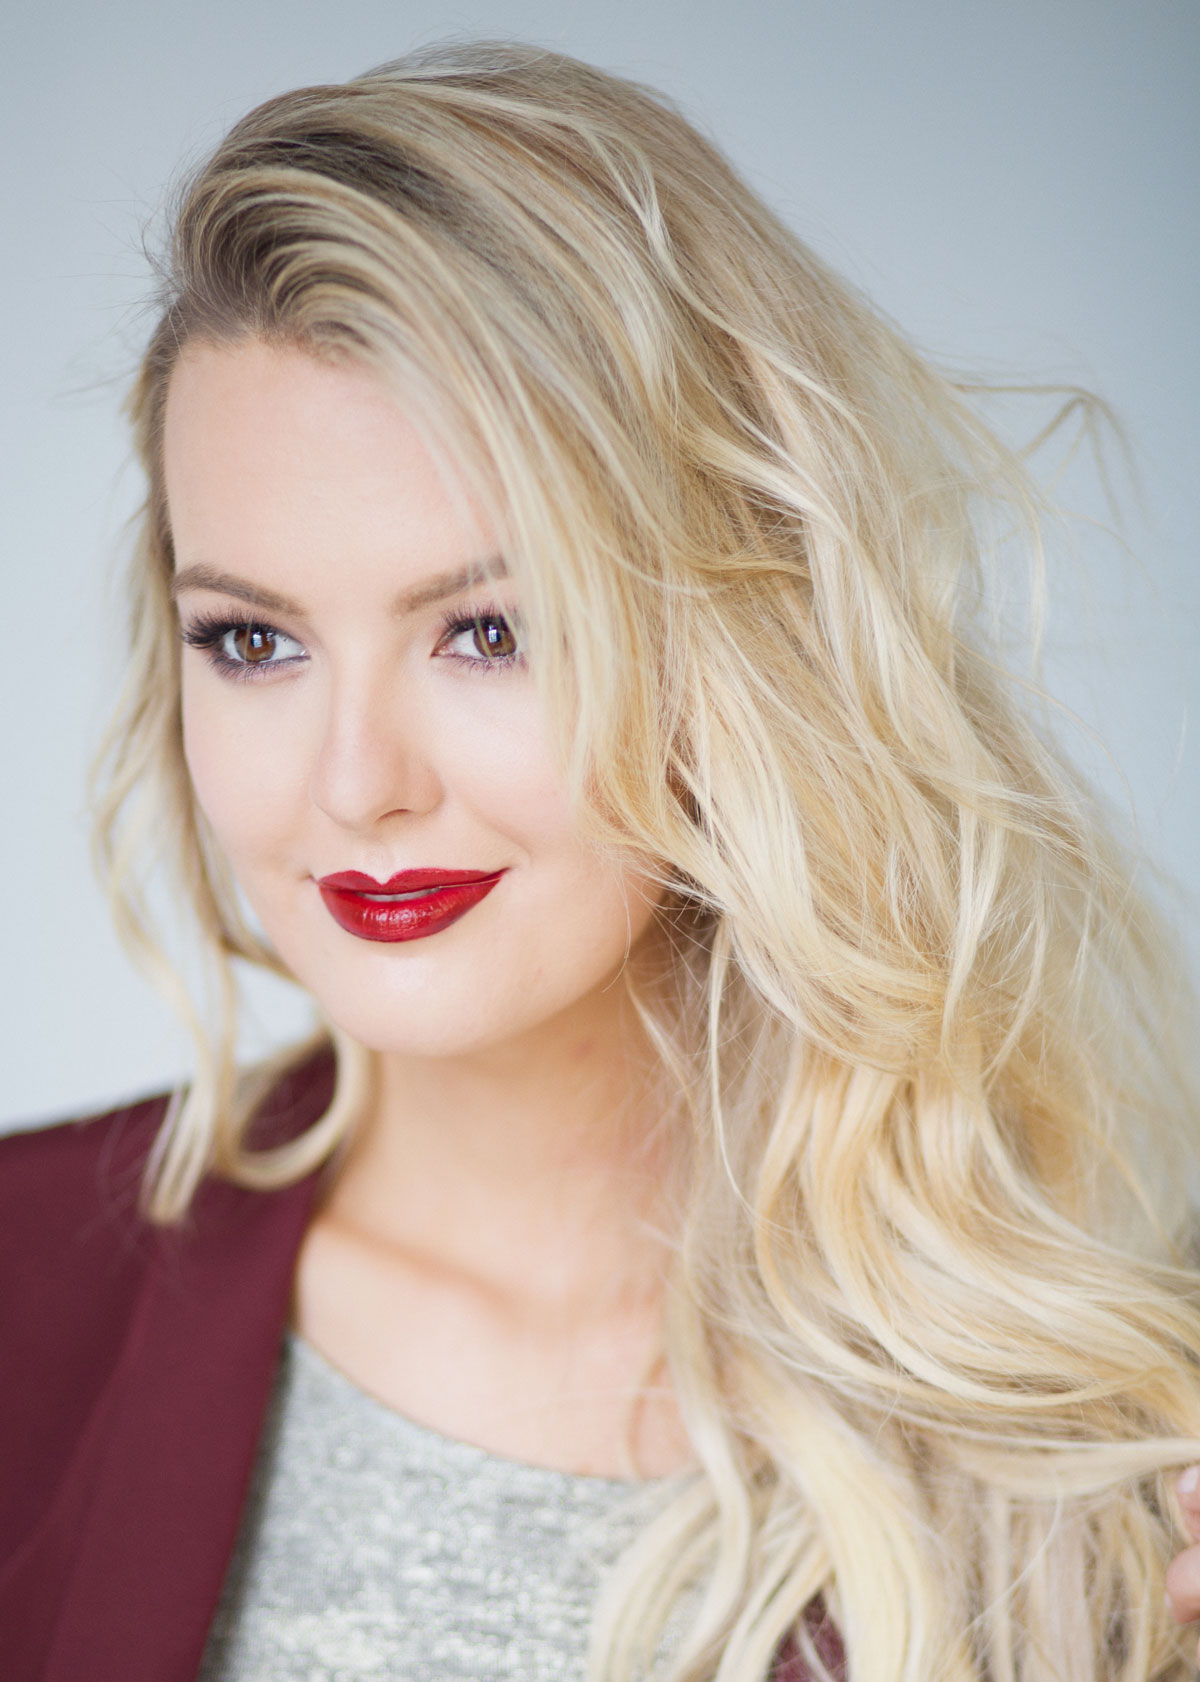
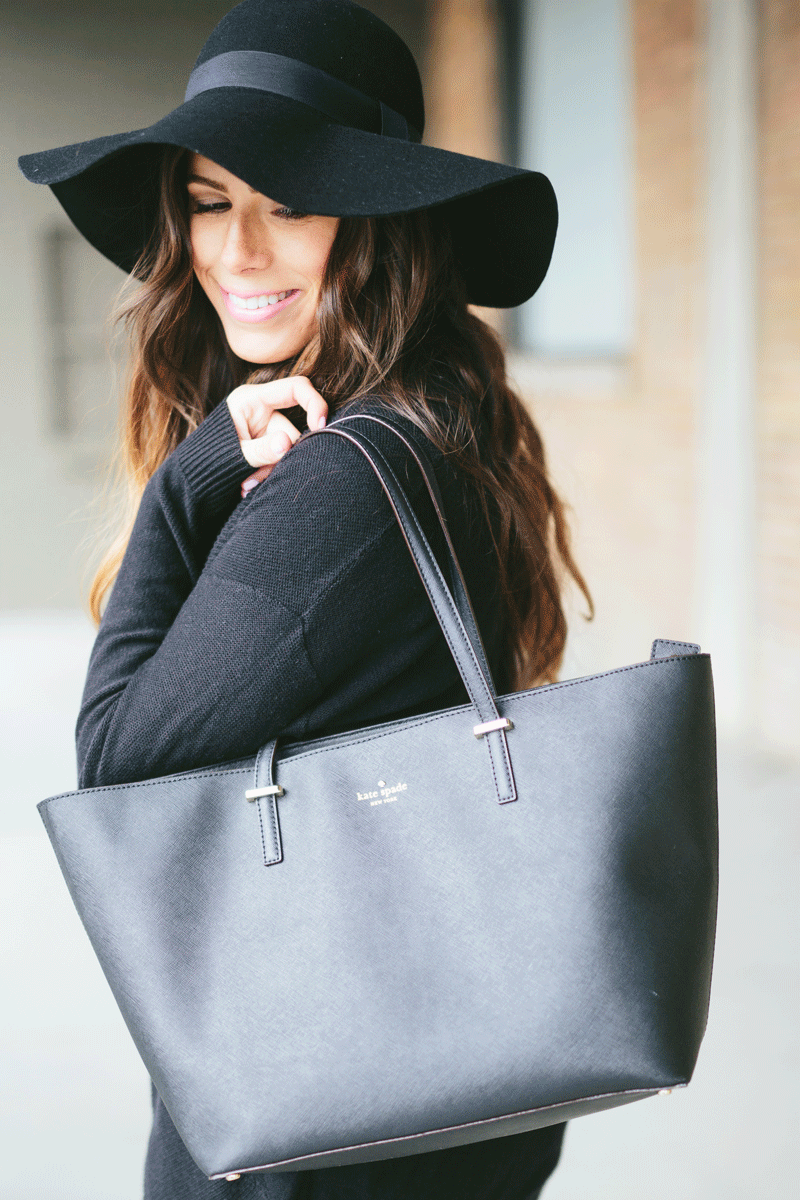
I mostly needed a before and after photo, but Jessica took some other photos and did a great job!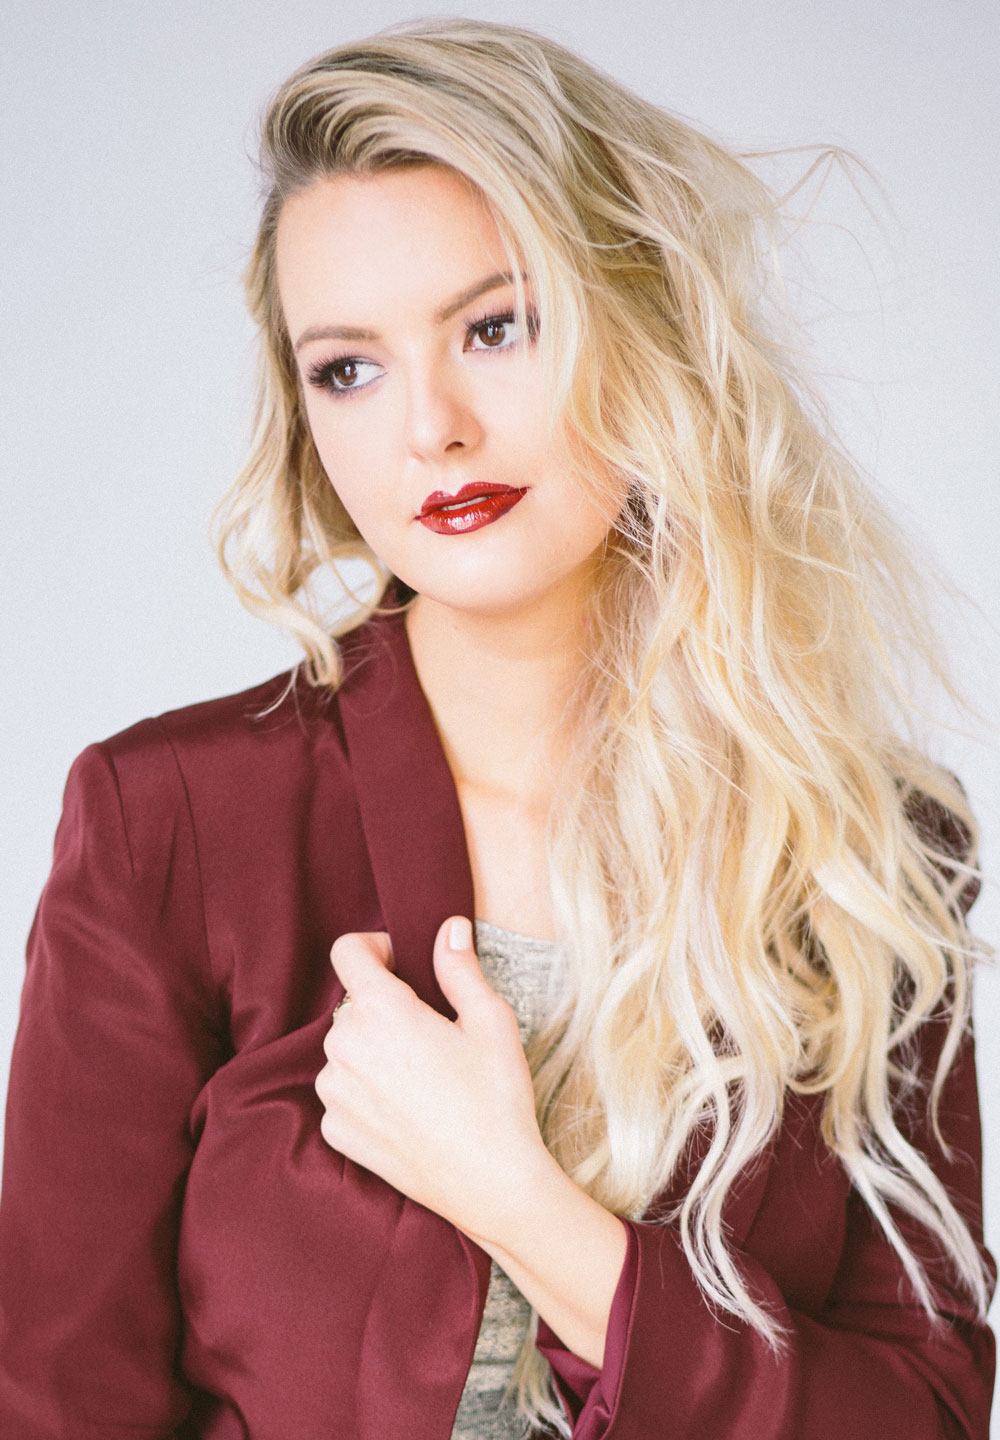 This blazer is already on sale and if you enter the code 20PRES15 at checkout it’s an additional 20% off for Presidents Day. It’s a little spendy but fits amazingly and is so comfy. Same with this top! Enter the code at checkout (sometimes I forget to enter the codes! Don’t forget!) And this is the necklace I’m wearing.
 I hope you all had the most wonderful Valentine’s Day yesterday and a great Sunday xoxoxo

The color
 This natural beauty looks like Milla Jovovich to me! In my post about contour I promised the rest of the details for her look and here they are!
Complexion: Tarte Cheek Stain in Fearless, Laura Mercier Secret Concealer #3, Bobbi Brown Bronzer in Natural on top of forehead and neckline.
Eyes: Urban Decay Eyeshadow Primer, MAC Eyeshadows Vanilla (under brow) Saddle (warm brown) Nocturnelle (purple), Lancome Le Stylo eyeliner in Cafe, House of Lashes in Siren, Lancome Brow Pencil in Taupe with MAC Brun added to the arch using an angled brush for definition.
Lips: Urban Decay lip liner in Native, MAC Pro Longwear Lipglass in Patience Please. 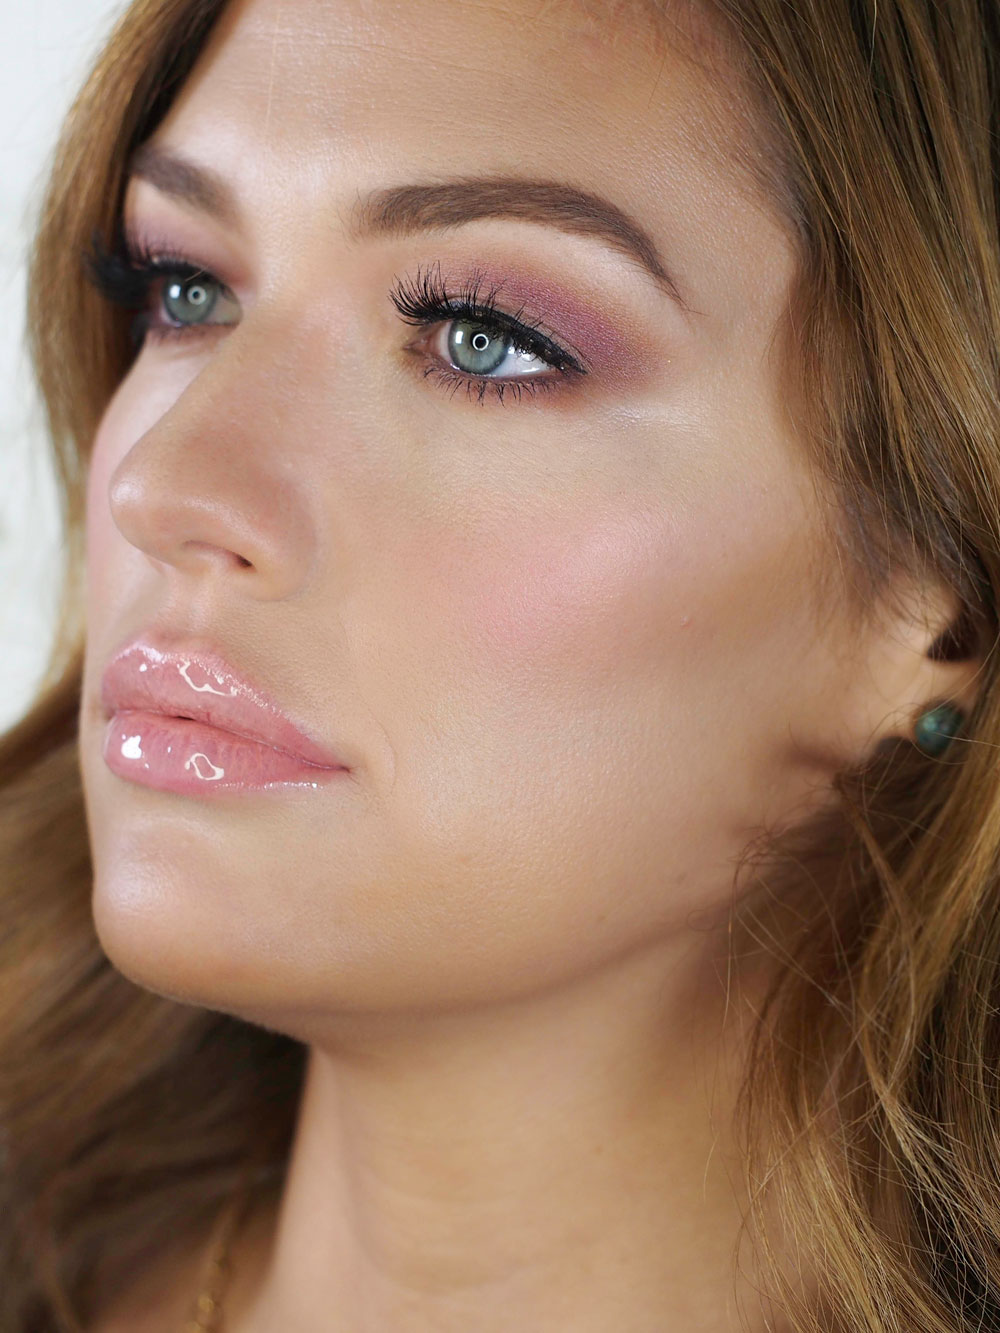 I added Bobbi Brown Crystal gloss for the photo above. It’s the shiniest stuff ever!
A friend of mine posted this on Instagram and I really loved it.  It makes so many great points!
Have a wonderful day everyone!
Mint Arrow Makeup
Every time I do makeup on Corrine (she’s the mastermind behind the high-end deal blog Mint Arrow ) I think to myself “I’m flattered that I’m here, but I don’t know if you need me cause you don’t really need makeup…….” BUT it’s those subtle makeup details that will make you look as good in a photo as you do in person.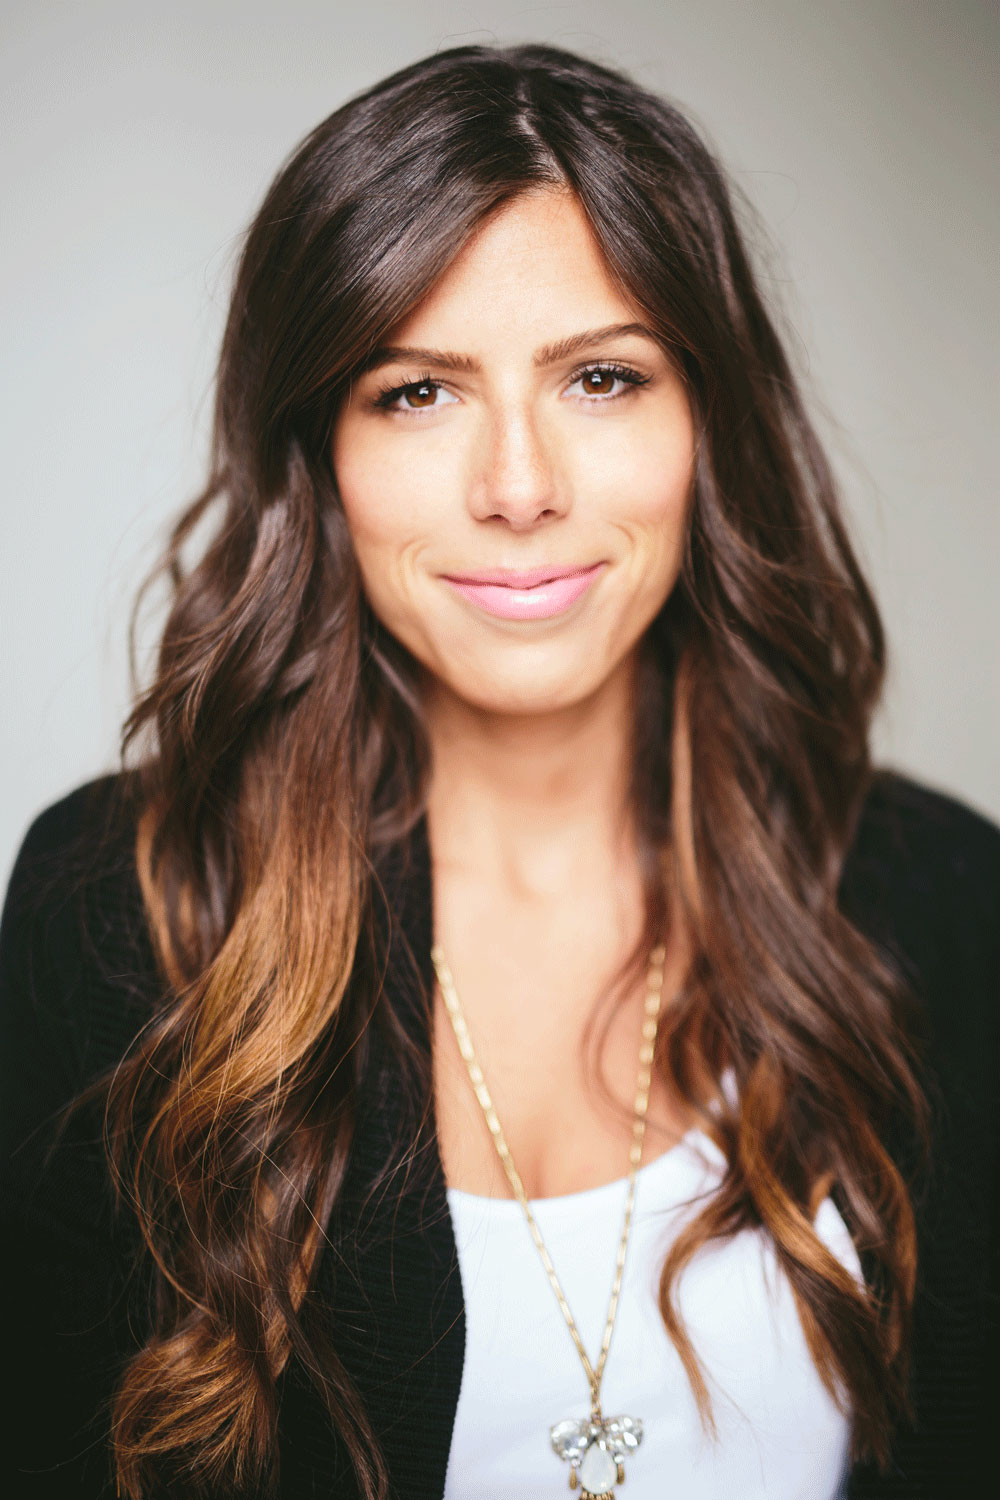 The details:
Complexion: Bobbi Brown stick #3.5 (sheer application,) Contour Medium #2 from the Laura Mercier Flawless Contouring Palette, under eye concealer is Secret Concealer #3.7.
Eyes: Urban Decay Eyeshadow Primer, Naked Basics Palette, Brow Wiz in Medium Brown, and Brow Gel.
Lips: MAC Creme De La Femme and Paper Lantern lipglass.
 Photos by Travis J Photography
The Contour Up Close
Highlighting and contouring have been around for ages, but it’s recently become more mainstream and a lot more people are implementing it into their daily makeup routines. This combo below is what I have been using a lot on myself and on my clients lately and I love it. 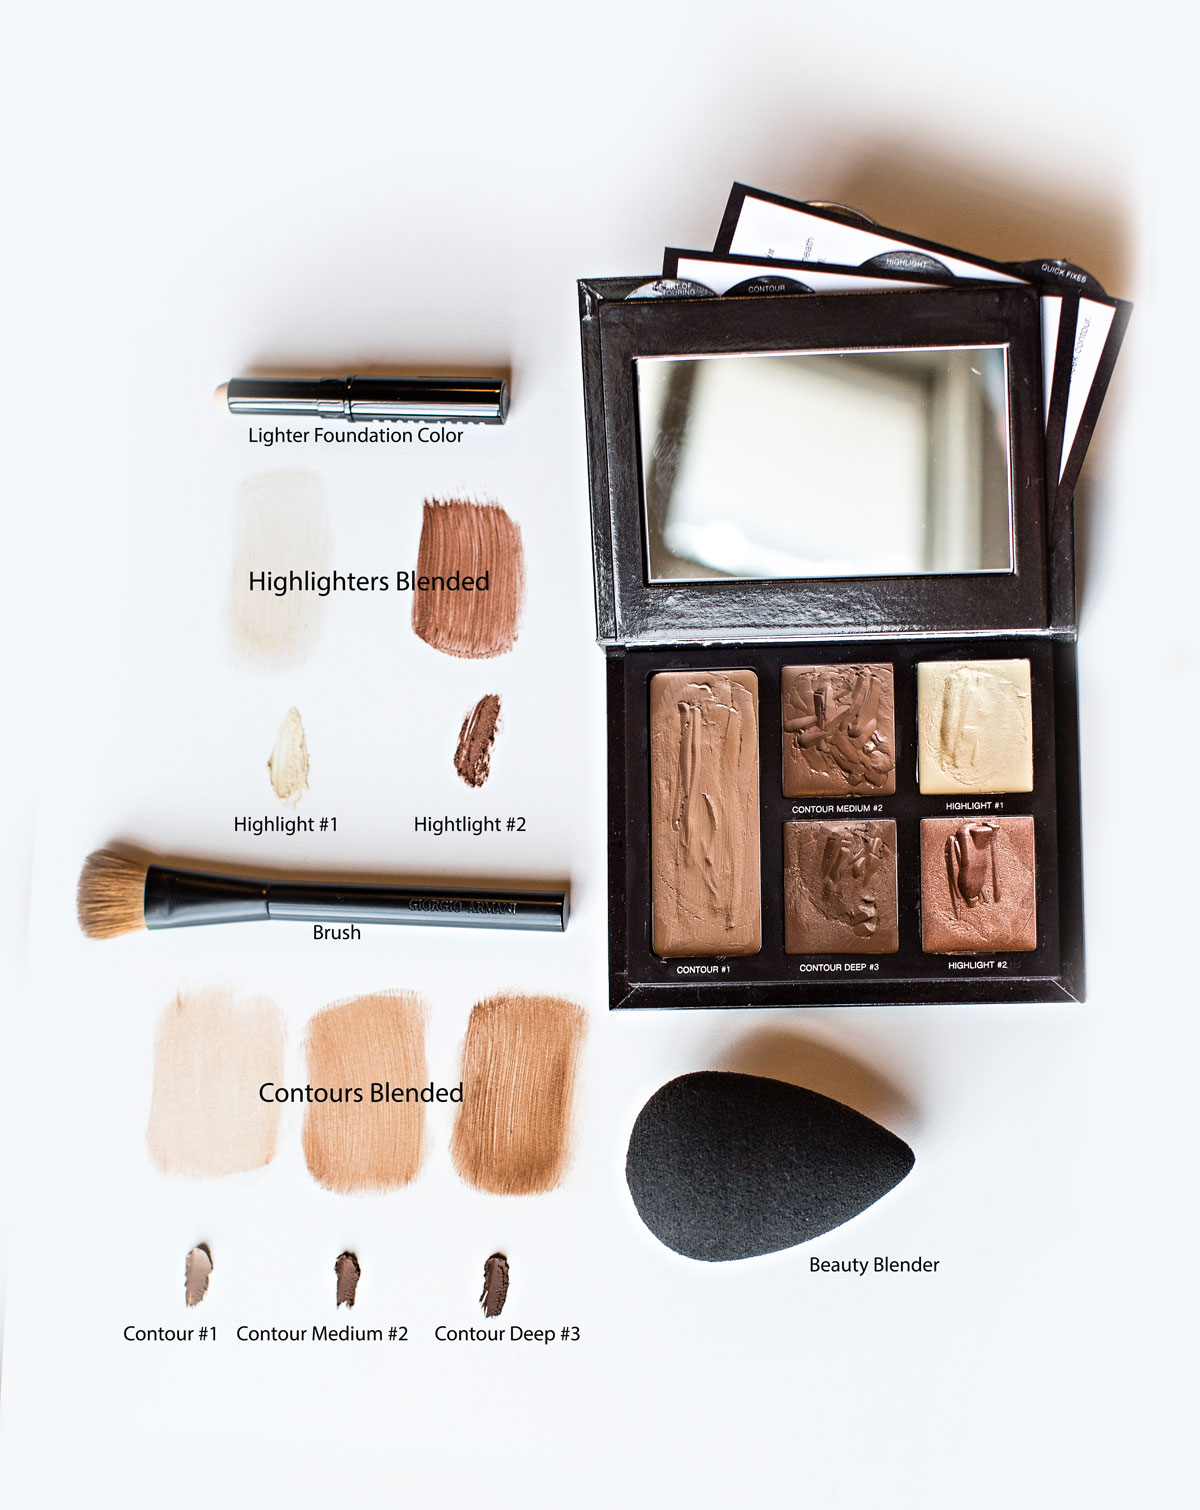
The little stick titled Lighter Color Foundation is the lighter color you’ll see in the photos below. It’s the Bobbi Brown Face Touch-up stick. It also comes in a larger size, but I like that the little stick is such a good size to highlight down the center of the nose. However, the larger is a better value. I actually own both sizes in several colors and love them both.
The palette with the 5 colors is Laura Mercier Flawless Contouring Palette. The palette comes with 3 different shades of contour creams and 2 highlighters (shimmery illuminating creams.) This contour kit is easy to use and comes with instructions built into the kit, which is nice in case you forget. And I like that it’s easy to get (some of the other contour products I use I have to order through weird specialty sites and pay a fortune for shipping.) This one you can just get at Sephora. My favorite brush to use with it is this blender brush.
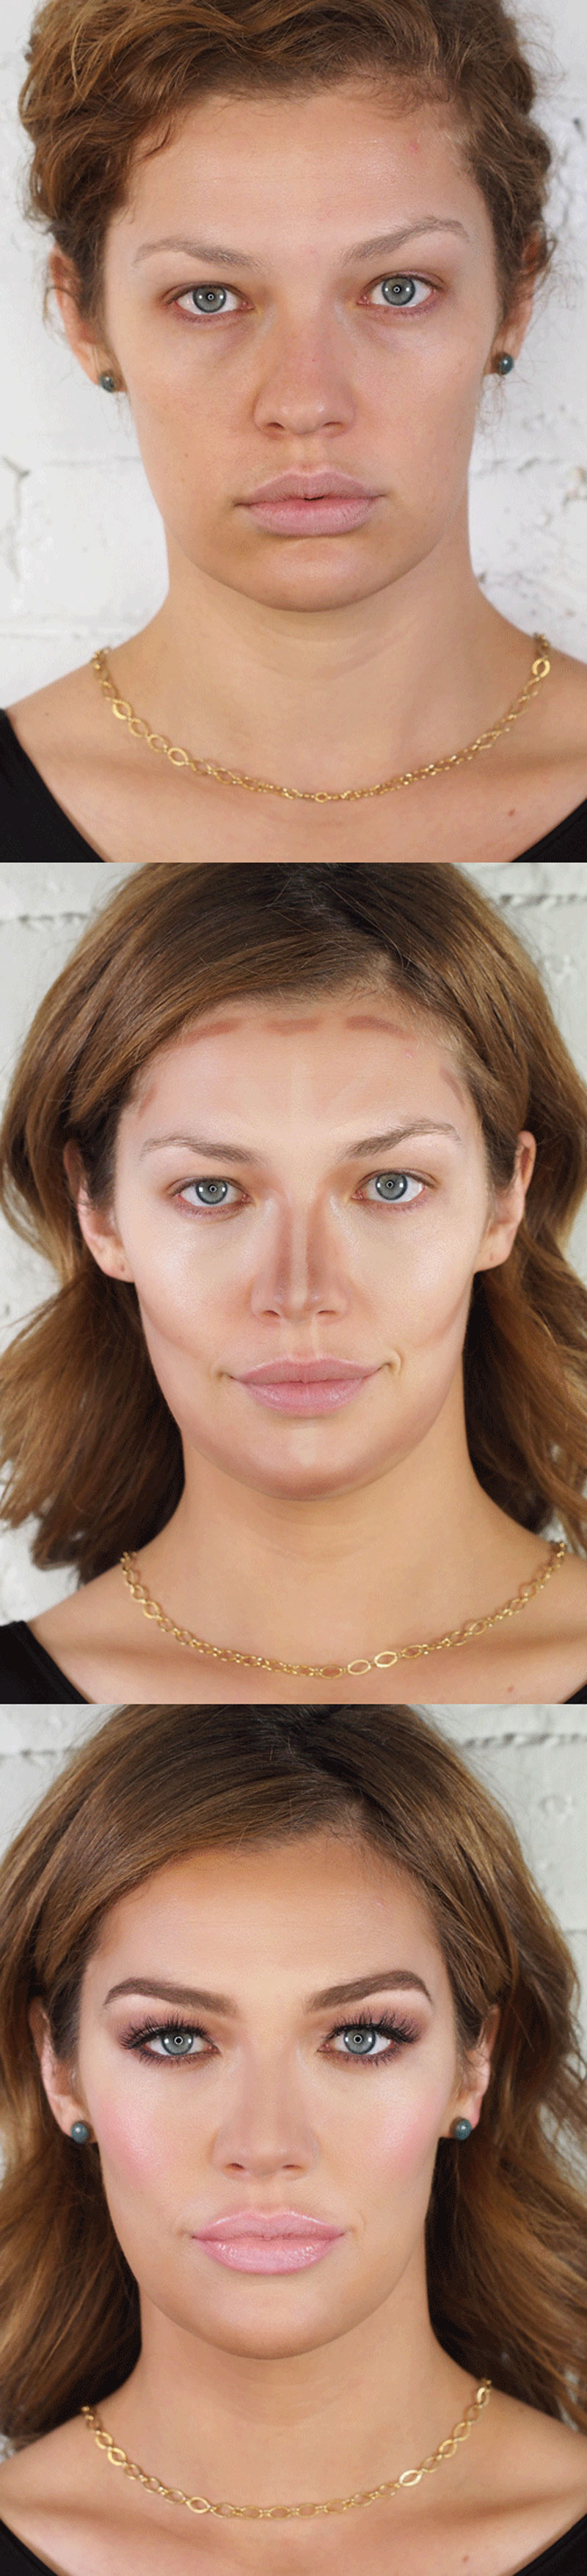 It can be kind of shocking to see the stripes… kind of intriguing though too, right?
The key is to blend. That’s what I use that black tear-drop shaped sponge for you see in the photo. It’s called a beauty blender. You’ll want to get it damp before you use it, it makes it even softer and keeps it from absorbing as much product. I love the solid cleanser to wash it with and also use it to wash my makeup brushes. I also applied the tiniest bit of foundation to help blend the highlight and contour together. I used Teint Miracle in Buff 6.
I have basically tried to improvise while I’m waiting for Maskcara’s foundation to arrive (I had some samples of it, which I used in a few posts back, but don’t currently have it.)
I hope this is useful info for everyday contouring that looks natural! And just remember, I did a more dramatic contour for the photos so you could see it really well. You can always blend more to make it even more discreet.
The rest of the products used for this look coming soon!
Xoxo
