

Hair Tips for Family Photos
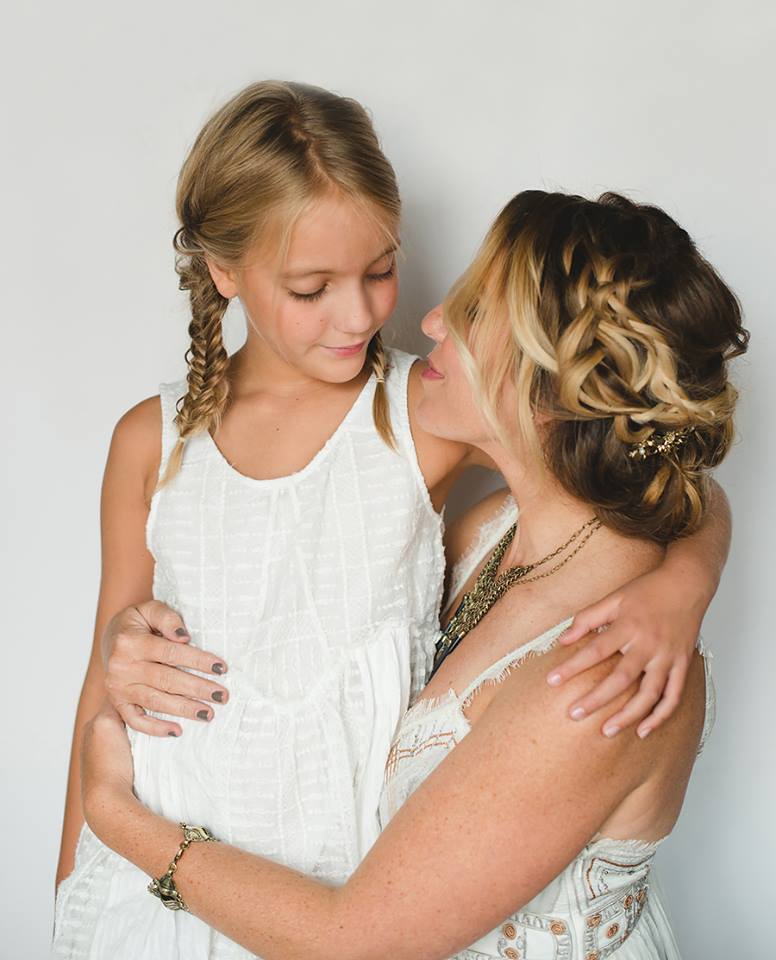
Family photos have definitely evolved since I had them taken and some of my favorite jobs are getting mom’s ready for family photos. I have been loving the up-styles I’ve been doing for them lately. Here’s some photos I grabbed (with Angie’s camera 😉 ) before Angie and Chloe left to go take their family photos. I did little fishtail pig tails for Chloe’s hair and I feel like they looked so cute with Angie’s updo.
 Not sure if you want to totally commit to an updo for your photos? Here’s an idea! (I recently tried this with my client Brittany and I loved how it turned out.) I curled her hair and styled it all down. Then I sent her with a hair tie and told her to pull her hair up into a pony tail half way through the photos, just to switch it up. I love how they both turned out!
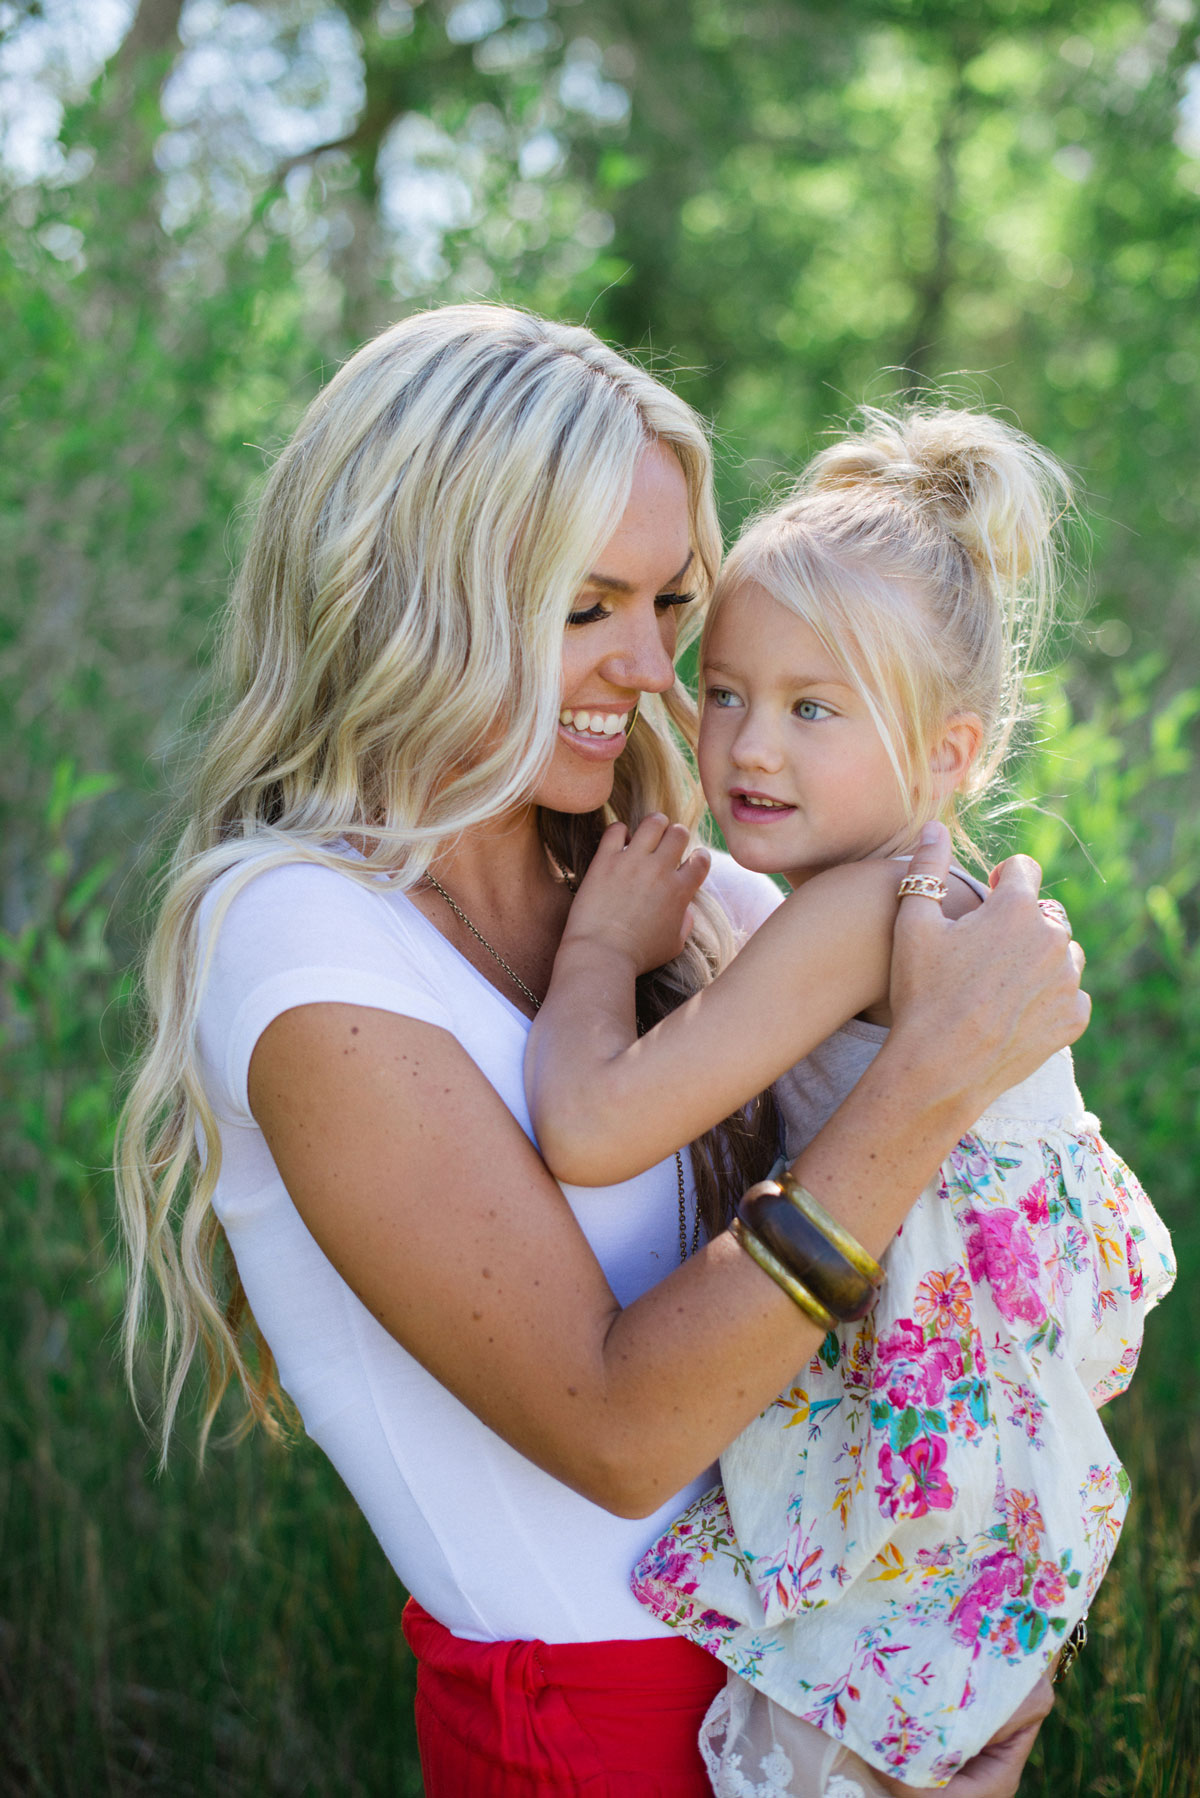
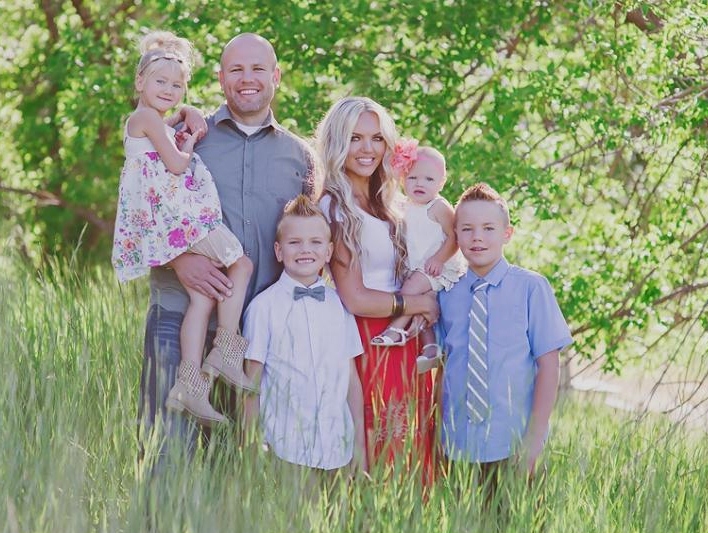
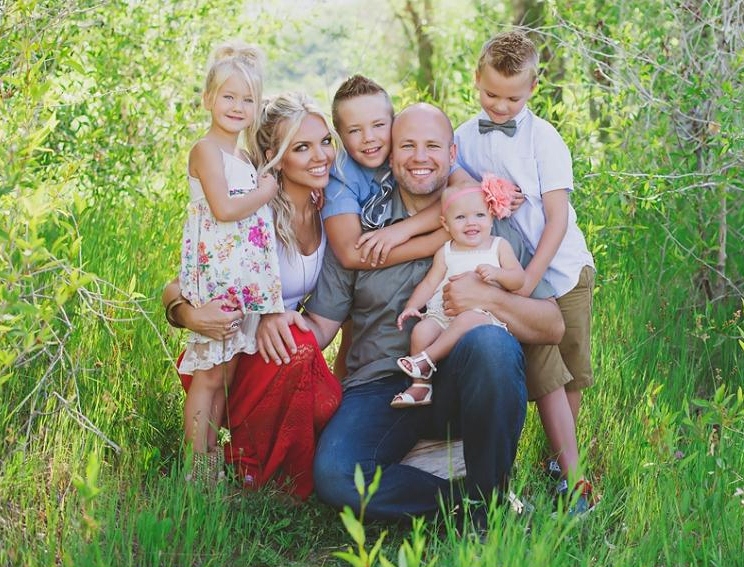 Aren’t they the cutest!?! These photos were taken by Simplicity Photography
Doing a hair change (even a really simple one) might be easier said than done, depending on how the shoot is going 😕 ha. Sometimes getting just one photo without someone crying, is all one can hope for (or at least I’ve been told!)
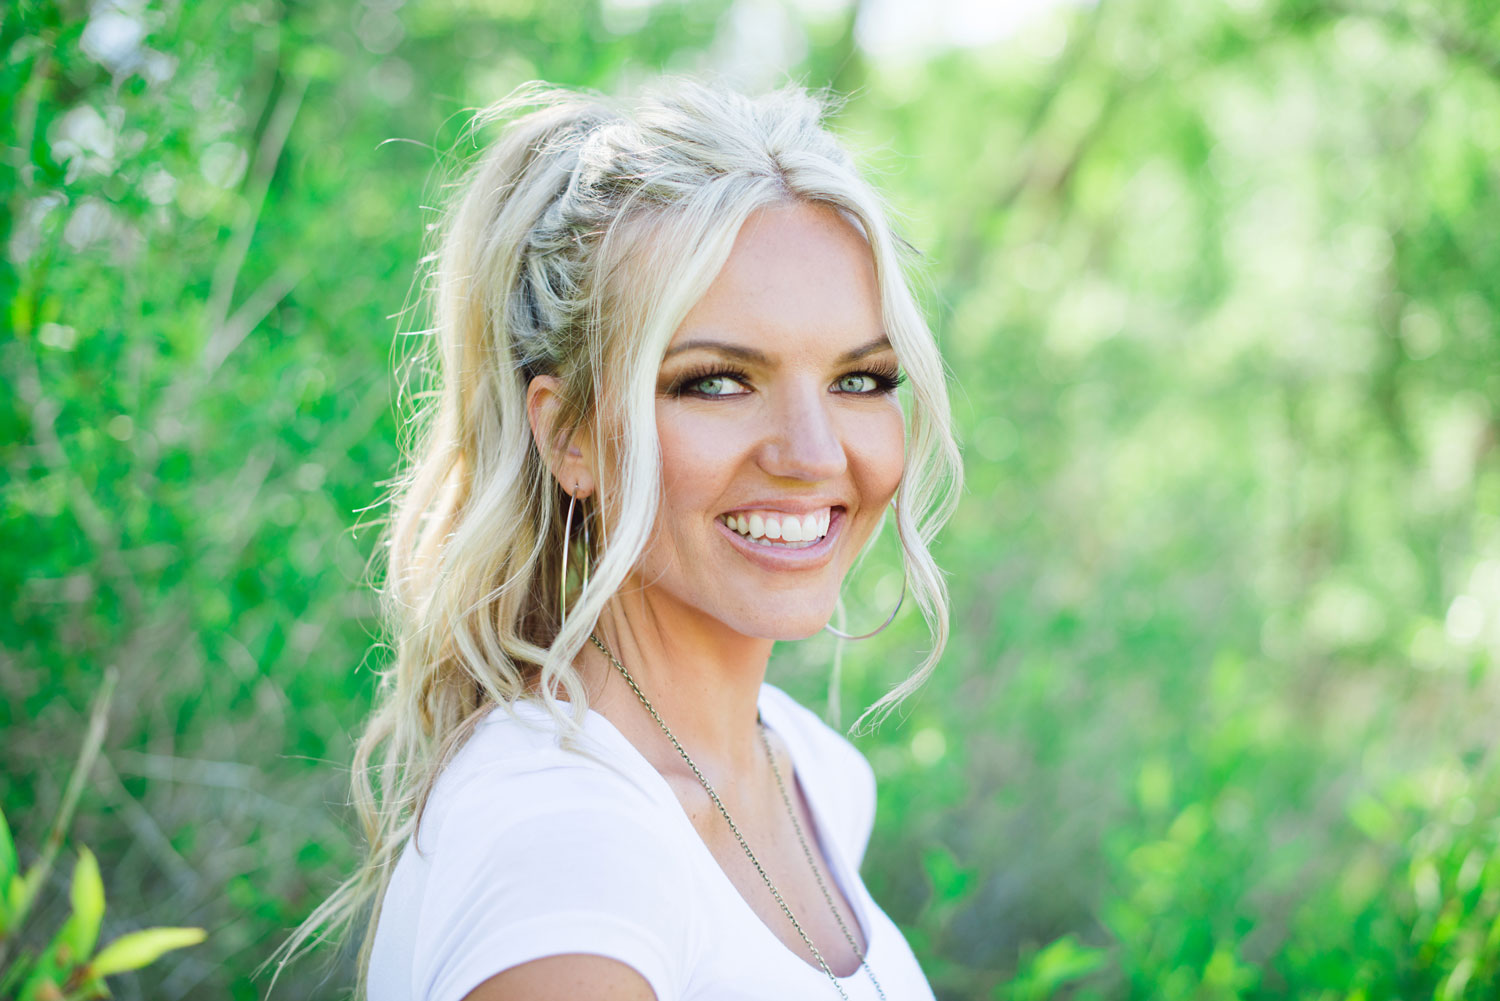
You can’t go wrong with a really pretty down hairstyle like this one from Angie’s photos last year ↓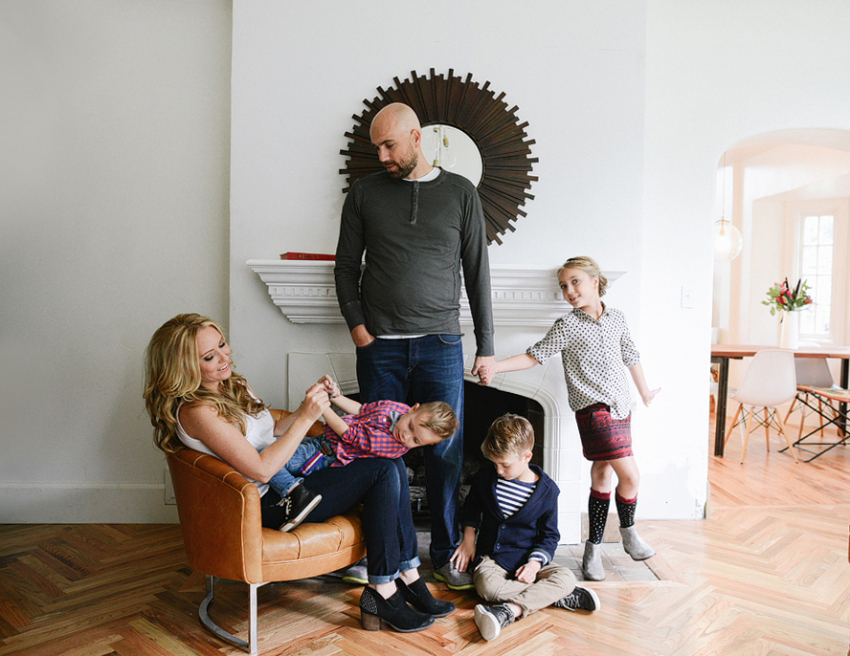 Photo by Blush Photography
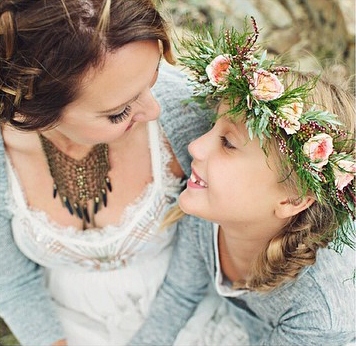
If you’re doing interactive, candid type family photos it can be nice to have something keeping your hair and your little ones hair out of your face. This flower crown is adorable! ↓
 P
PI’m also a big fan of headbands. Here’s a cute one from Urban Outfitters and I love that it ties because it will look cute from all angles and you can make it smaller or bigger so it will fit perfectly.
I love getting families ready!
Natural Looking Makeup for Photos
I did makeup for this lovely lady a little while ago for some photos she needed for her website (she’s a Registered Dietitian.) 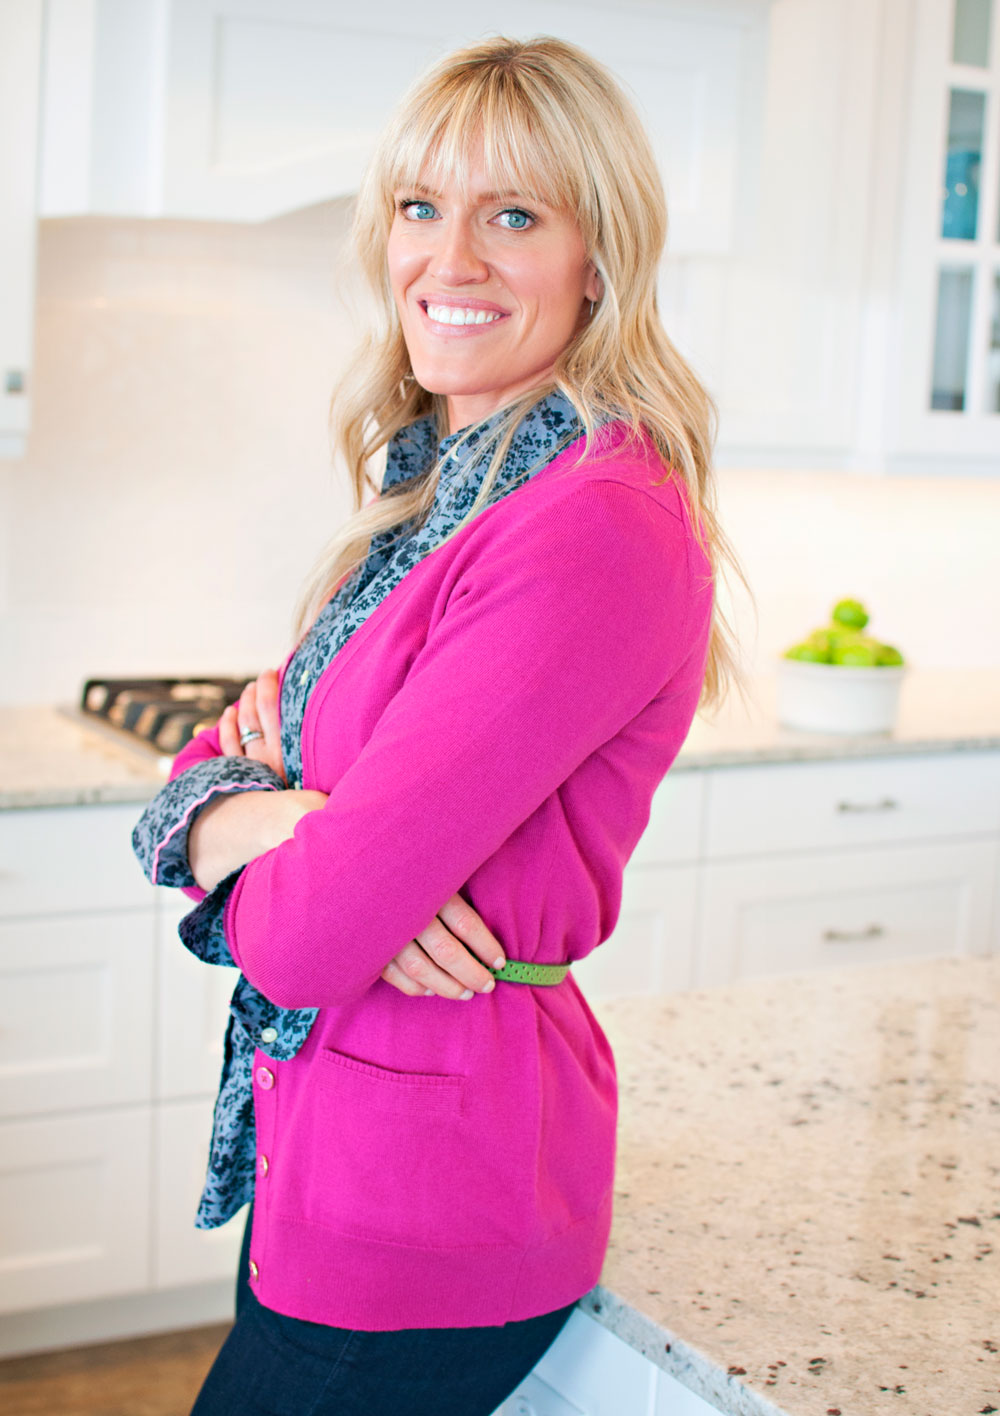 She’s more of a natural, sportier gal so I wanted to make sure her makeup reflected that. I wanted the attention to go to her gorgeous eyes and gorgeous smile, so I wanted the makeup to enhance but not distract.
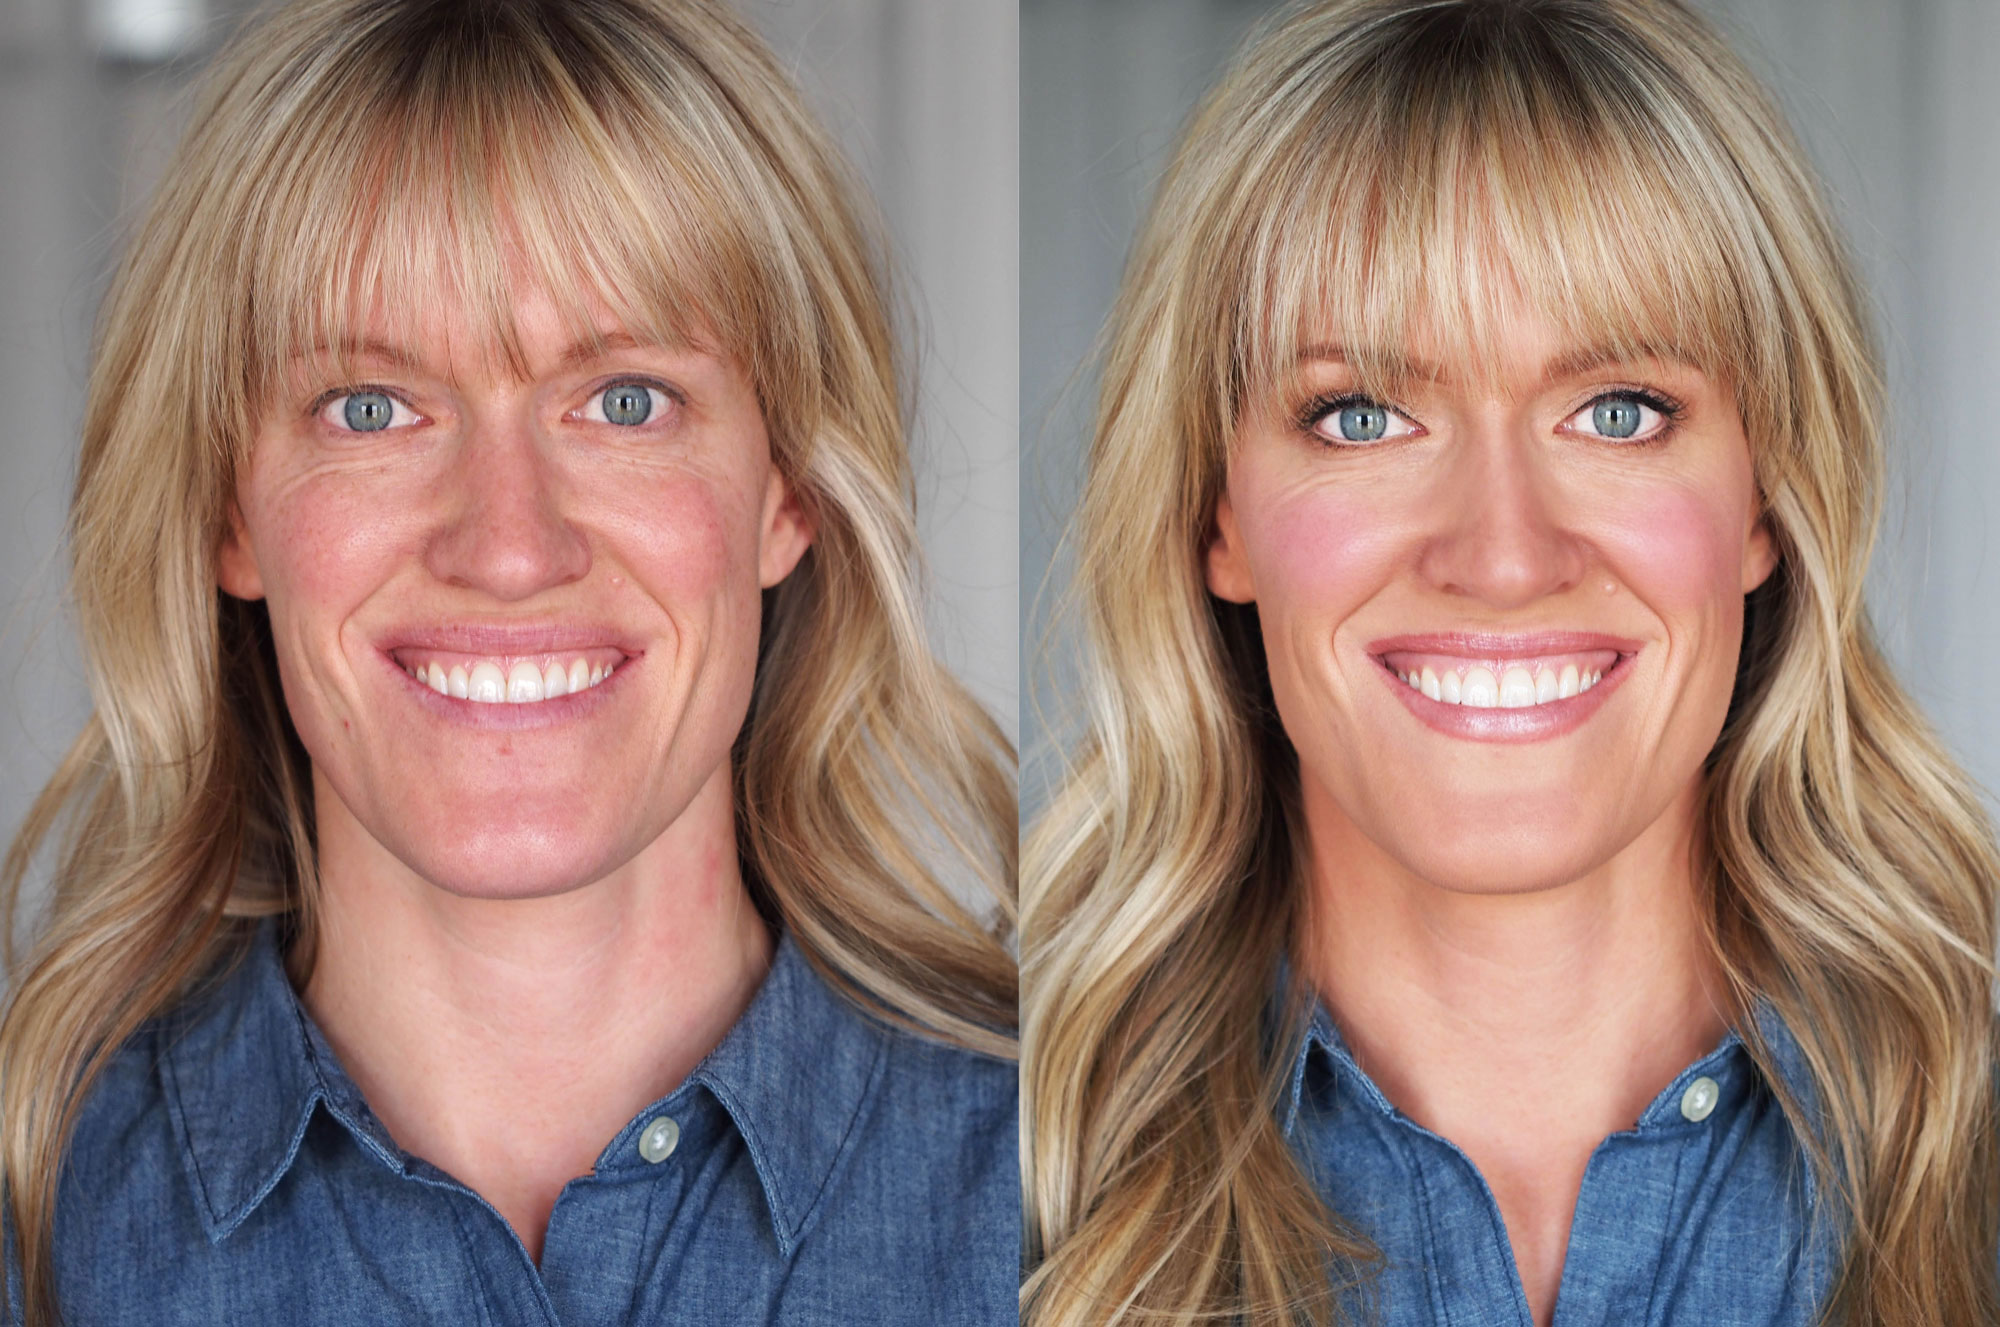 I have to be honest, it was so long ago (I just came across these photos and I couldn’t believe I hadn’t posted them yet) that I am not 100% sure what I used, but I can tell you what I most likely used and what will look the same. Here you go!
Complexion: Lancome Teint Mircacle foundation, Laura Mercier concealer, Bobbi Brown bronzer in Natural, Tarte Blush in Flush
Eyes:Urban Decay eyeshadow base, Mac eyeshadow in Saddle, Stila Eyeliner in Black on top, Tarte Inner Rim liner , Flare lashes in short, Anastasia Brow Wiz in Ash Blonde
Lips: Lancome lip liner in Charme, Bite Agave Lip Mask in Champagne
Photo by Pea Junie Photography
Favorite Foundation and Primer
Foundation is the foundation of your makeup, it is muy importante. Your skin needs to be the proper shade (this includes the skin on your neck also if needs be,) and it needs to have the proper dimension which I go over in more detail in my foundation post here. In this post I’m going over products and what to look for in a great foundation and primer.
What to avoid looking like ↓ (remember this photo from my tips for teens?)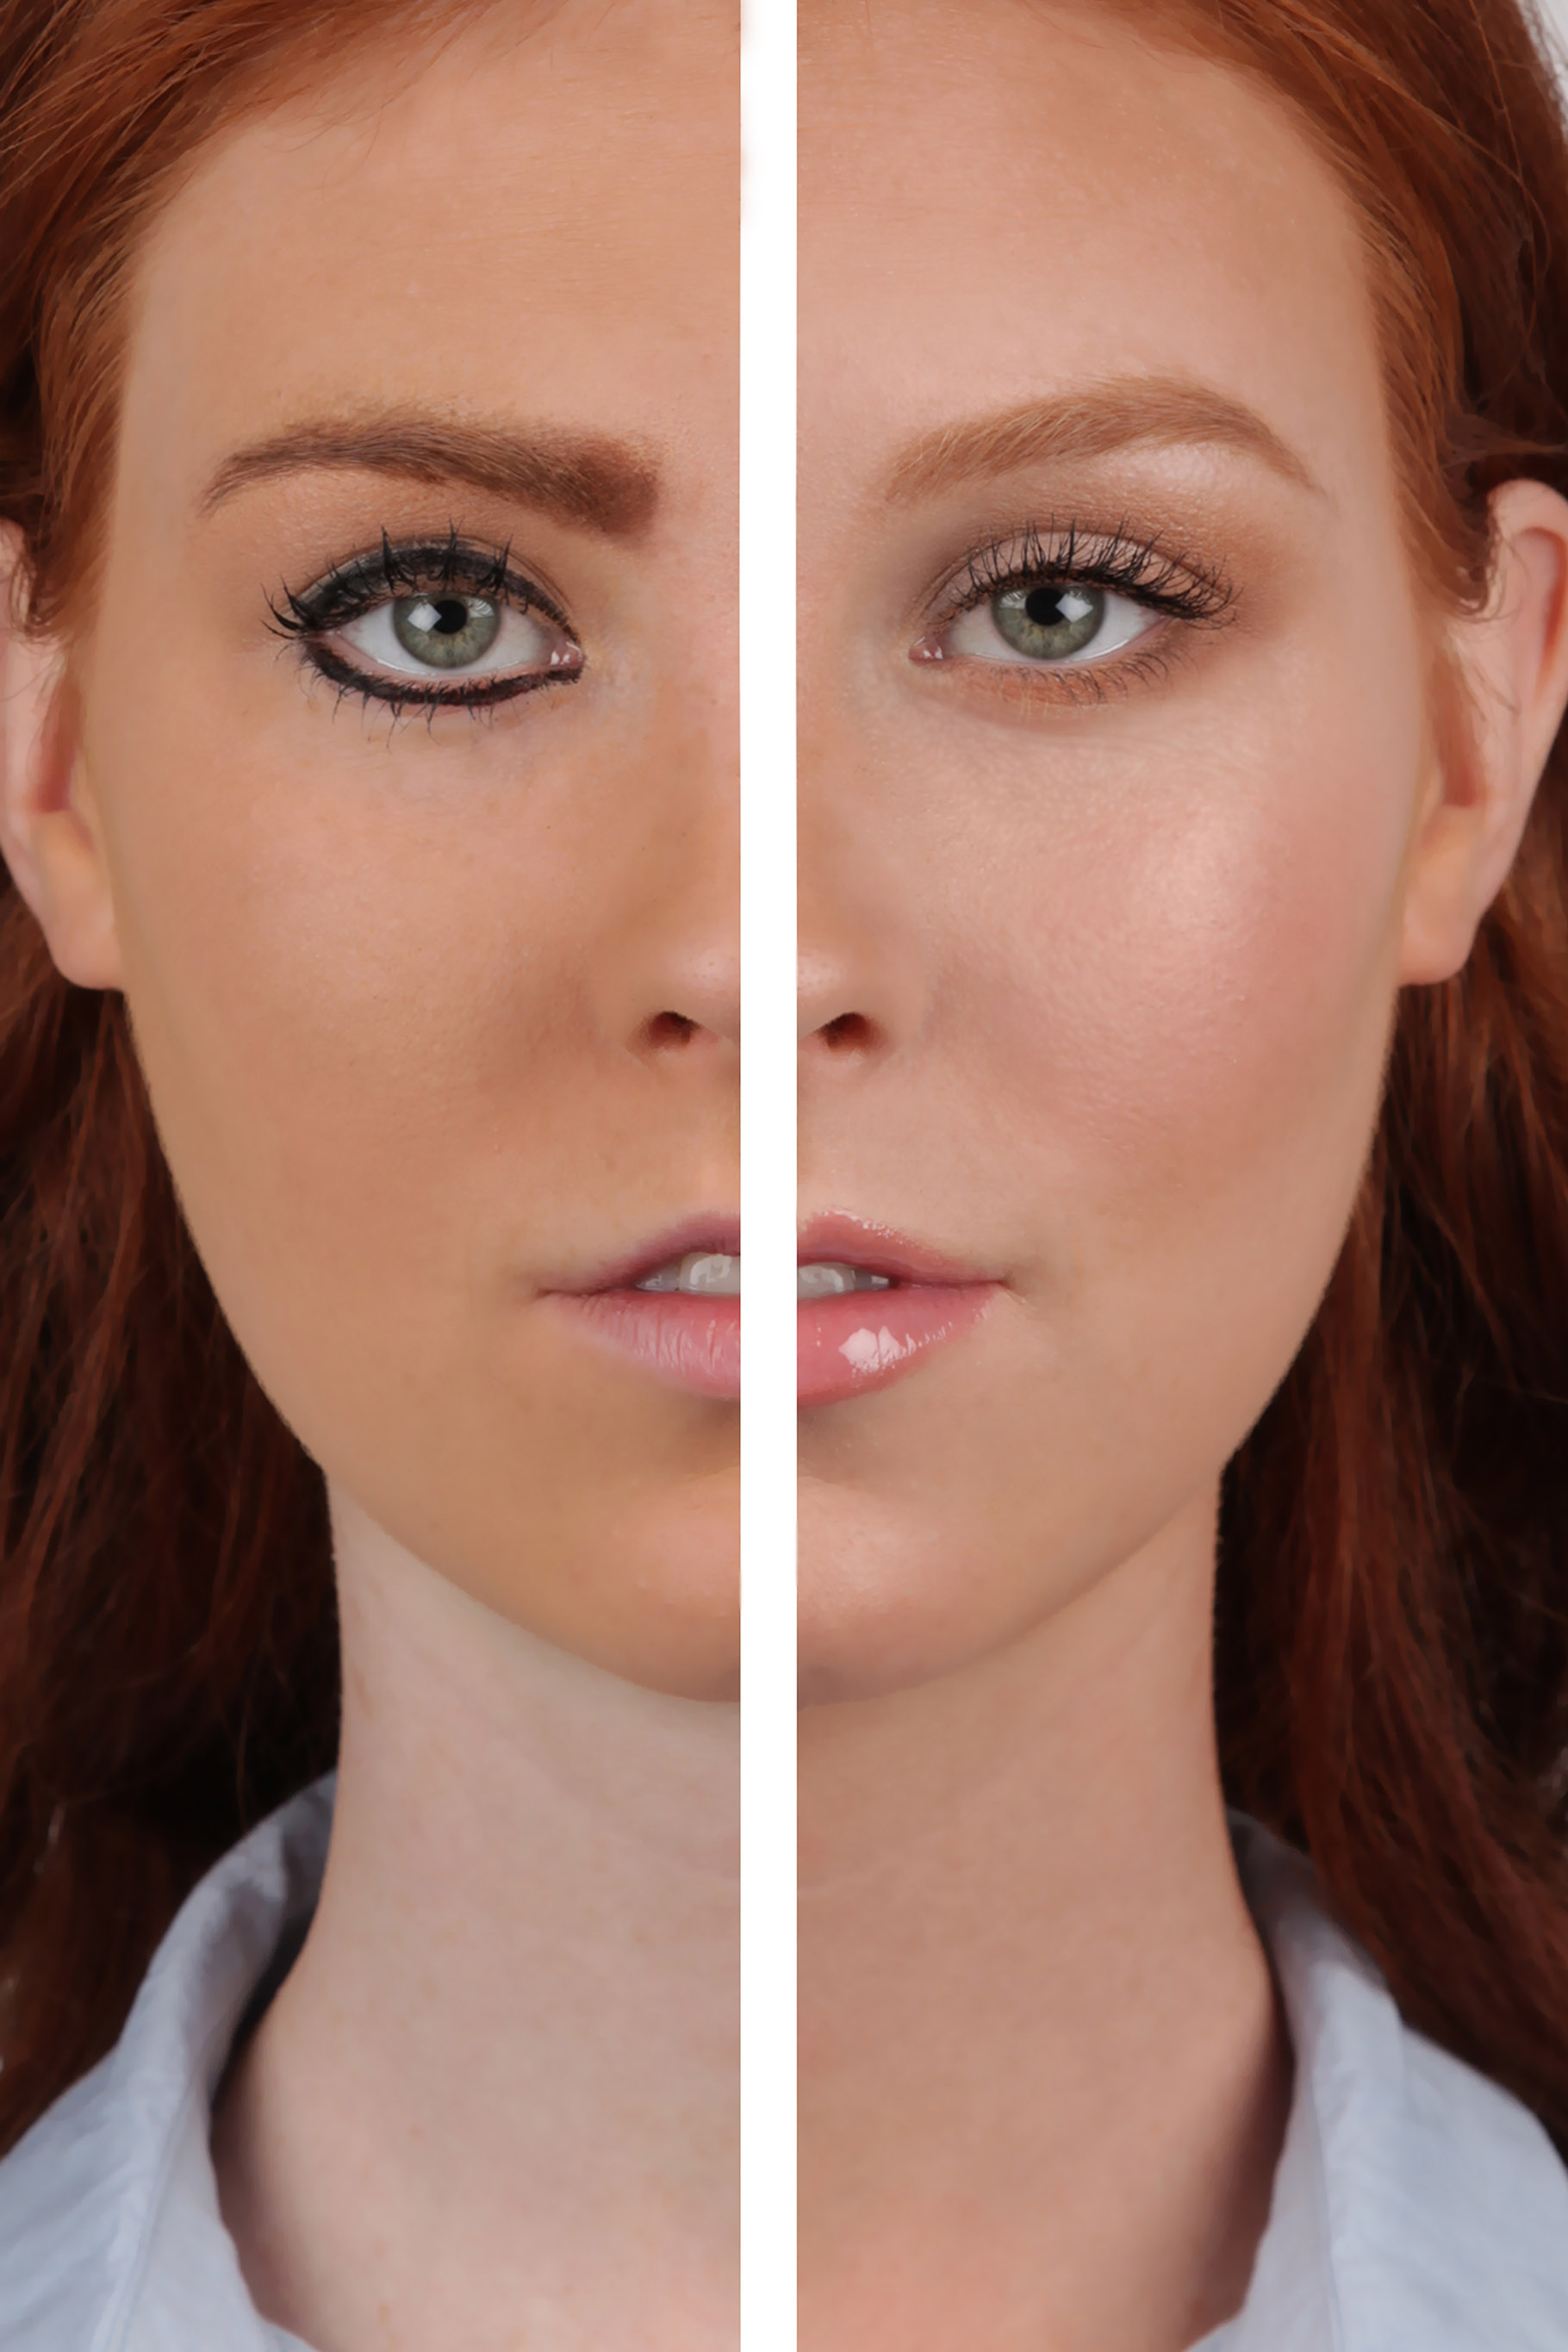
When shopping for foundation here are some tips:
- Ask for samples. Most brands in major department stores will sample liquid foundation.
- Check your neck. If you look like you have a floating head consider using a lighter shade just along the jawline to make the color more uniform with your neck. You can also use a bronzer on your neck to even it out. Bobbi Brown makes great bronzers and for most things I prefer a matte bronzer. A great universal bronzer for light to medium (even if you’re fairly tan this color will still work) skin tones is the shade Natural from Bobbi Brown. For very red based skin tones I like Dark (this can also double as a blush.) And for a darker bronzer I like Elvis Duran. *I like to check the company website for any deals or promotions they might be having, otherwise I tend to order online from departments stores, Amazon prime, Ulta or Sephora.* And for a bronzer that can double as a contour color I like theBalm in Bahama Mama.
Now for the products. You guys this was so hard because sometimes there’s more than one product that I like. In my efforts to not over-complicate things I chose two foundations to recommend. For normal to dry skin I do really like YSL Touche Eclat . What you want from a foundation if you are dry is a one that will be hydrating with a dewy finish that will last on your skin. Sometimes, these kinds of foundations look incredibly flawless and natural at first but after several hours you may get a little bit shiny on the t-zone. No big deal, just at that point touch up with a little powder. For all skin types I love Laura Mercier’s invisible pressed powder. *last time I ordered a bunch of stuff through the Laura Mercier website they sent that powder as a sample, and I’m hooked!* It won’t add much coverage, it will just mattify.
For normal to oily skin the most universal foundation I’ve found is Lancome’s Teint Idole 24h. If you have more of a normal skin type and want a more sheer application apply a liberal amount of moisturizer to your skin just before applying the foundation. If you’re oily or want more coverage, you’ll want to wait for your moisturizer to absorb a little bit before applying.
If you have the kind of skin that nothing wants to stick to and even the ‘long wear’ formulas of foundations wear off (like the crazy durable Double Wear from Estee Lauder,) then the Becca Ever Matte Primer will be your best friend. This stuff is like, industrial strength so you can’t get lazy with it (if you miss a spot on your face you can tell because the foundation won’t grip as well to the area.) To ensure that you can get it blended properly before it sets I recommend applying the Becca Ever Matte Primer in sections, like this ↓ 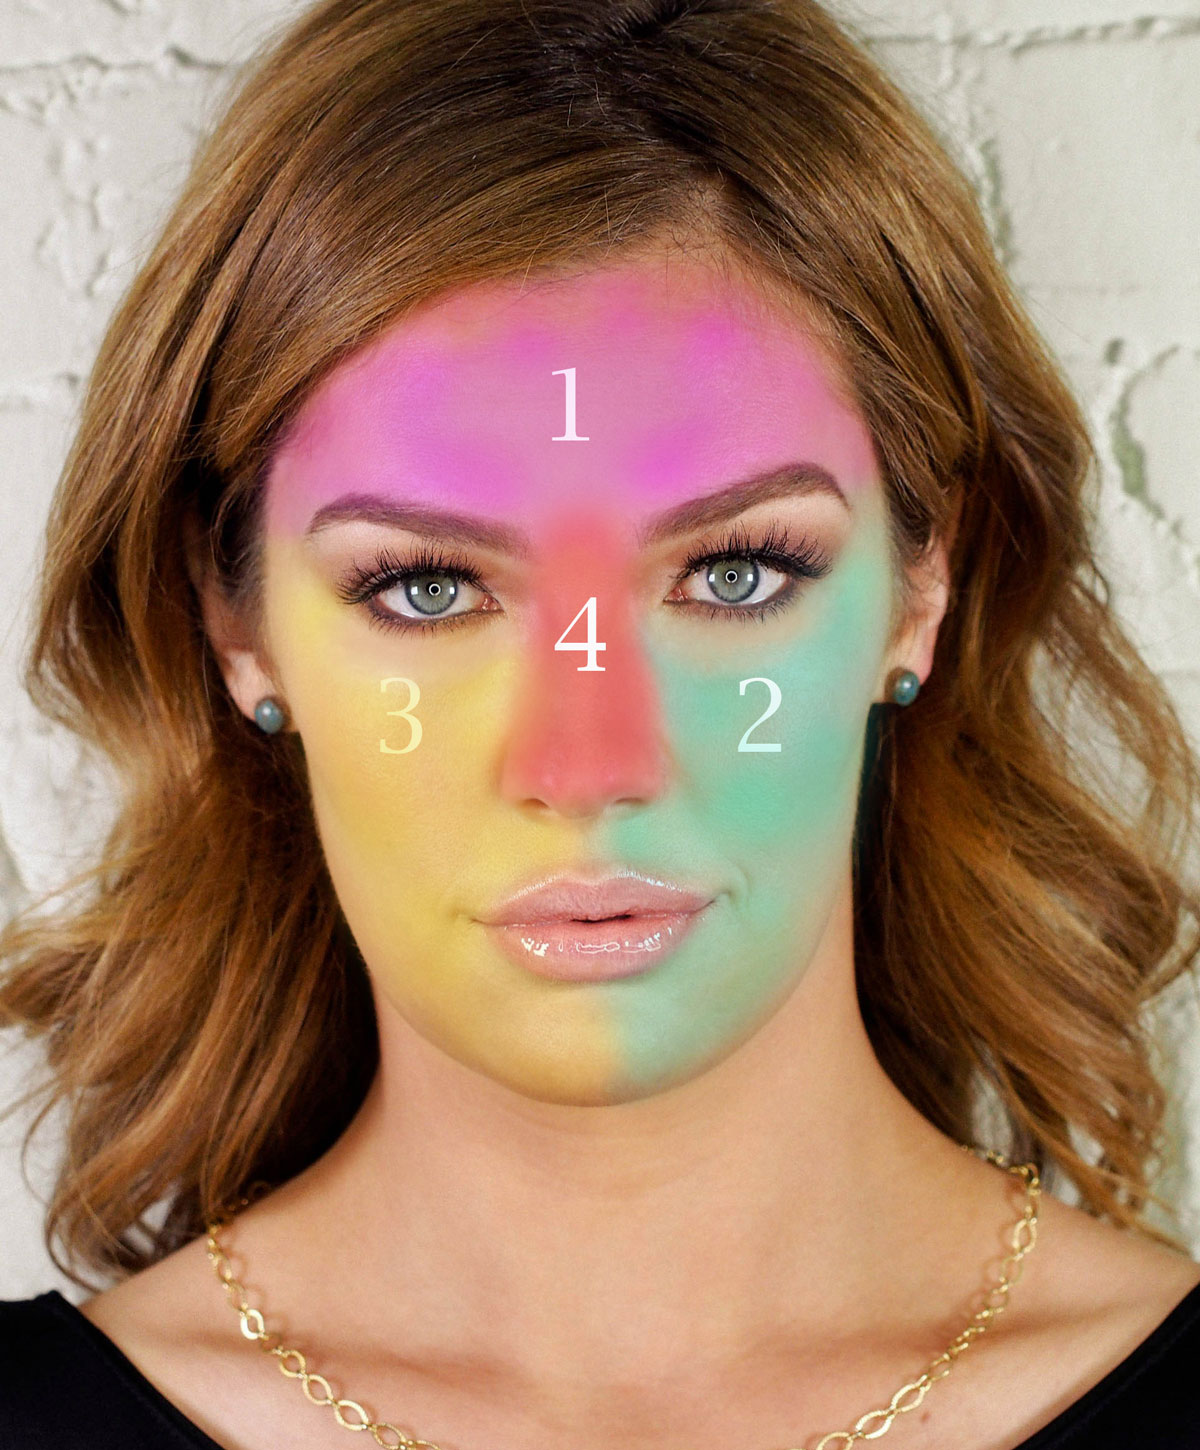 I know that picture looks kind of crazy but hopefully it helps:-)
I am currently testing out different kinds of foundation primer for dryer skin, I will keep you posted! So far I am liking Lancome’s Hydra Glow and it smells divine.
What’s your favorite foundation? I’d love to know!
Before and After
I’m grateful when clients let me do before and after photo’s because I think it’s helpful to see both. Don’t worry, my own before and after is coming soon!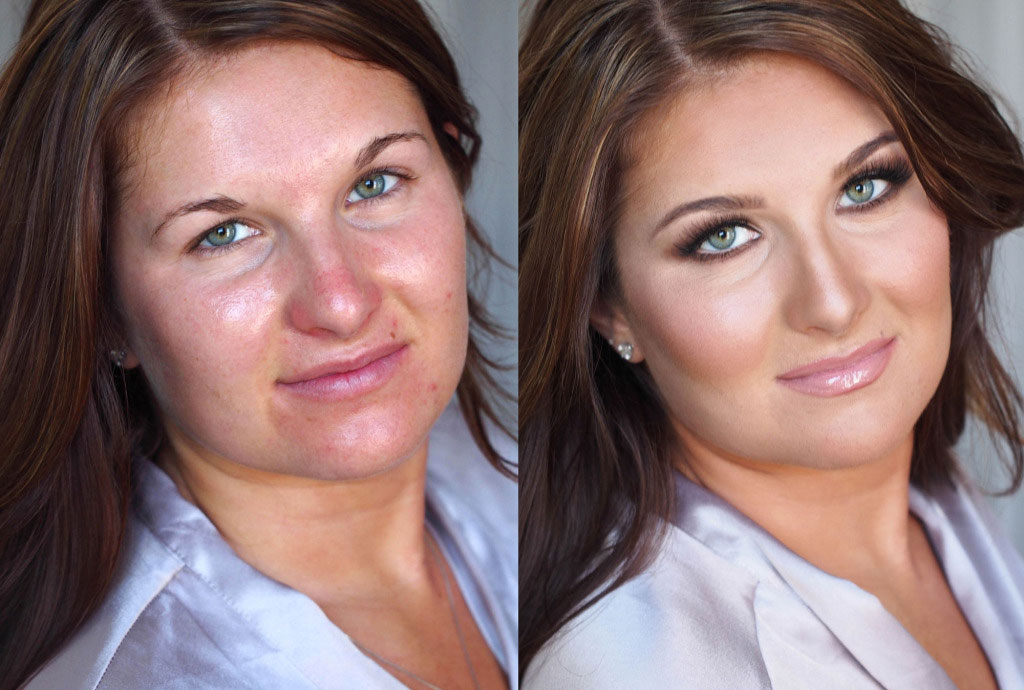
Complexion: Temptu s/b foundation, Laura Mercier concealer (under eye’s), Tarte Concealer (on cheek bones, this concealer is dewy) Bobbi Brown bronzer in Deep and Tarte blush in Blushing Bride. An alternative foundation (non-airbrush) that I’d recommend to get this look is Lancome Teint Mircacle.
Eyes: Urban Decay eyeshadow base, MAC eyeshadows Bronze, Sable, and Vanilla,Stila eyeliner, Lancome Hypnose Doll Lashes mascara, Ardell Wispies, Anastasia Dip Brow in Blonde and the Brow Pen in Deep (use the pen to make little hair like strokes to imitate the look of real brow hair.)
Lips: Urban Decay lip liner in Naked, Giorgio Armani lipstick in #102 Essenza, Chanel Glossimer in Seashell
